GO 2 Trick - Road Cycling
Our latest tutorial has dropped! 🤩 Time to level-up your road cycling shots with GO 2! 🥇
Gear Used: Insta360 GO 2 + Charge Case + Pivot Stand + Easy Clip
Steps:
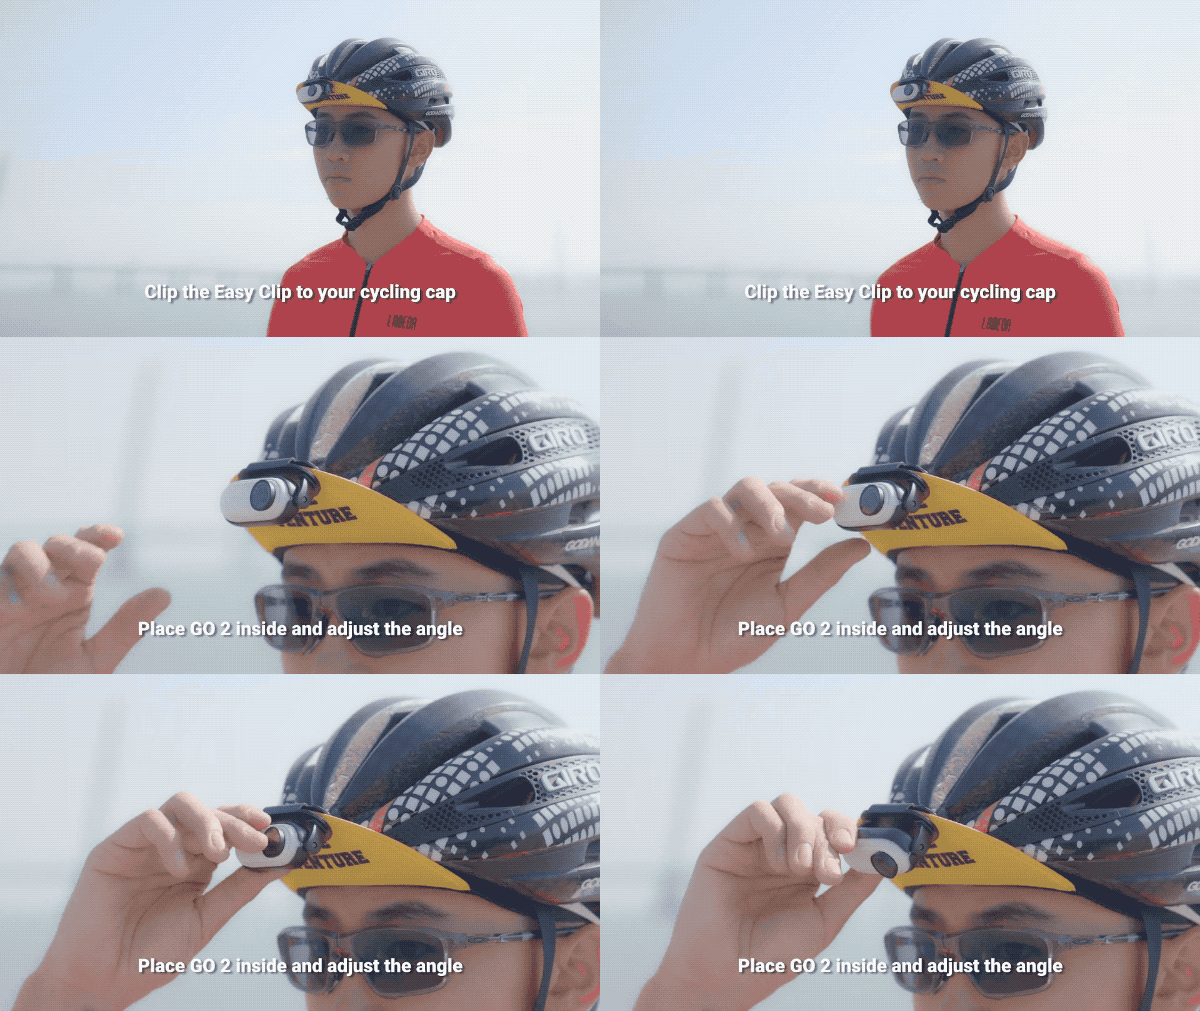
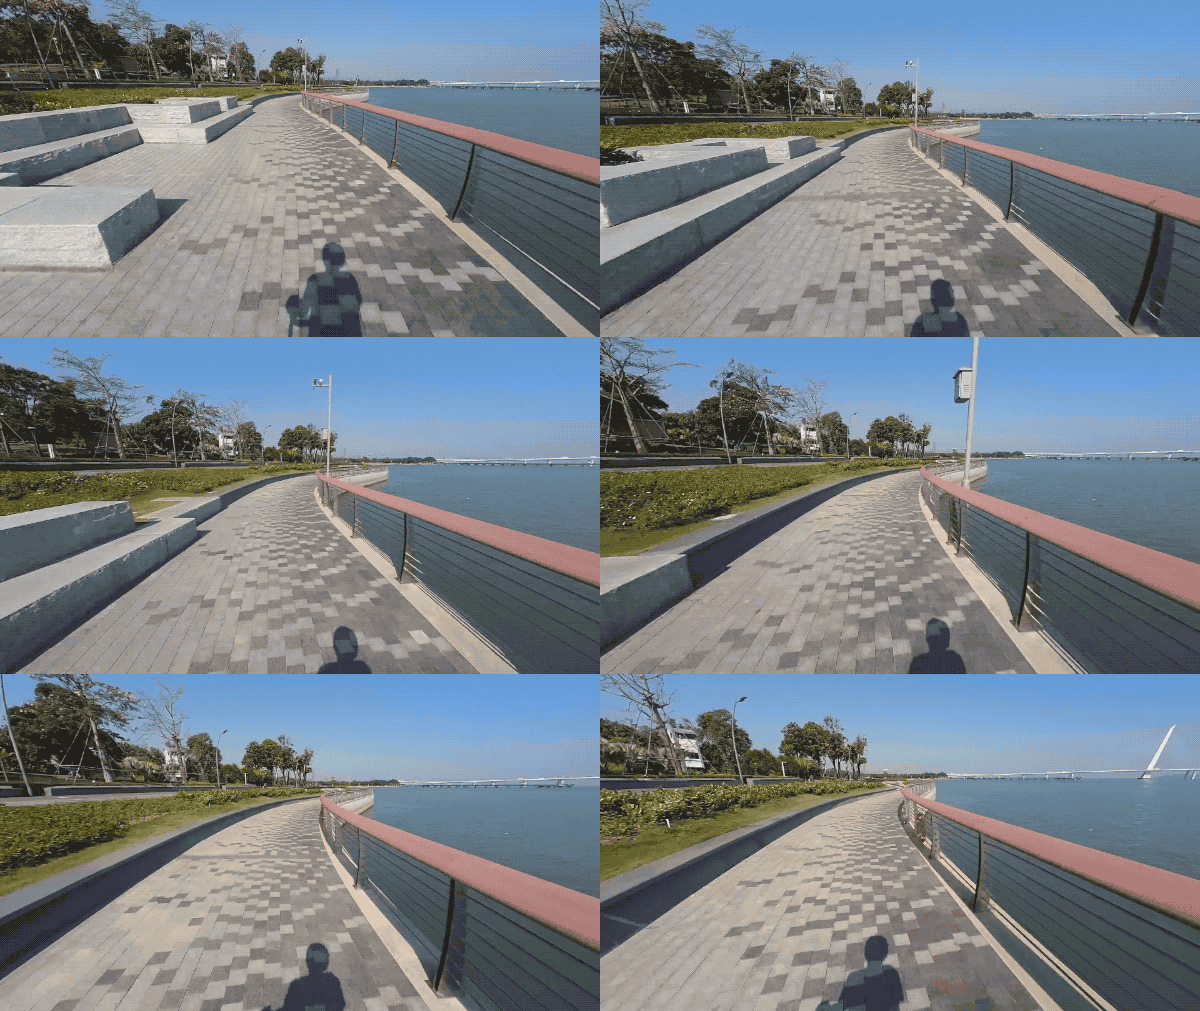
1. Cycling Cap Perspective

Clip the Easy Clip to your cycling cap. Place GO 2 inside and adjust the angle.
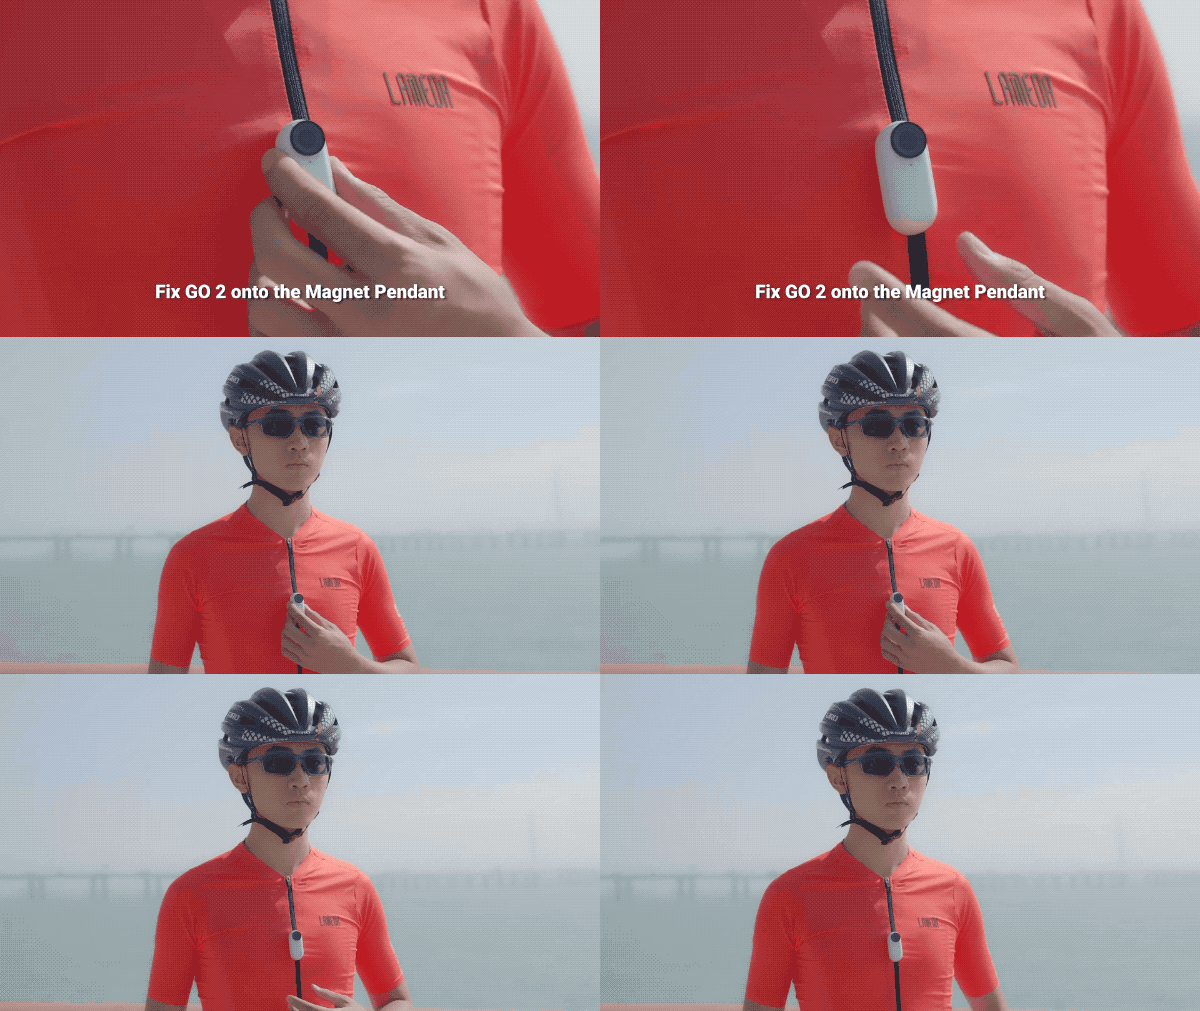
2. Chest POV

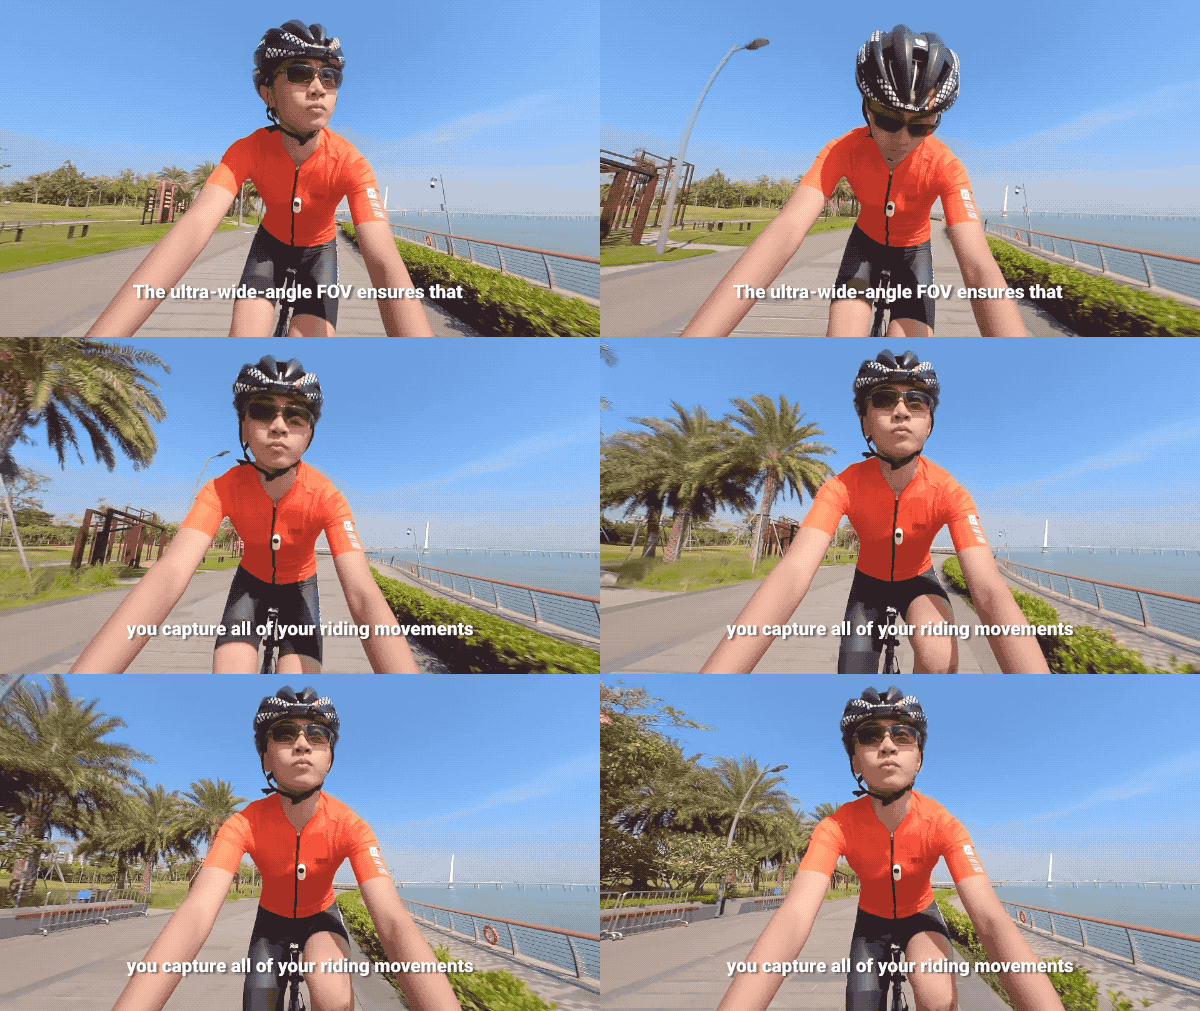
Fix GO 2 onto the Magnet Pendant
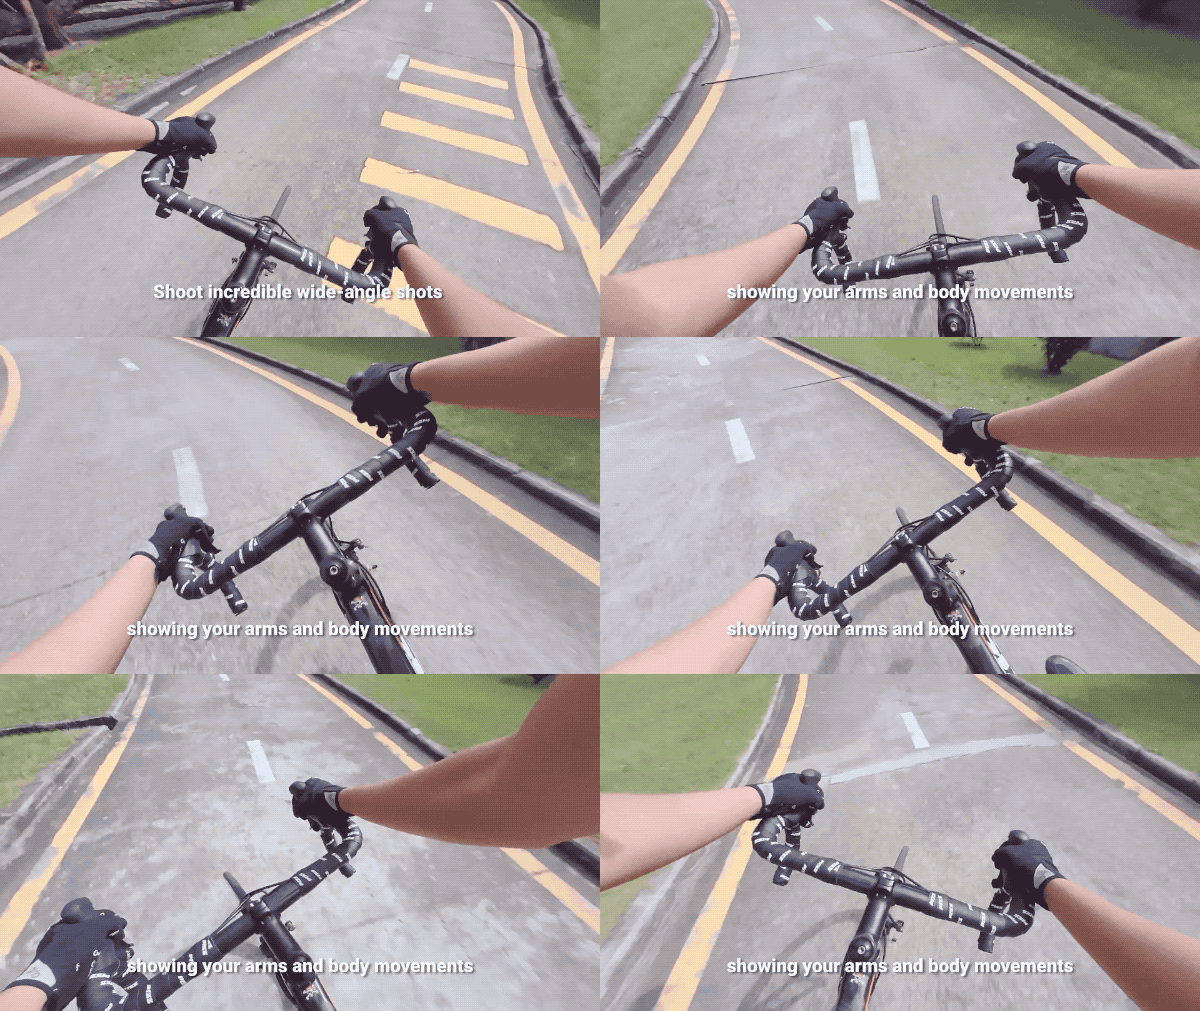
Shoot incredible wide-angle shots showing your arms and body movements.
3. Handlebar Perspective

Install the Handlebar Mount in the middle of the handlebars.
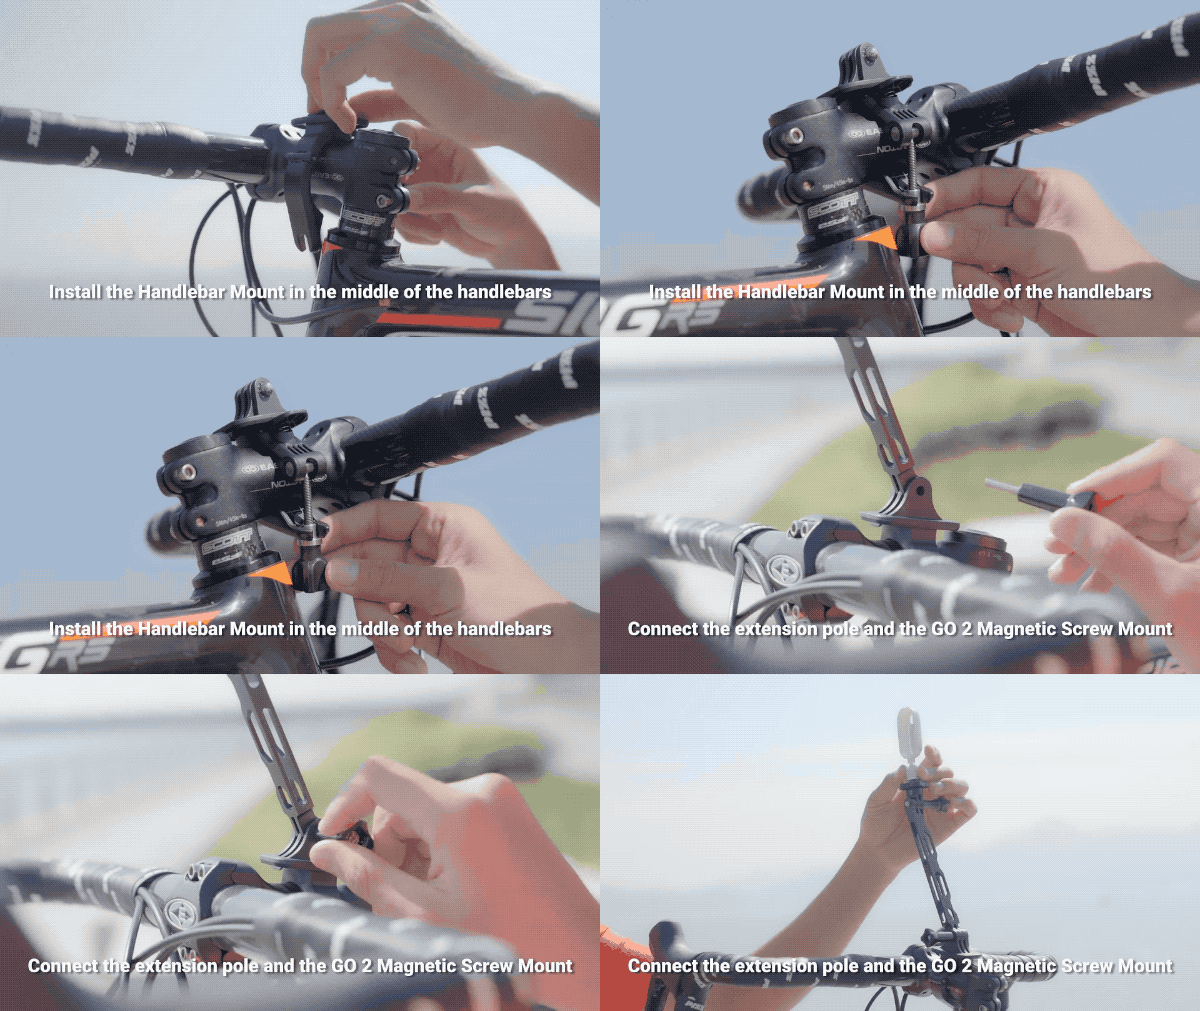
Connect the extension pole and the GO 2 Magnetic Screw Mount. Place GO 2 inside and adjust the angle.
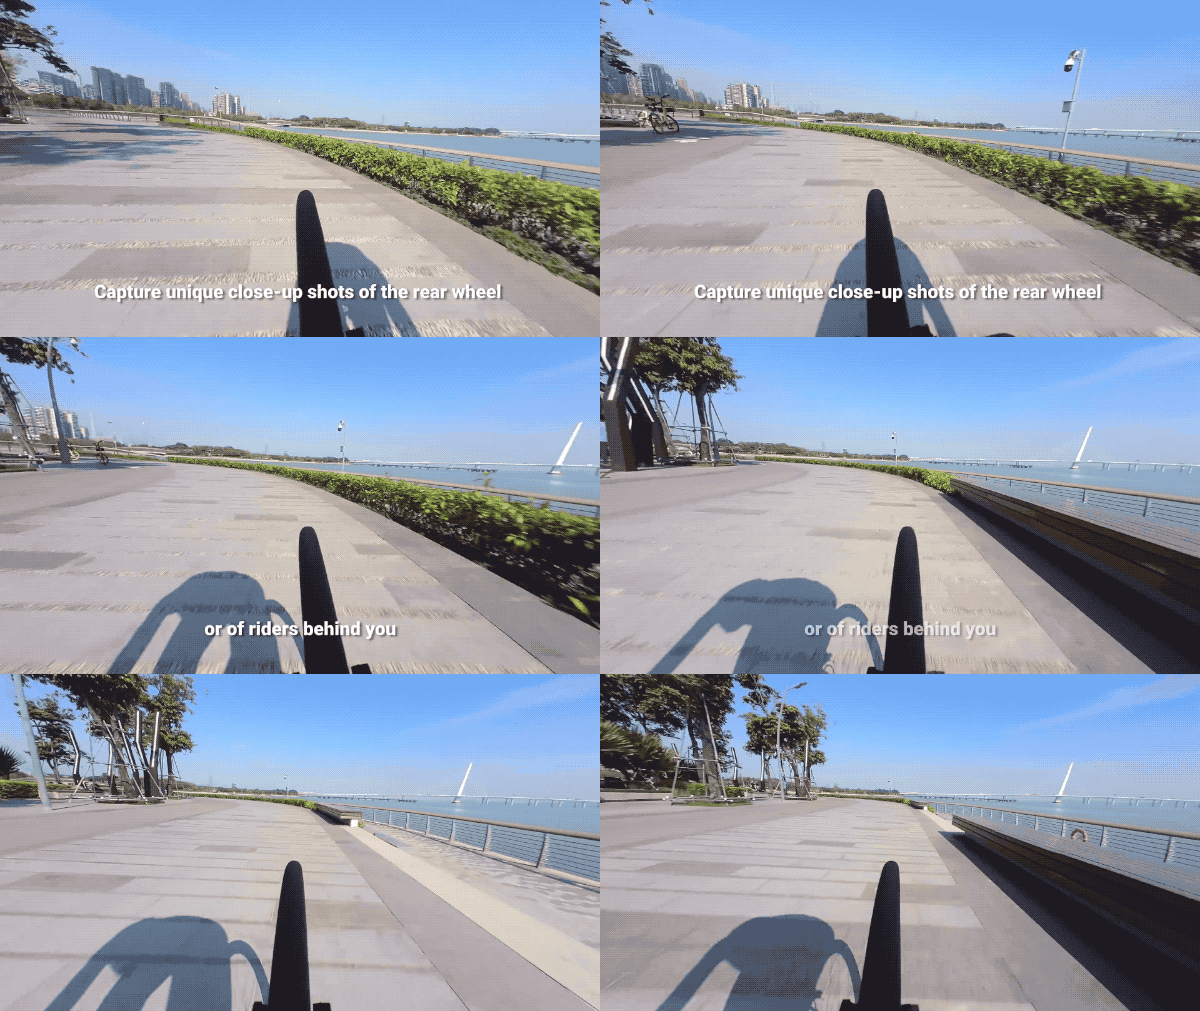
4. Rear View

Fix the Handlebar Mount to the stem of the seatpost. Connect GO 2 Action Mount Adapter.
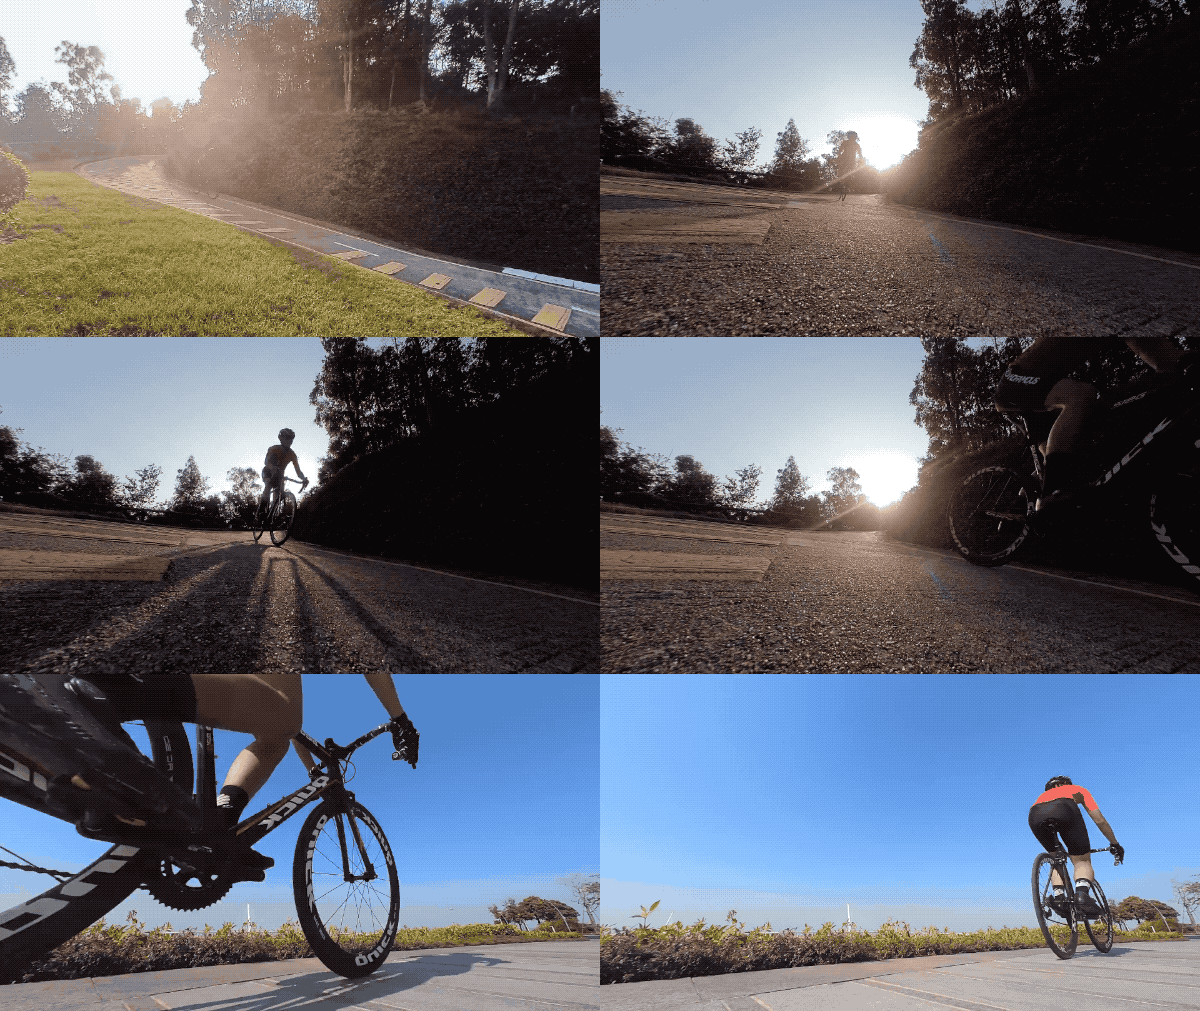
5. Ground Perspective

Attach the Handlebar Mount to the lower part of the seatstay. Connect the extension pole and adjust the angle.
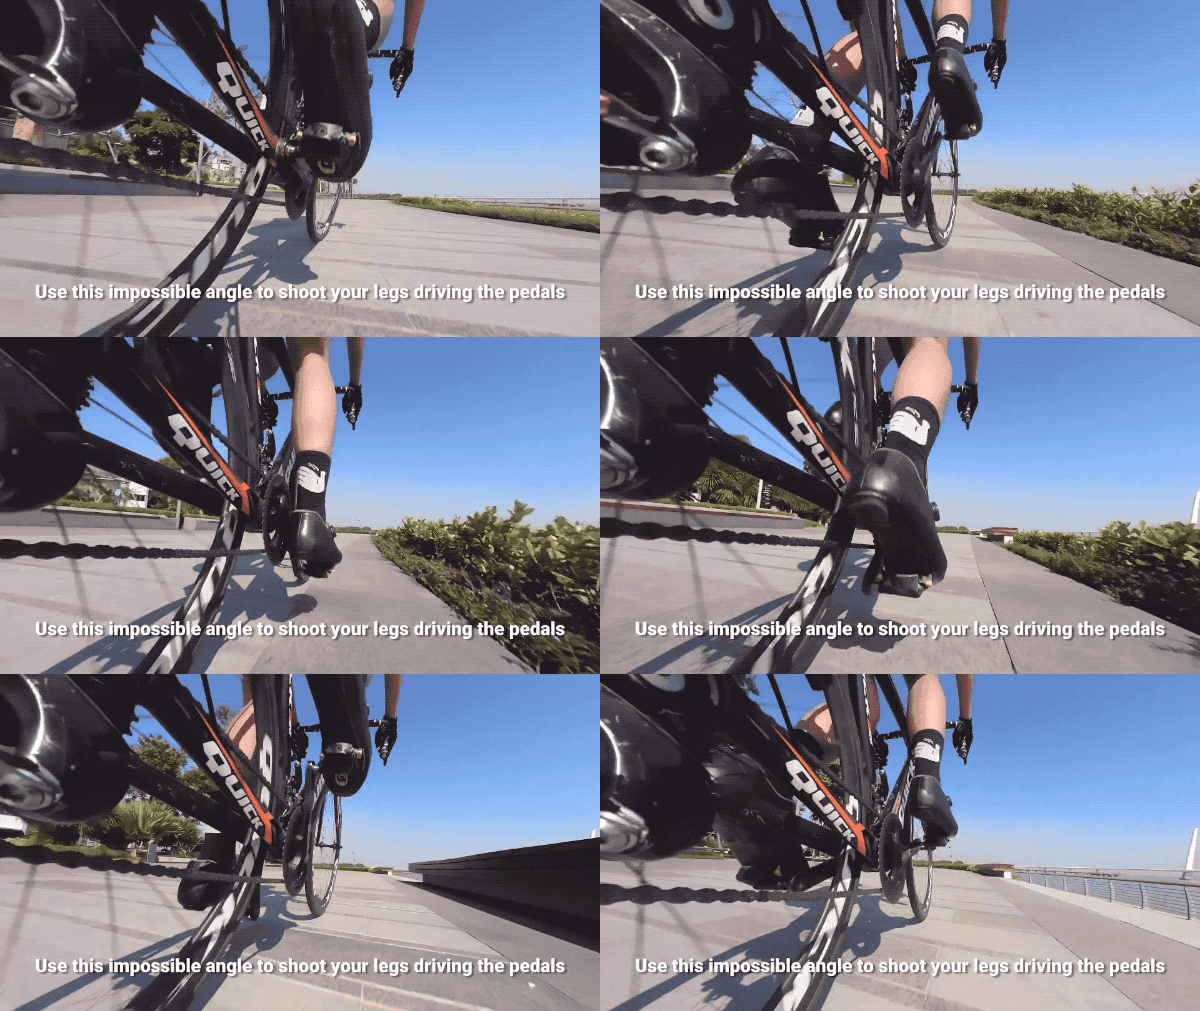
Use this impossible angle to shoot your legs driving the pedals
6. Stationary Tripod Shot

Place GO 2 in the Charge Case. Fold out the tripod legs and place it on the ground
Edit
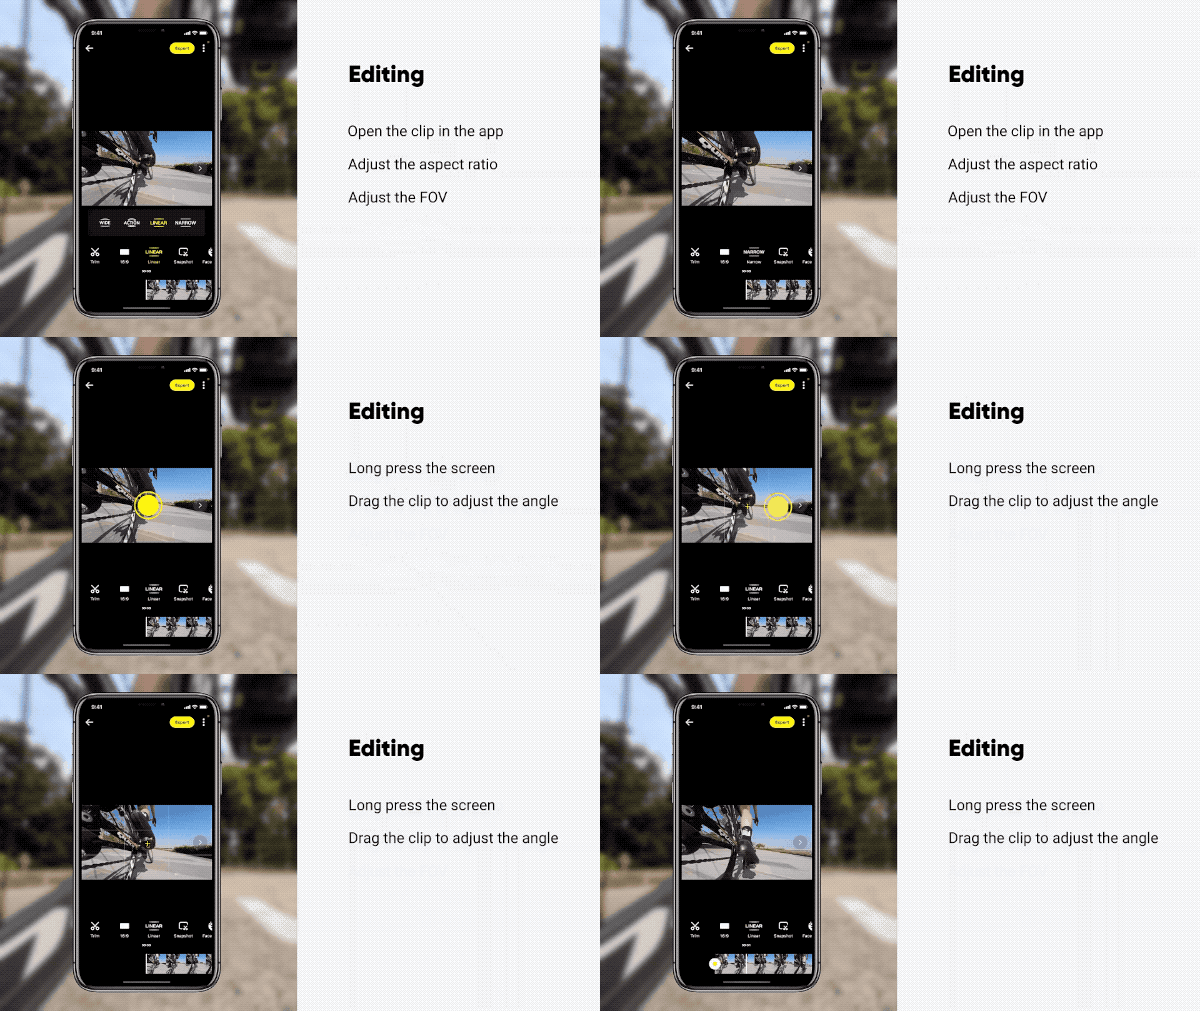
Adjust the aspect ratio. Adjust the FOV. Adjust the speed.

Long press the screen. Drag the clip to adjust the angle.
Safety notice:
Please ensure that GO 2 is firmly installed to avoid the camera falling due to the vibrations experienced during high-speed riding.

I. Where to participate
1. Participate in the Insta360 app: Tap "Explore" — Tap the yellow "+" button — Select your shot — Add tag #Cycling and share!
2. Particiate on the Community Forum: Participate on the Community Forum: Click ‘Create a Post’ — Upload your shot — Add tag #Cycling to your post — Click ‘Post’!
II. What you will win
The best entries will be featured on the Insta360 app and Community Forum for users around the world. Insta360 Gold will also be rewarded. Get creative!