GO Trick - FPV Rider
Here’s how to travel the skies and record epic FPV videos with GO! The sky’s the limit!
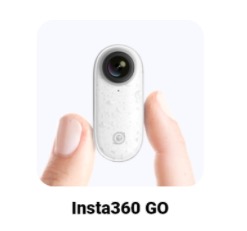
Gear used:Insta360 GO

Steps:
Step 1: Set shooting parameters
Open the app, tap the "Camera" icon and click "Bluetooth Control" to complete the connection with the camera.

Tap "Settings", and tap the "GO button settings", and turn off "Quick Capture".

Tap "Bluetooth Control", tap “Recording mode” and switch to "Video".

Tap "Recording duration" and select 5 mins (FPV mode). Tap "Shoot" to record.

Step 2: The Shot.
Fix Insta360 GO on the FPV and start shooting.

Step 3: The Edit.
Connect to GO and download the desired clip. Tap "Flowstate Stabilization" in the upper right corner and select "FPV Stabilization".

Tap “Edit” and then "Trim". Swipe through your timeline to trim your footage.

Long press the screen and drag to adjust the viewing angle.

To add a flip, long press on the screen to add a keyframe at the beginning.
Add a keyframe to the next segment, and drag the rotation axis to 180°.

And then add a keyframe at the end of the flip and drag the rotation axis to 360°.

Export your video and add the tag #FPVRider to share with the community.

Tips:
1. To avoid overheating the Insta360 GO, take off the FPV as soon as possible after starting to record or turn on an auxiliary cooling device.
2. Try calibrating the gyro if you’re experiencing abnormal rotations or shakes while shooting. Here’s how to calibrate the gyro.

I. Where to participate
1. Participate in the Insta360 GO app: Tap "Explore" — Tap the yellow "+" button — Select your shot — Add tag #FPVRider and share!
2. Participate on the Community Forum: Click ‘Create a Post’ — Add tag #FPVRider to your post title — Select ‘Creator Shots’ board — Upload your shot — Click ‘Post’!
II. What you will win
The best entries will be featured on the Insta360 app and Community Forum for users around the world. Insta360 Gold will also be rewarded. Get creative!