Tinyplanet Startrail tutorial
Today i want to share with you how i've made my top view image on 2022, This Startrail of 168 shoots.
I've done this shoot to test how long a single battery could shoot in the cold of the night, so it's not perfect but i'd like the result :)
1) First of all, shooting...
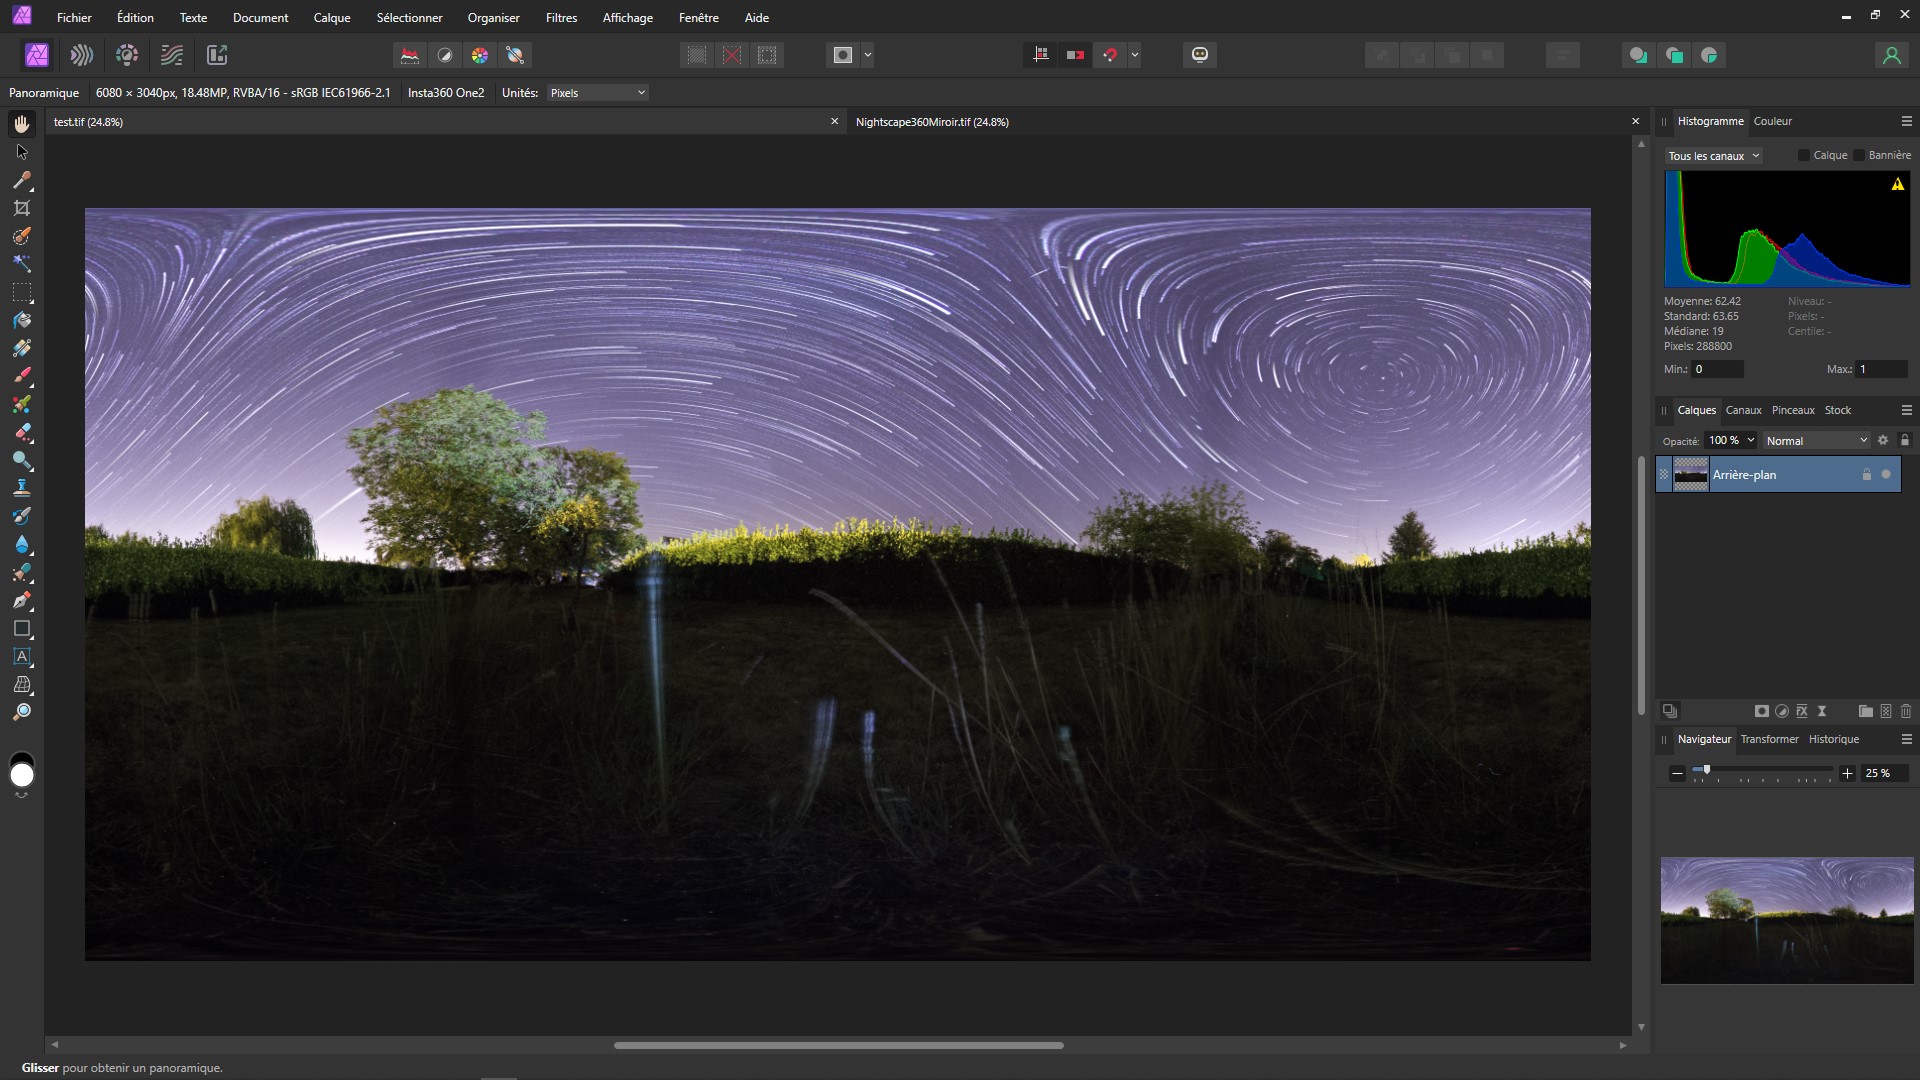
Install your camera where you want, a cleary night without clouds when th esky is totaly black and without moon.
My insta OneX perform not fine on low light so i've not push the Iso more than 1600 ISO.
in interval mode i've set the exposure to 30 seconds (to minimise the noise) and let the WB in auto, but most important thing : shoot in RAW so you can fine adjust this setting after without problems.
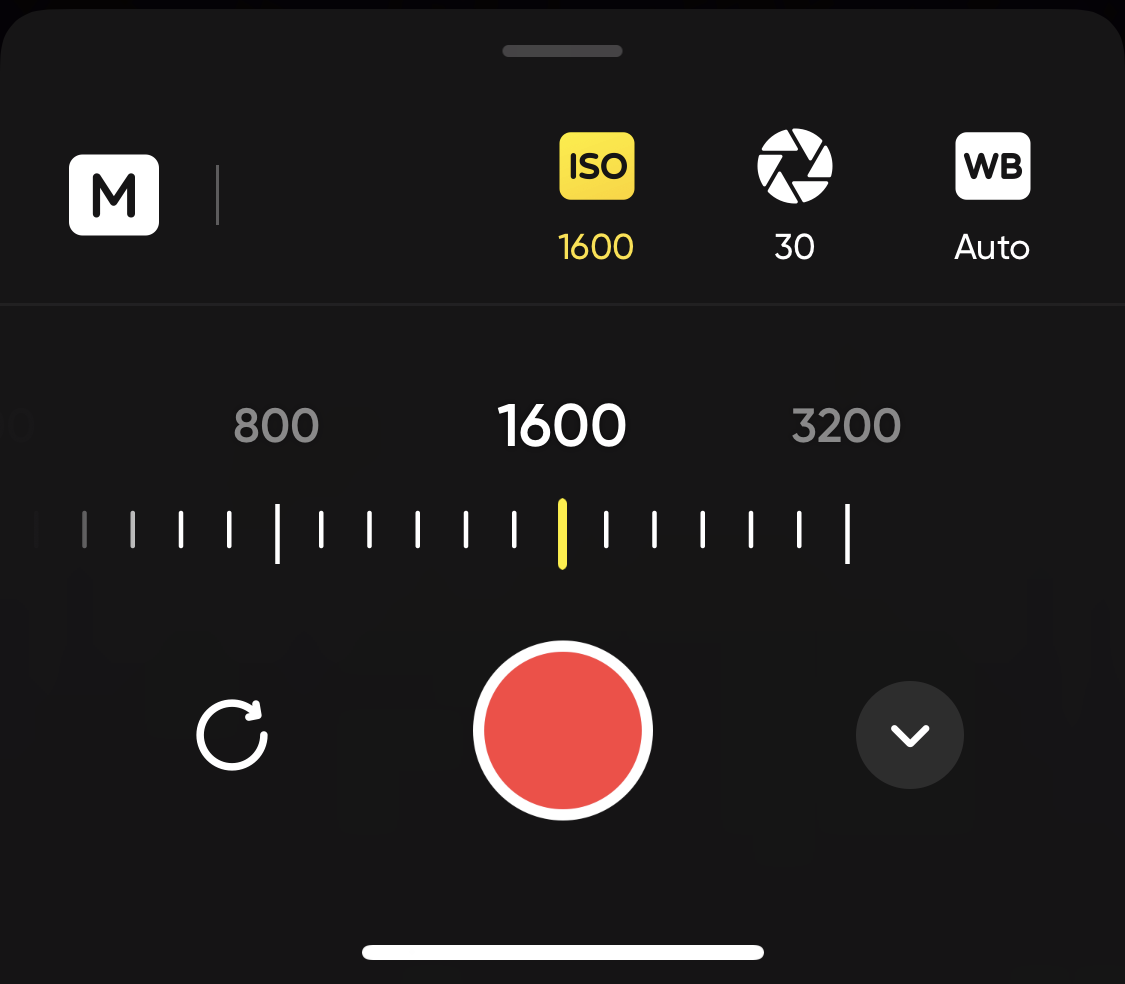
3200 ISO is to noisy, maybe it's possible to exposure up to 55 seconds, i've not tested
2) process the DNG in Insta studio
I've not save the originals DNG files (from camera) but the process is simple, load all the files on the app and export to DNG files, take care to swith off stabilisation option (sometime the gyro data changes between shoots and it's not good for a perfect alignement after).
that's all for insta360, let hit work and go take your coffee !
3) first process in lightroom
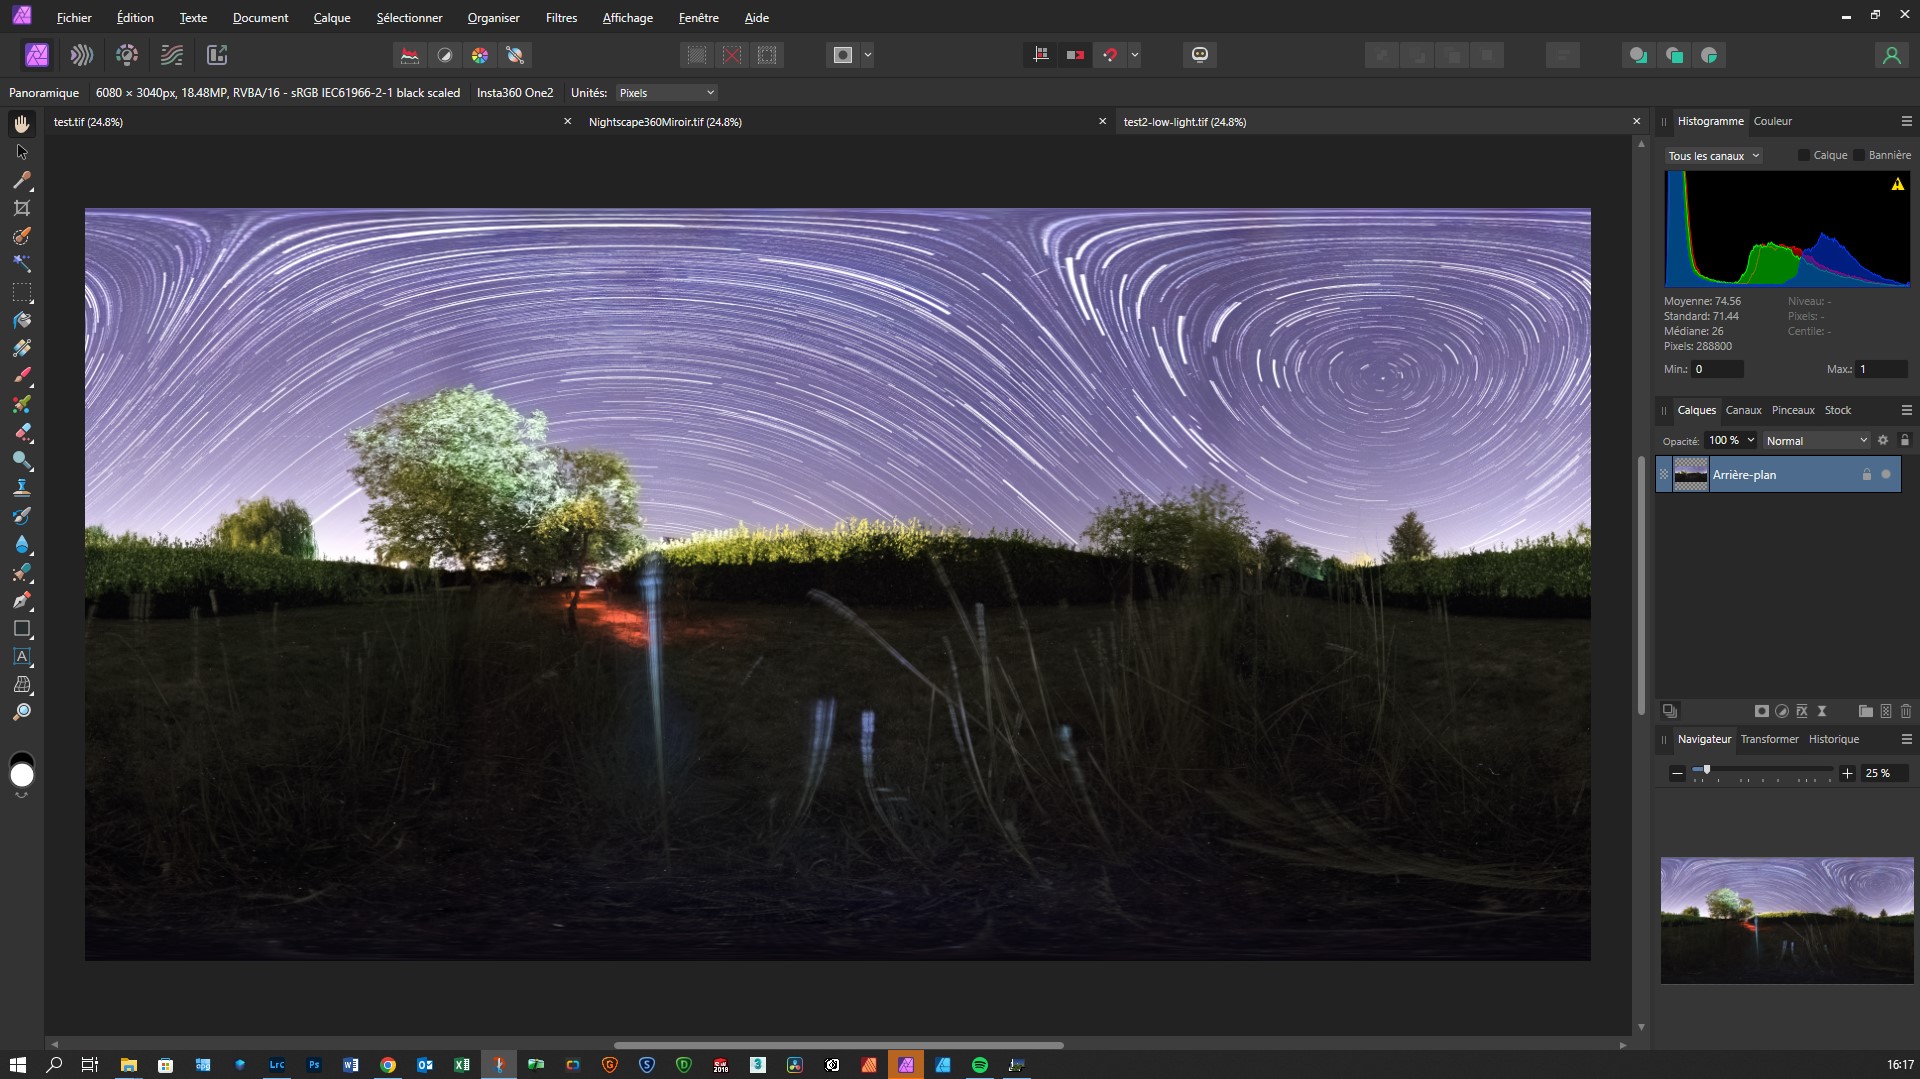
In lightroom (or other), import the DNG files previously exported from Insta360 Studio.
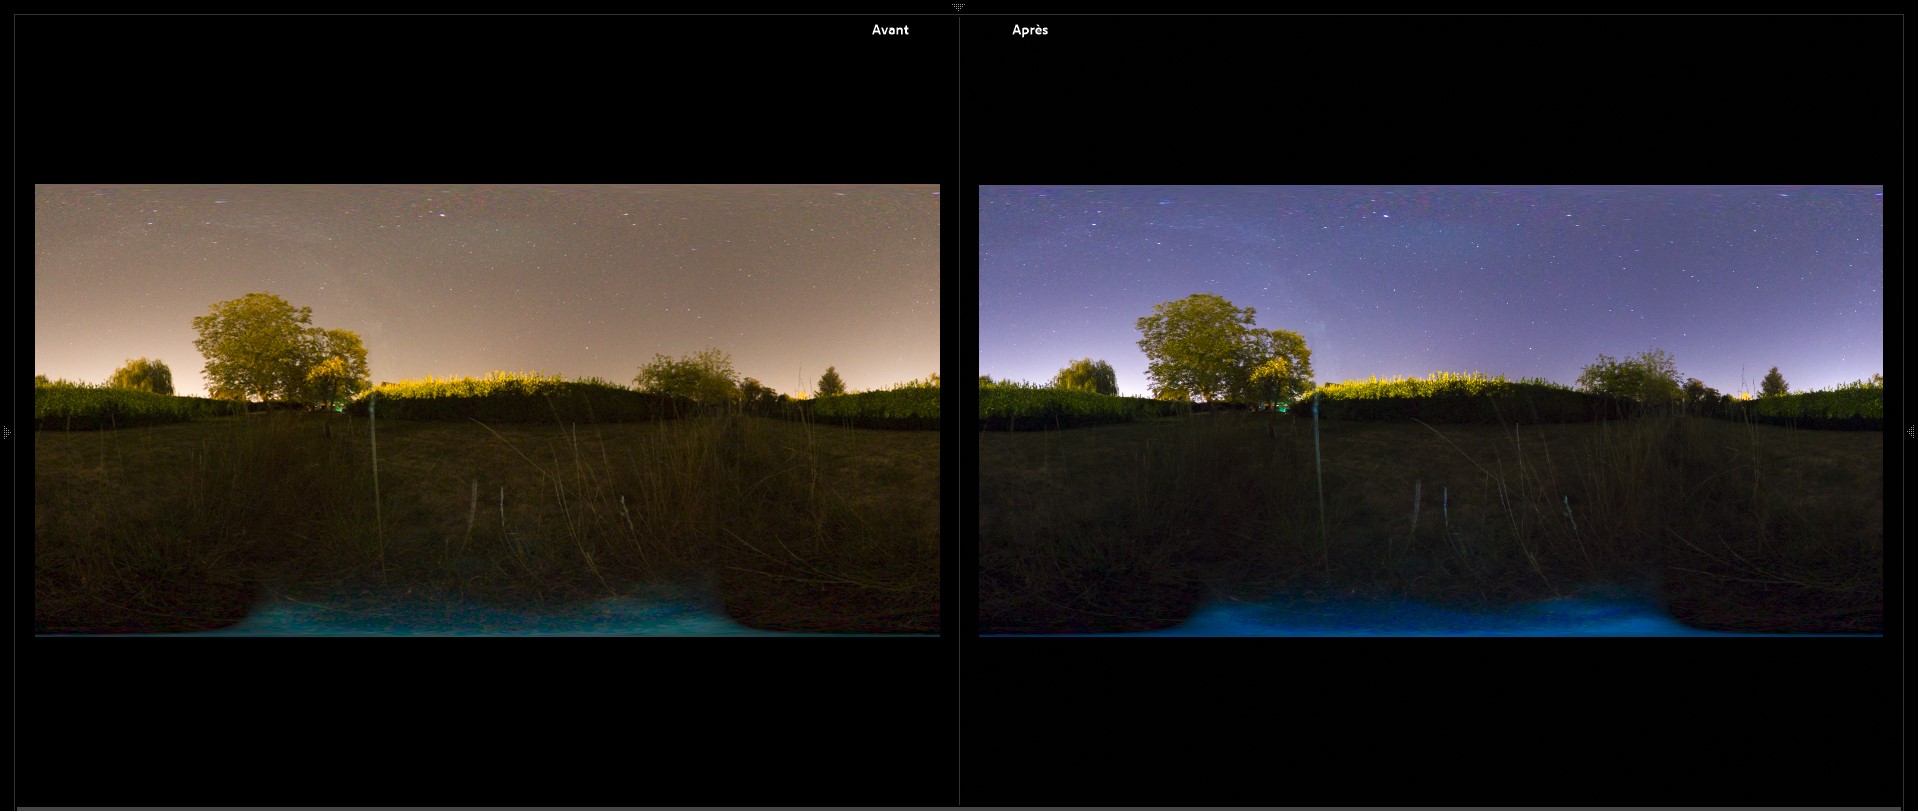
You can now adjust the photo as you want. My advice is only adjust the WB and a little the contrast, saturation and noise, but very softly to keep all the details.
You can see here on left the original file, and on right the edited
Now select all the files, synchronise adjustment and export to JPG files in another folder.
4) stack the images
There's a lot of different methods or software to stack the image in one.
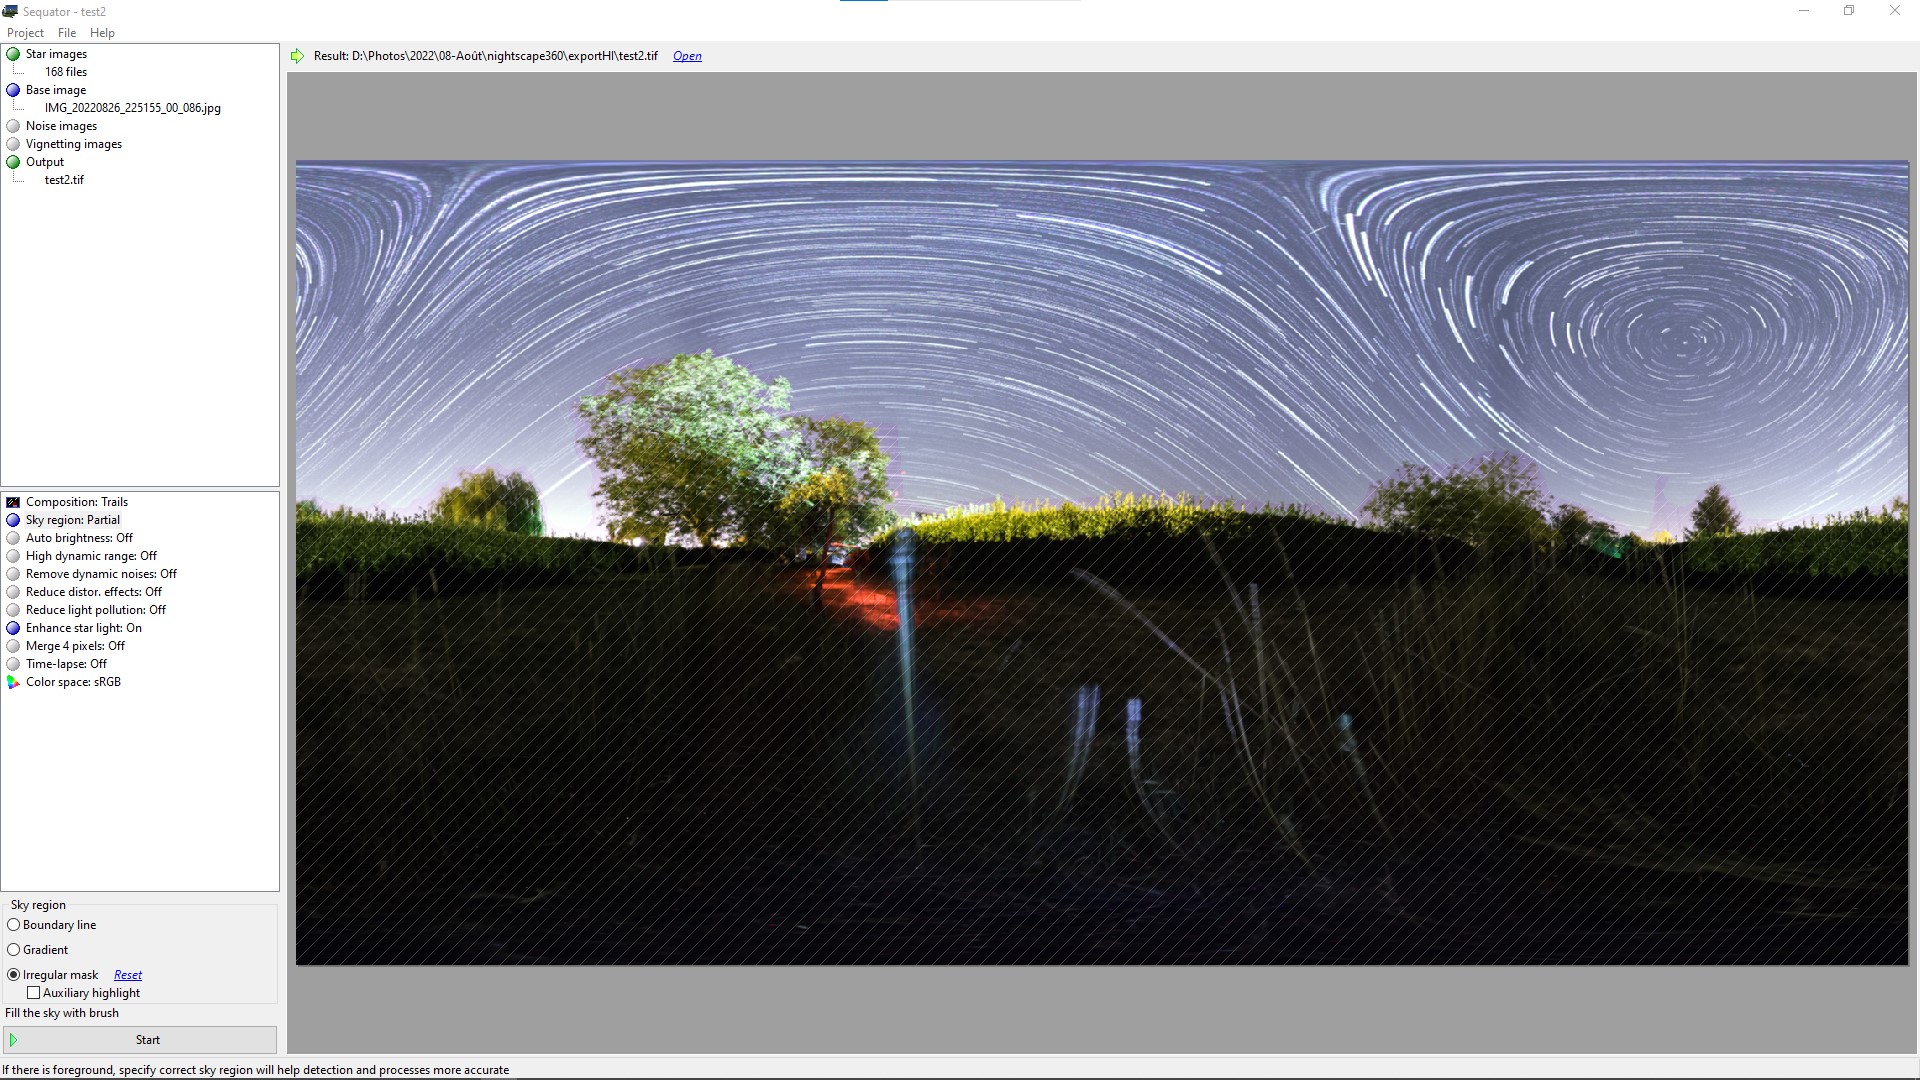
I'd like to Use Sequator, easy and powerfull app (windows Only).
I'm not here to detail the app manual so i give you a screen capture of my settings
in "composition : Trails" you can do a second version with "motion effect" (optionnal)
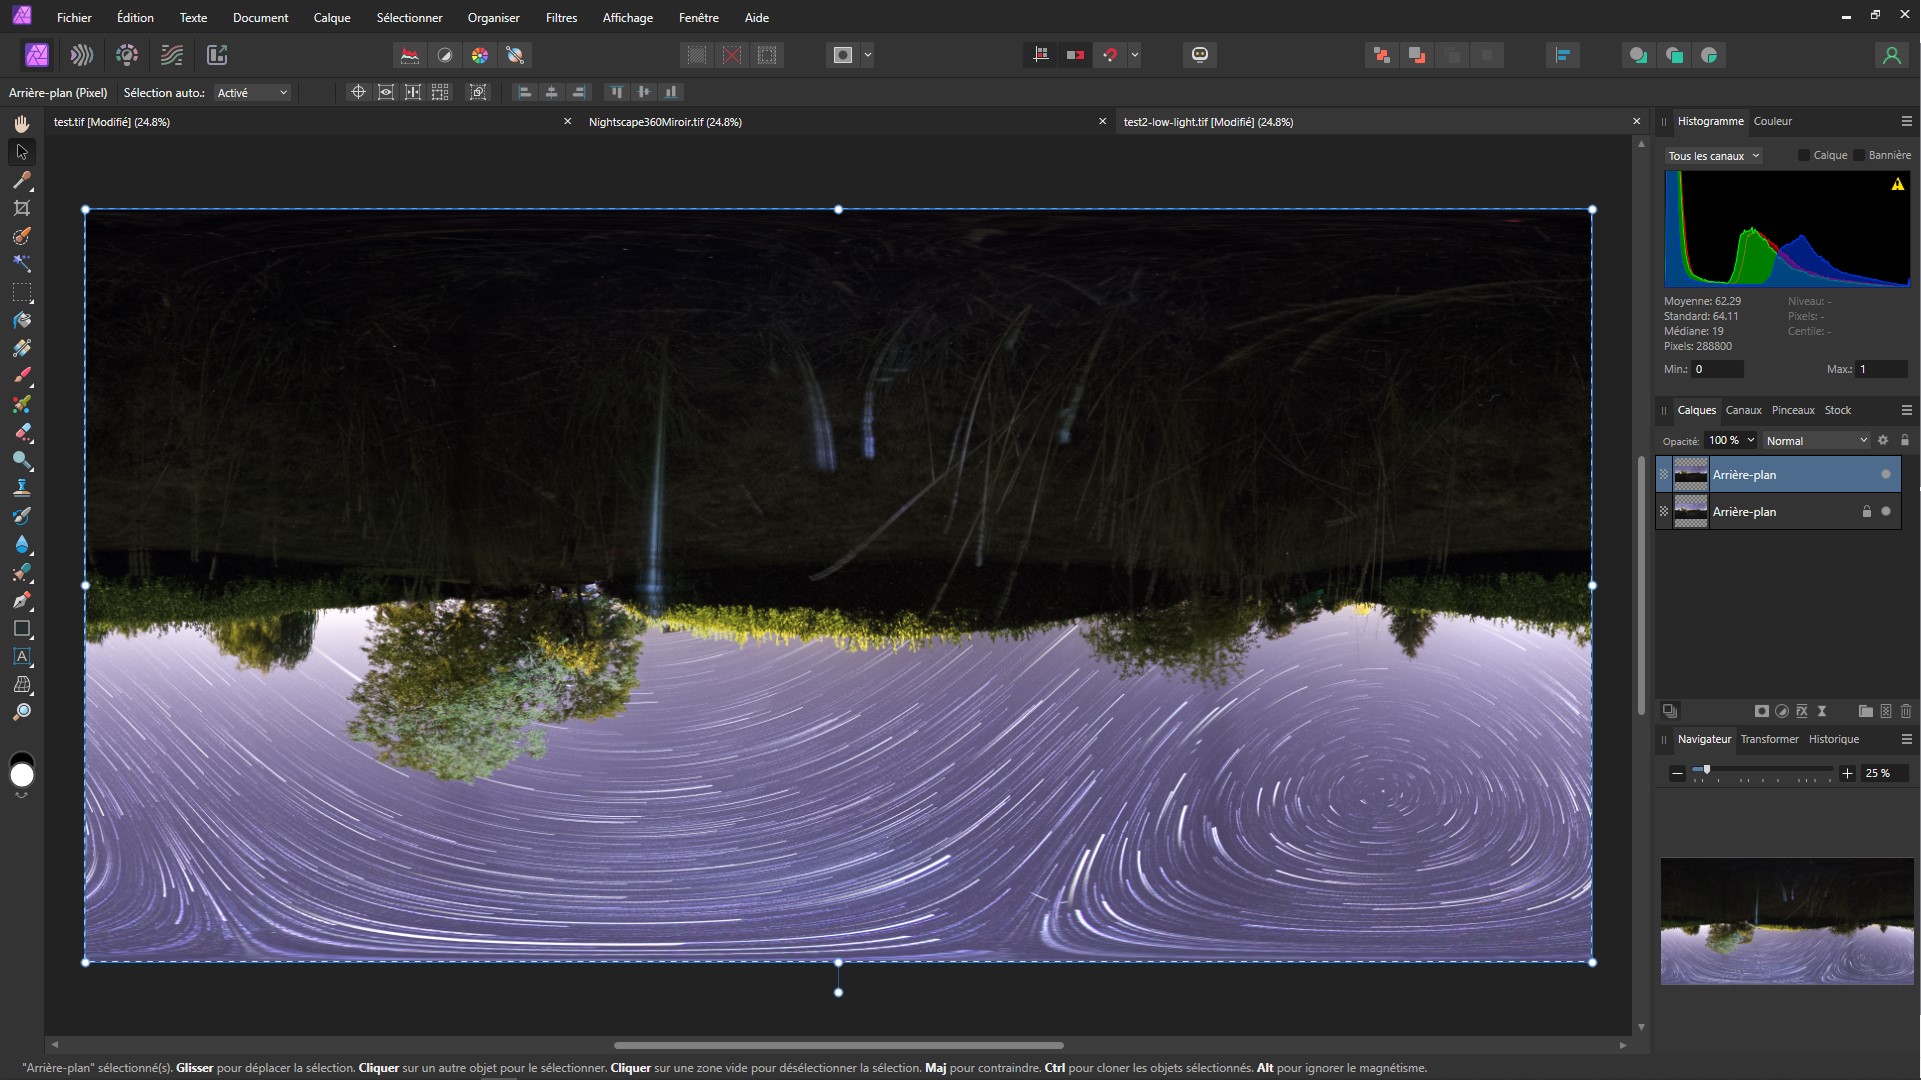
5) optionnal mirror mode
not essential and not working all the time this ùethod give you the "mirror" like effect.
I've use Affinity photo, but every software with layers and mask can do the same.
I've load the 2 version (motion effect and stack only) and "reverse" the layer on top, mask the floor to get the mirror effect.
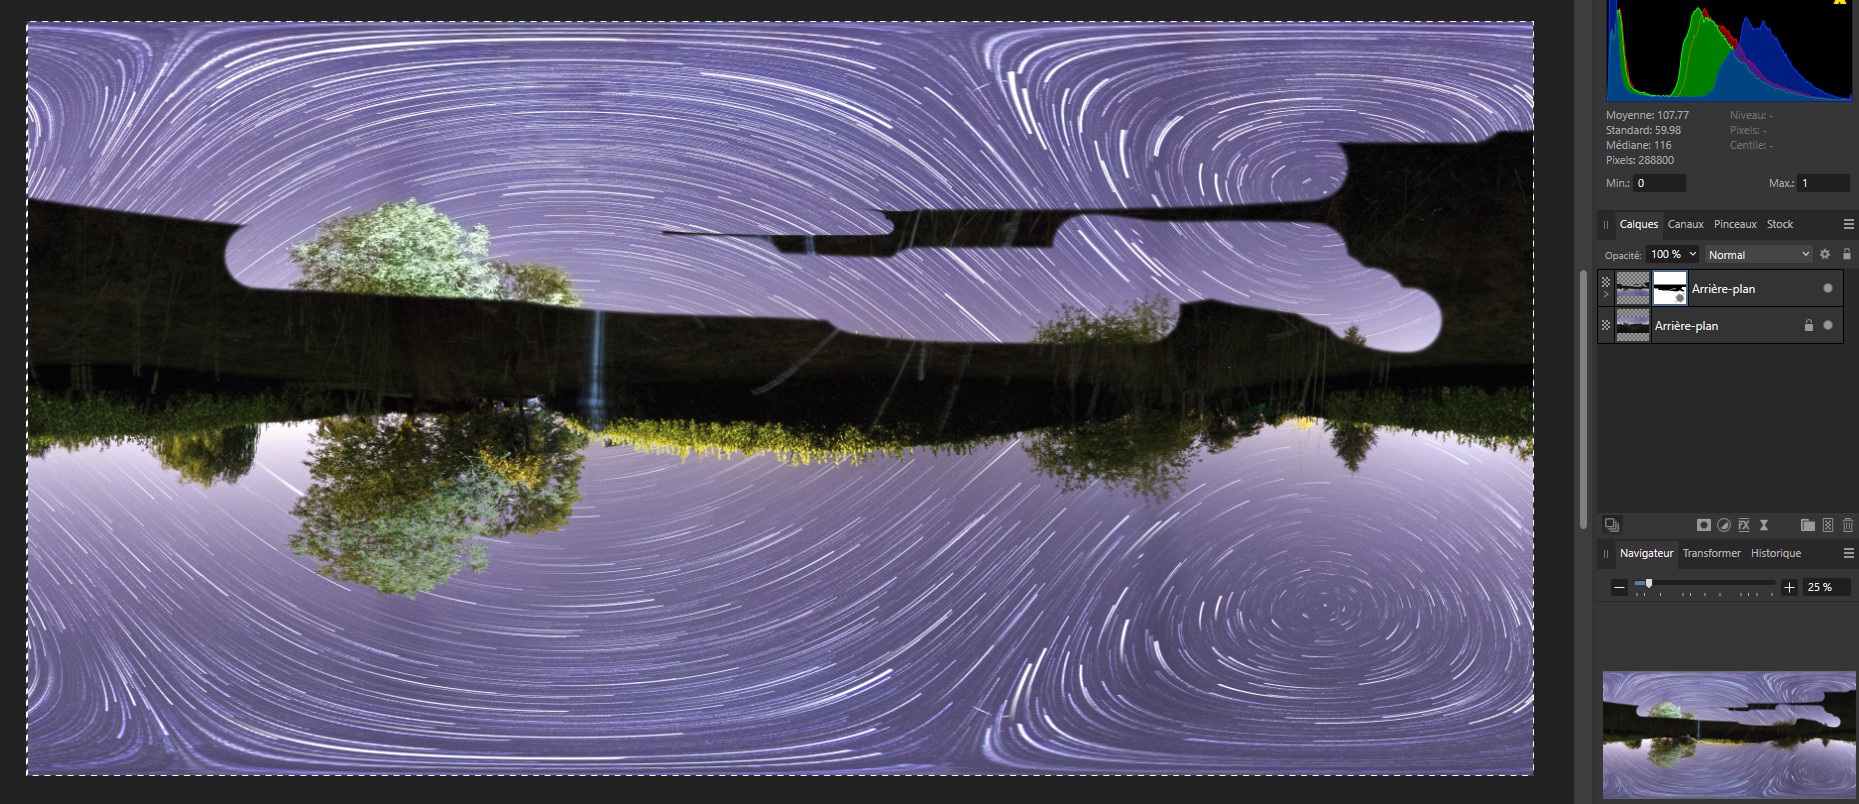
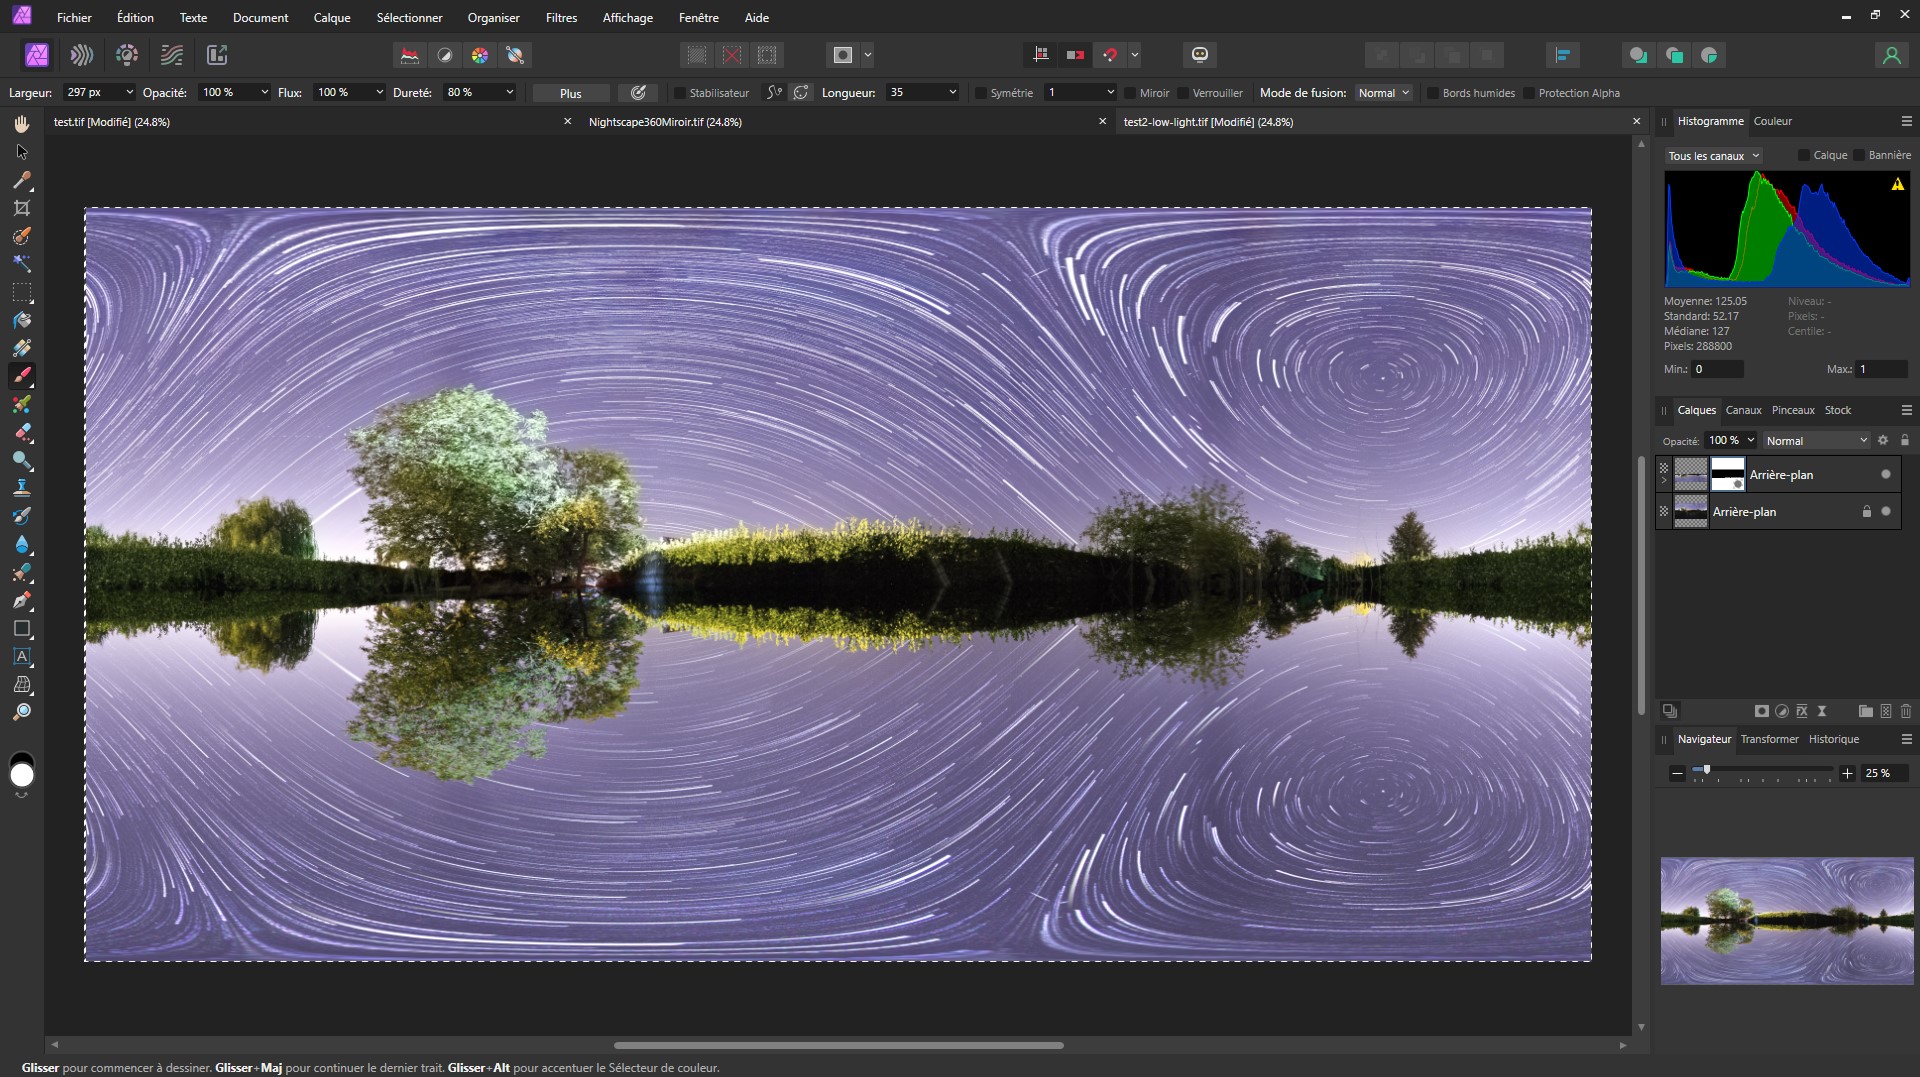
and with local adjustments the final result
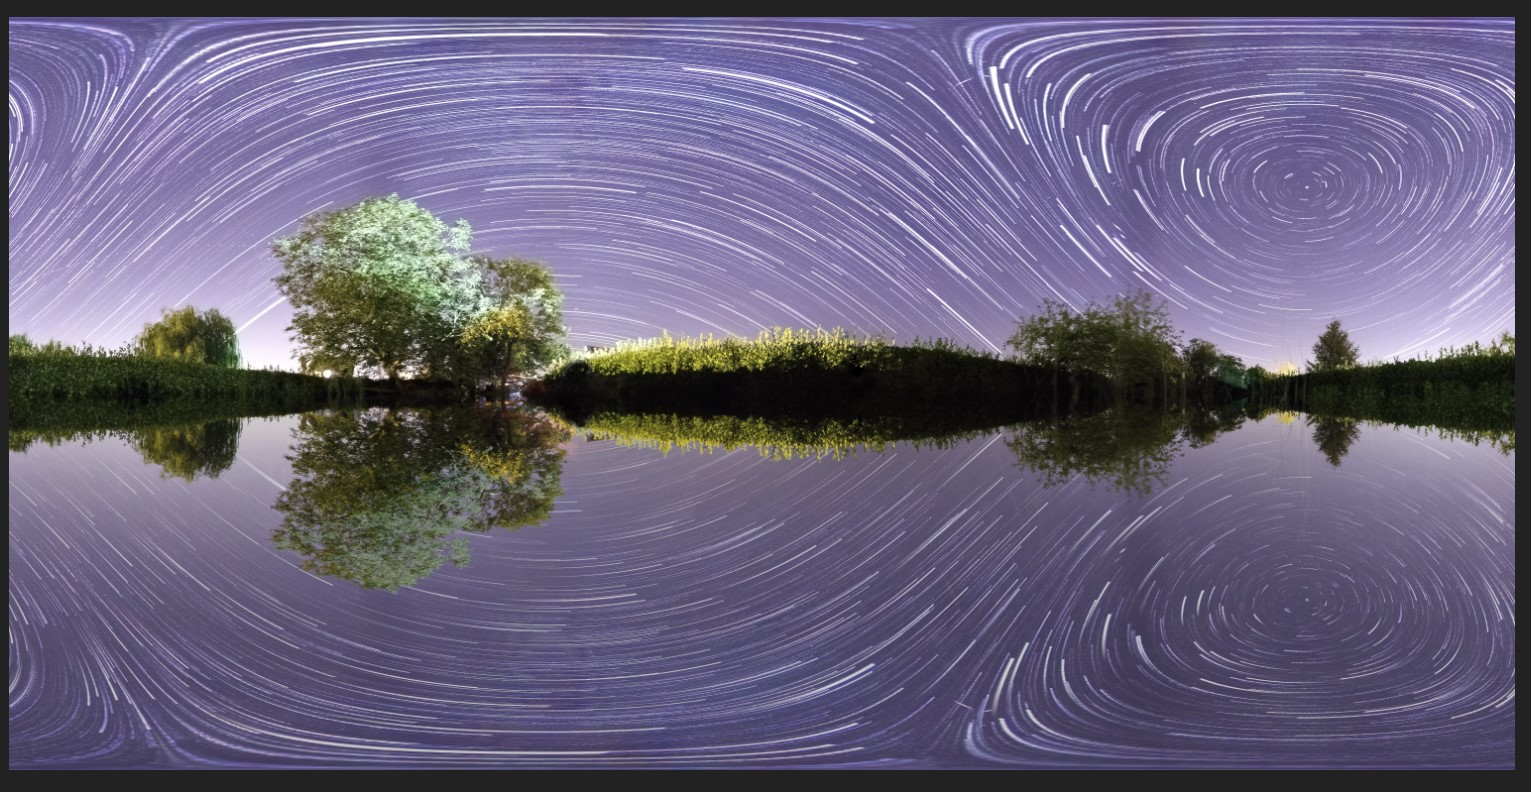
Export and save a TIFF file (to keep the best possible quality)
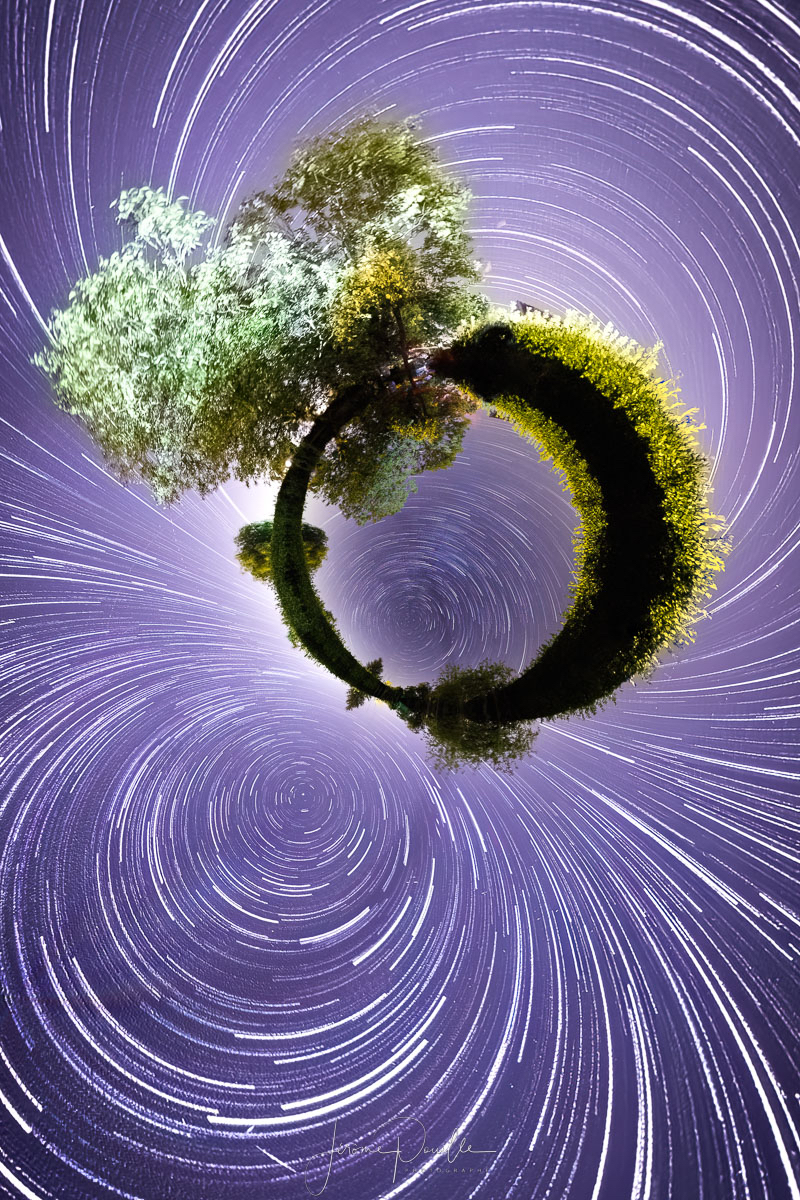
6) Now le'ts play with the world :)
So now you get a 360° flat file you can simply export or you cant play with it to do a tiny planet.
There's a perfect, powerfull (and free) program for that's : Hugin !
you can adjust the image simply whith a clic & drag mode and export on the final size you want.
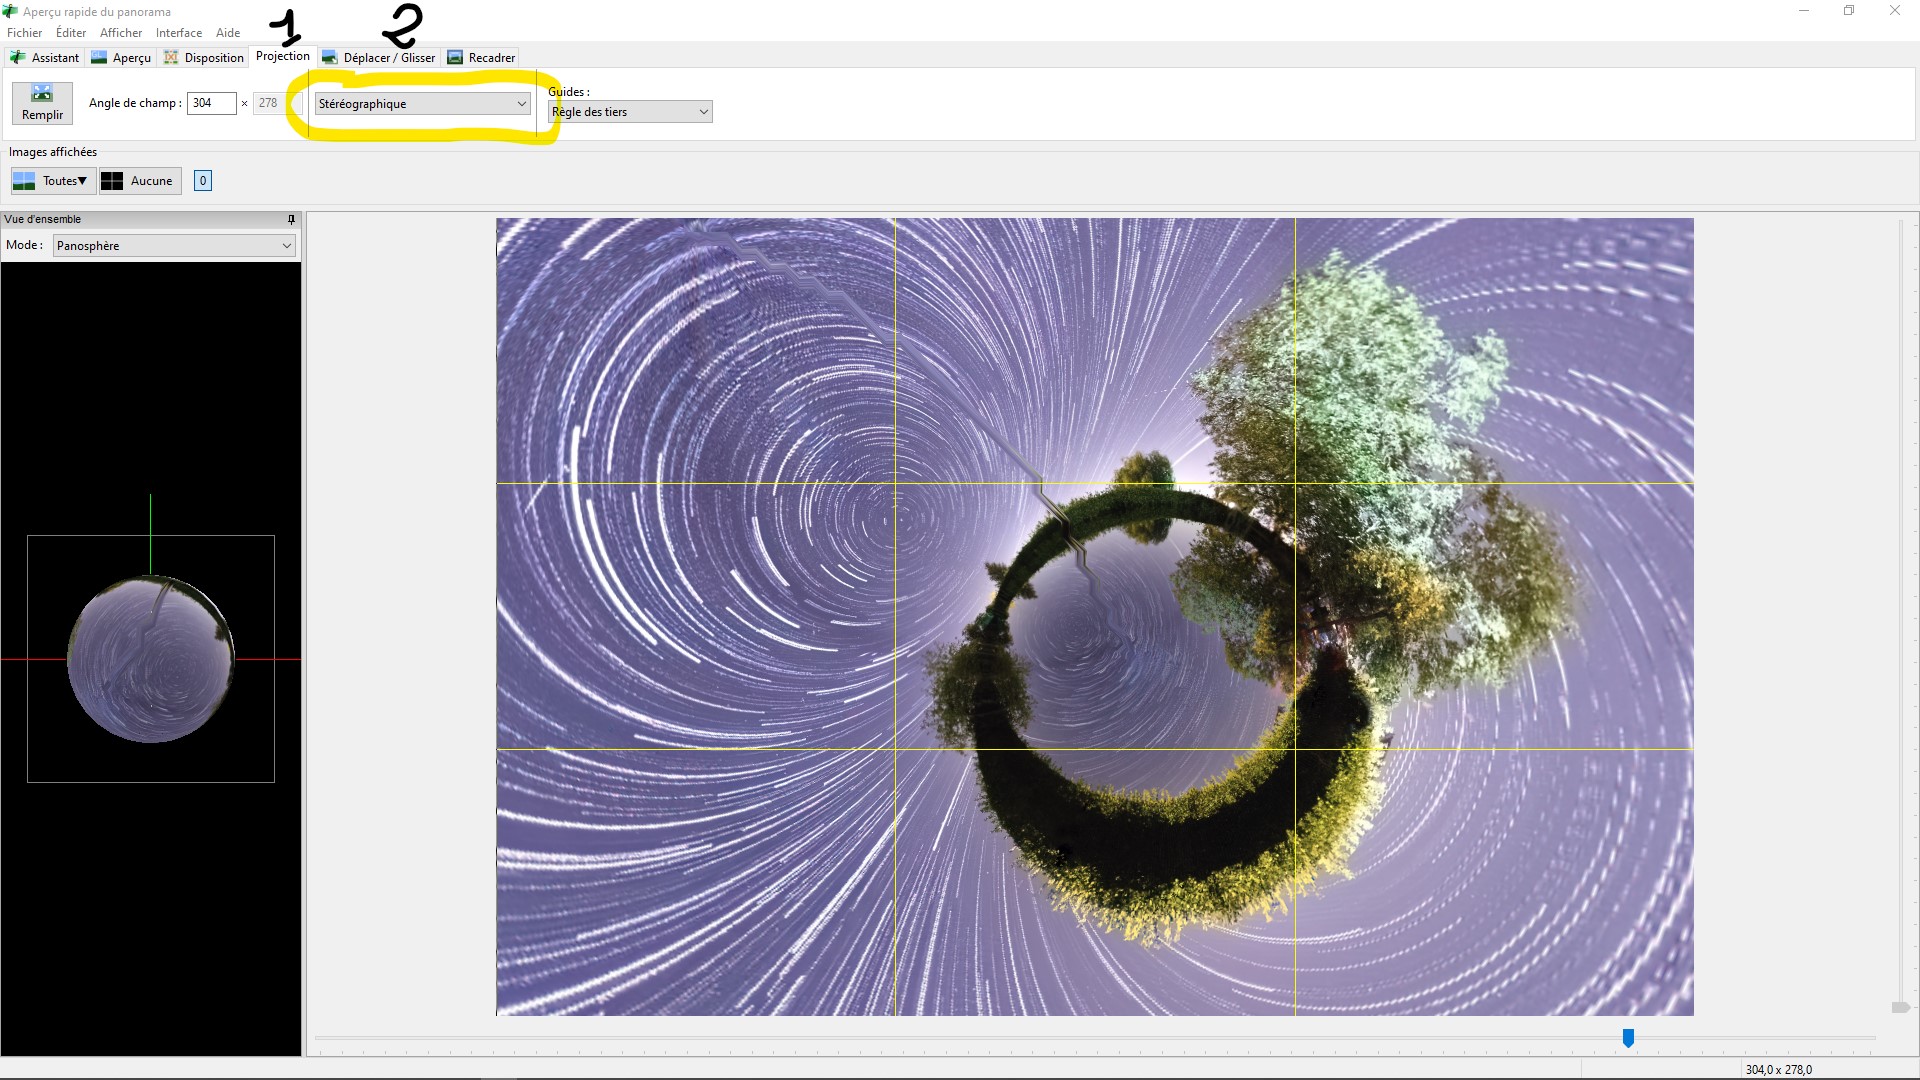
open the pano in Hugin, in "projection" use "stereographic" mode, adjust the size with the blue scroll bar on bottom of the app
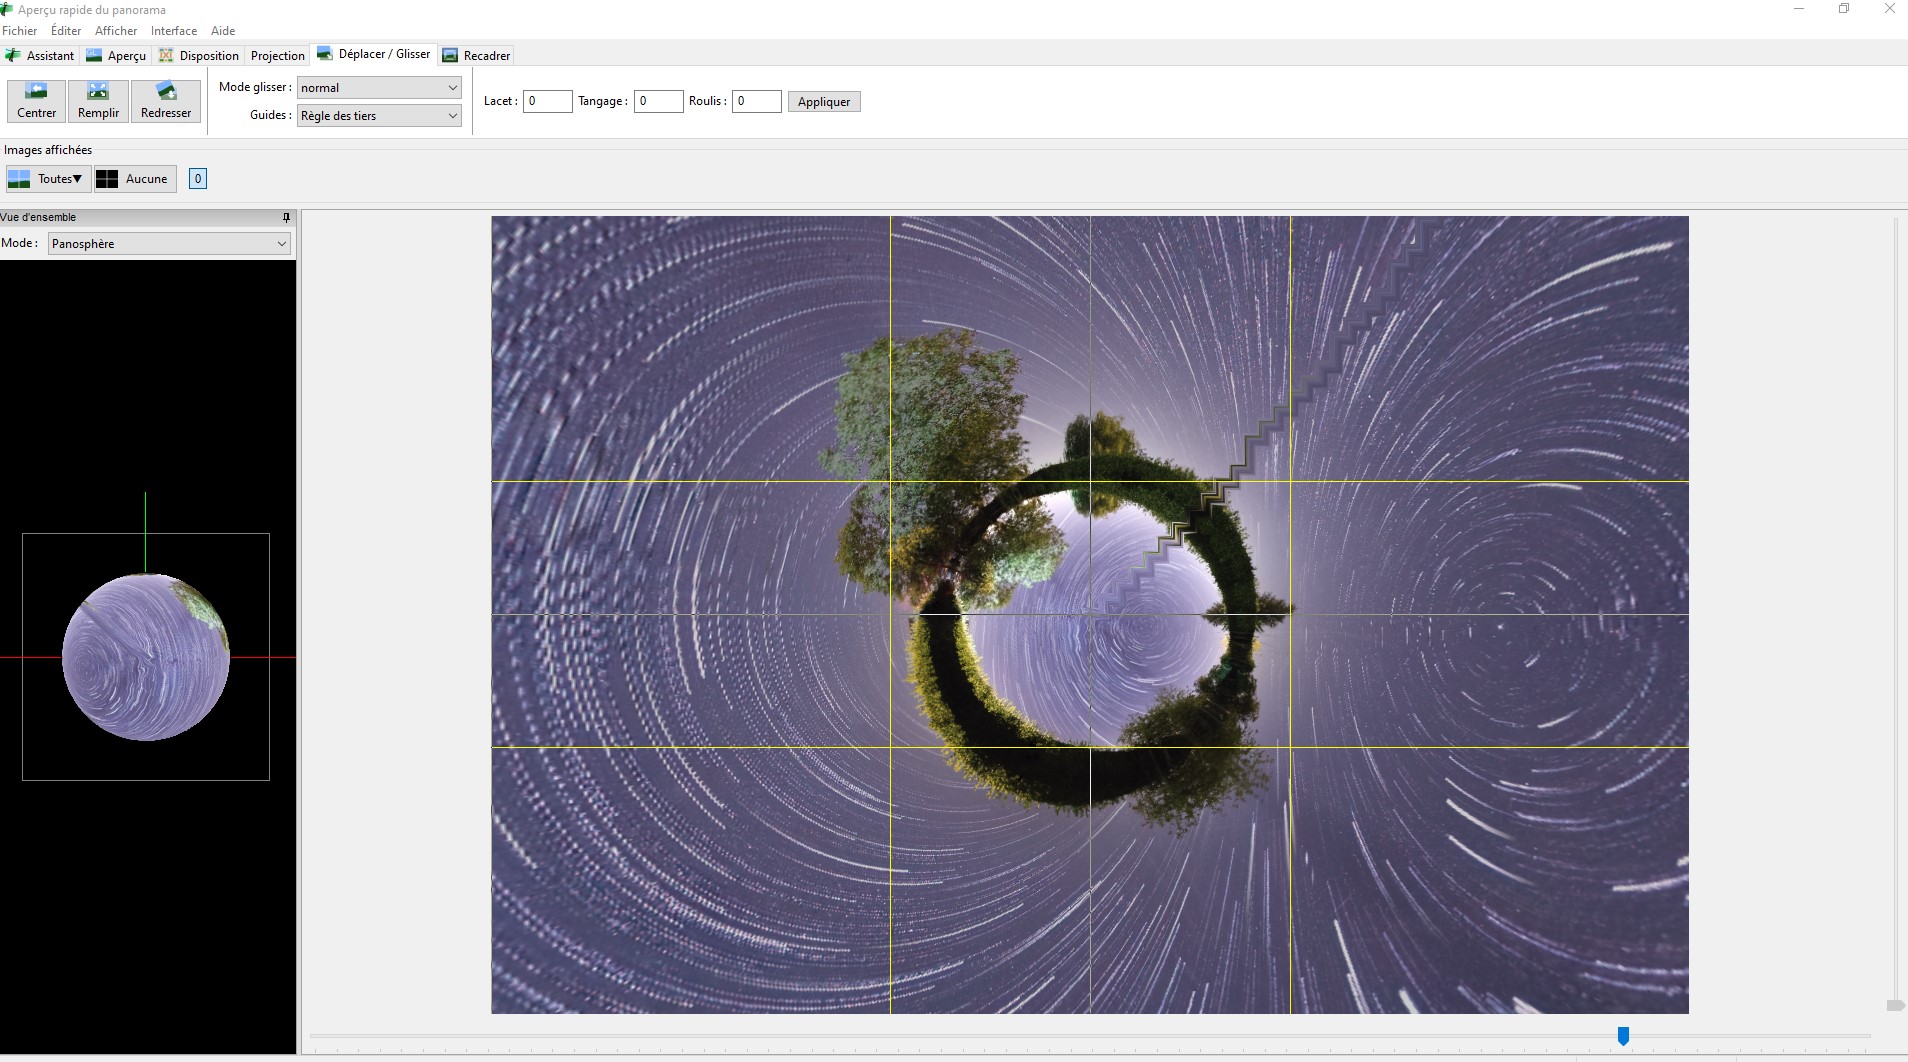
on "move/drag" panel simply clic on the image and drag !
When you're happy with you image, export !
7) finals adjustments
For the finals adjustments i use Lightroom but you can do it with any app you want.
Here the final screen capture of before/after adjustments

That's all, it's a long process with lot of programs but the result is fine, hope you like this tutorial and felle free to post you're results :)