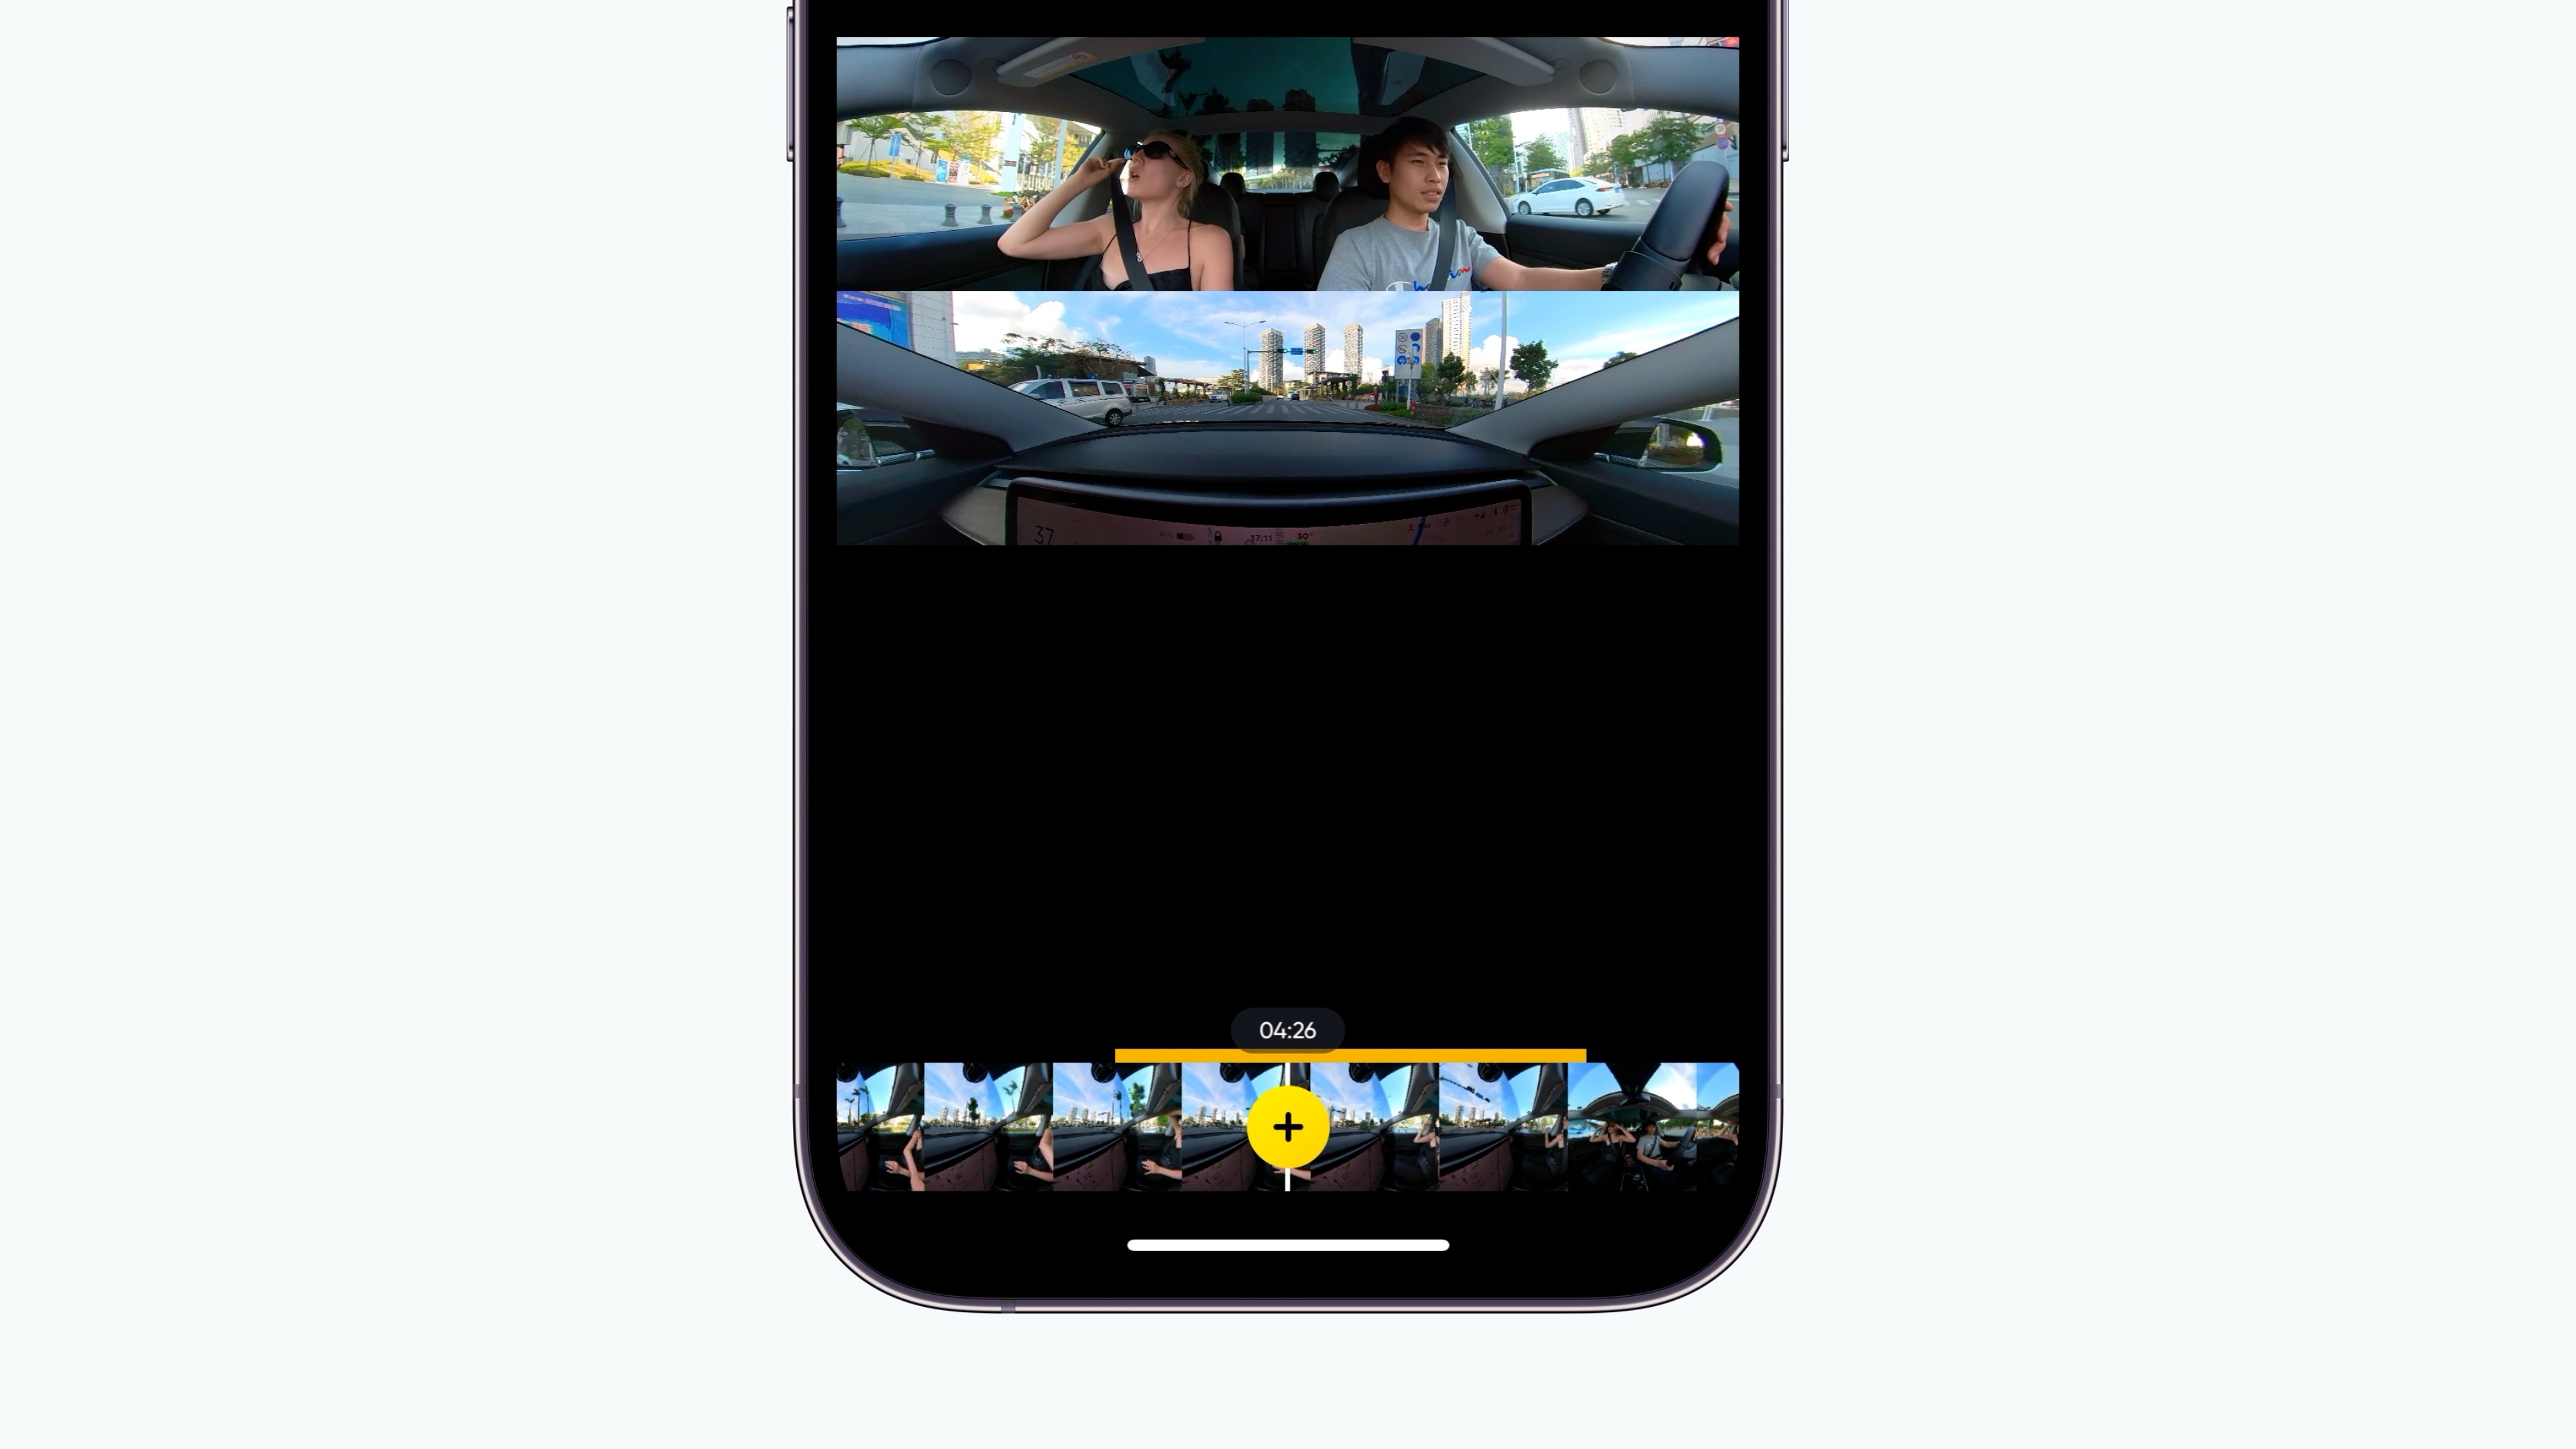
【Capturing in 360°】How to Achieve Perfect Exposure and Color Results?
Get the Best Color Results
Swipe left from the right of the camera screen to view the shooting parameters and find White Balance.
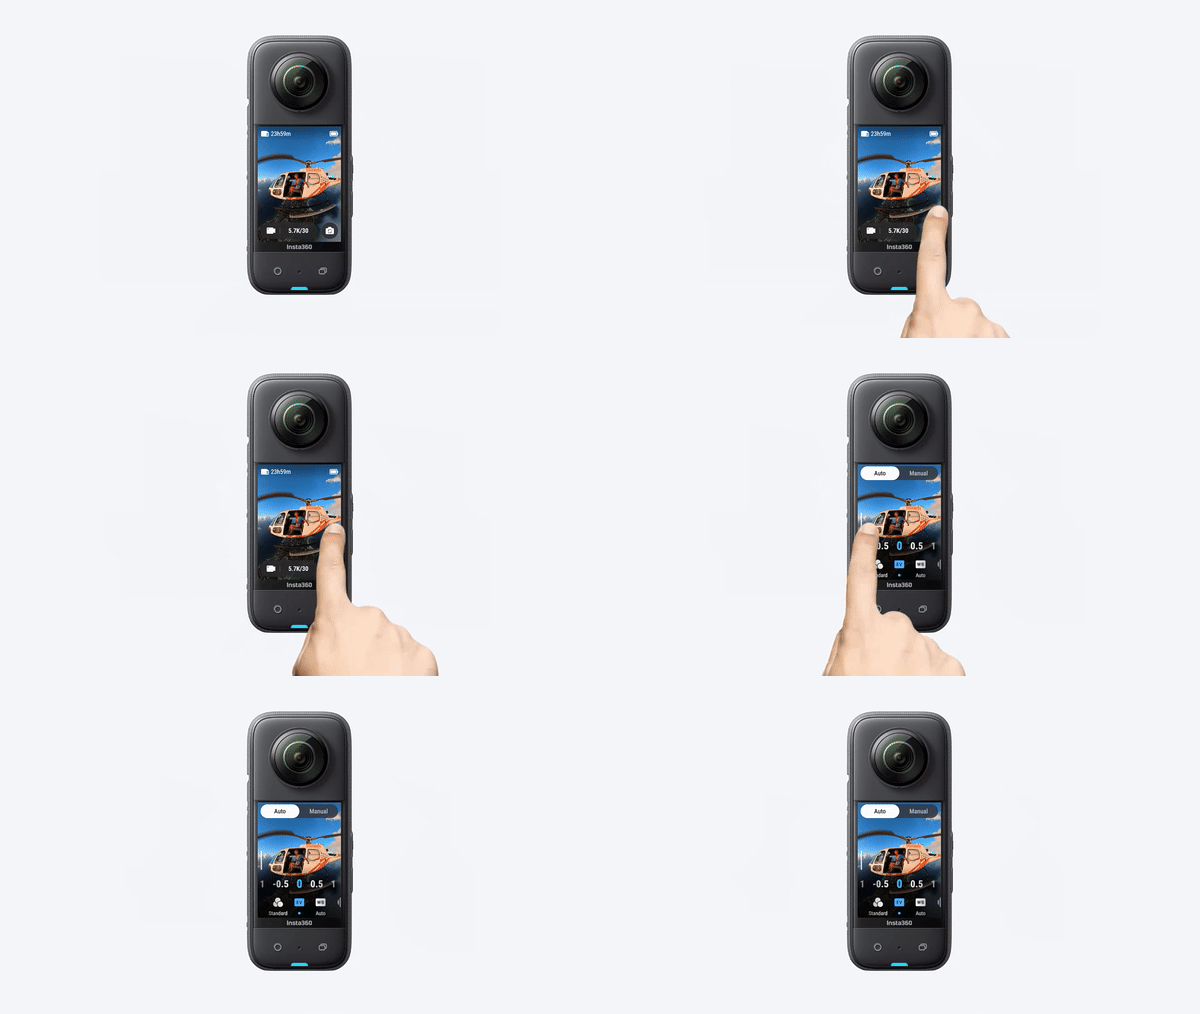
Auto Mode will generally find the best White Balance setting for accurate color.

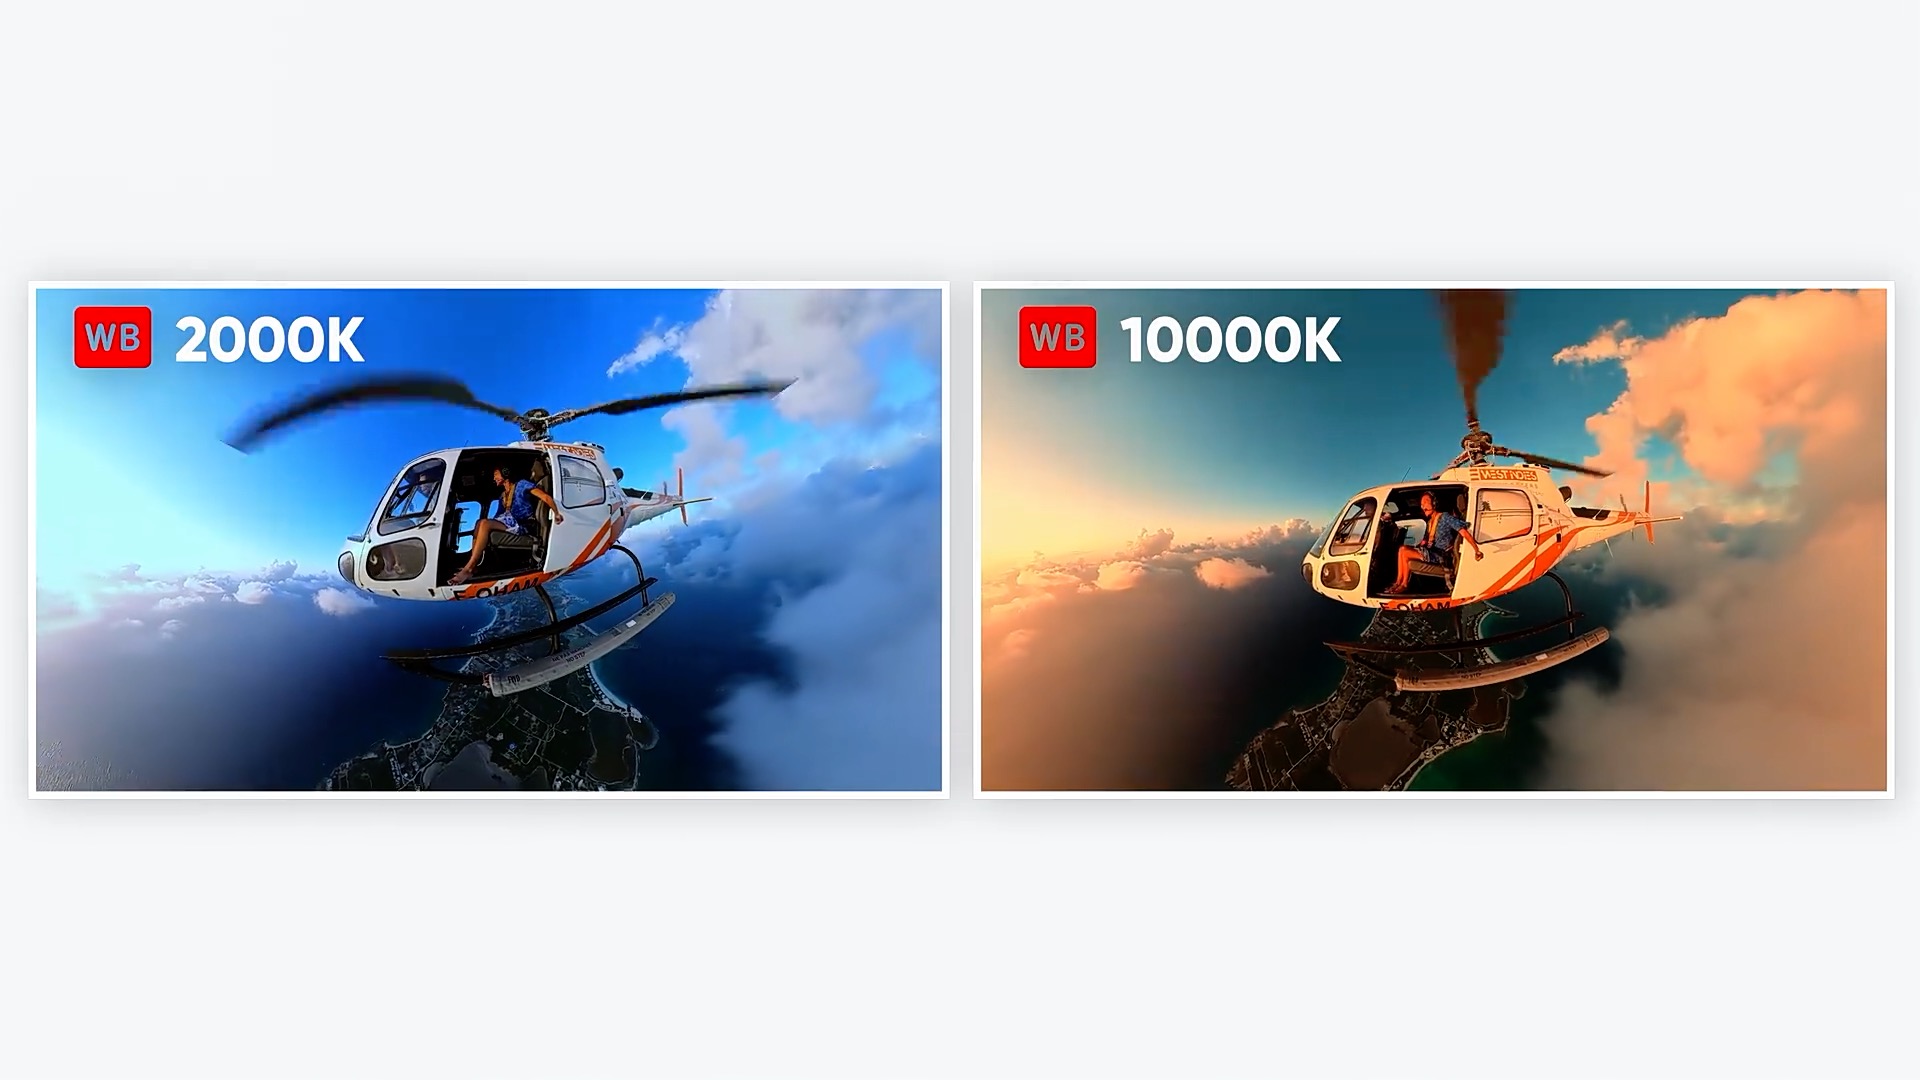
The lower the color temperature, the cooler the picture.
The higher the color temperature, the warmer the picture.
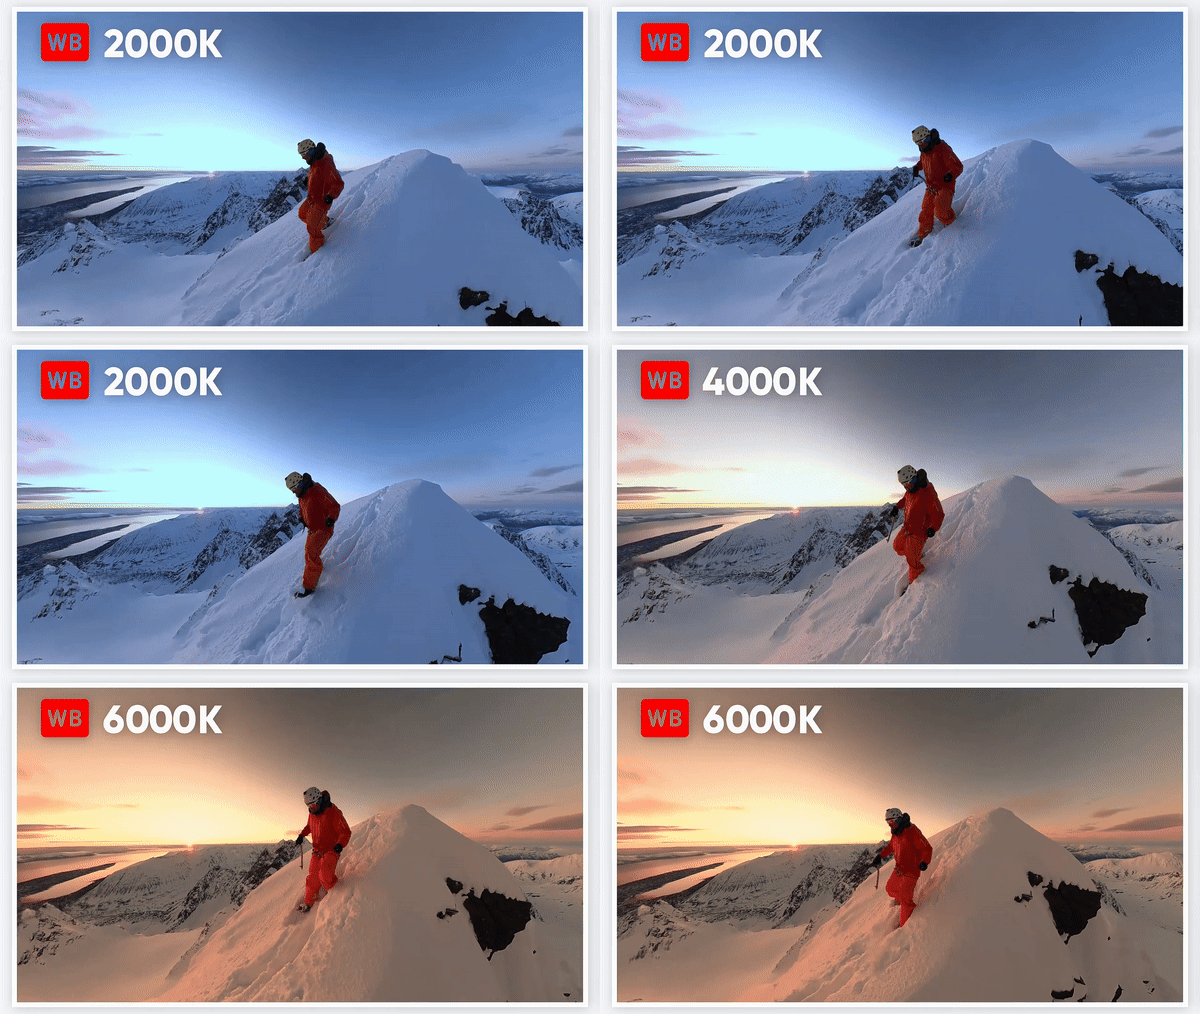
You can also switch to Manual to adjust the White Balance yourself.
If you shoot a warm color scene like a sunset, set the White Balance to 5500K or higher to bring out the colors. 🌄
There are three Color Profiles available: Standard, LOG and Vivid.
- Standard retains the most realistic and natural colors for everyday filming.
- Vivid increases the saturation and contrast of the image, making it look sharper.
- LOG produces a low-saturation image that can be color-graded in post-production, allowing creators to color as they desire.

How to get the perfect exposure?
Open the shooting parameters to find the exposure options.
We recommend using Auto exposure. This way, your camera will automatically adjust the parameters to suit the lighting conditions, making sure your pictures come out with the correct brightness.

There's also the option to adjust the EV (Exposure Values), to compensate for over or underexposure, which allows you to make the image brighter or darker.
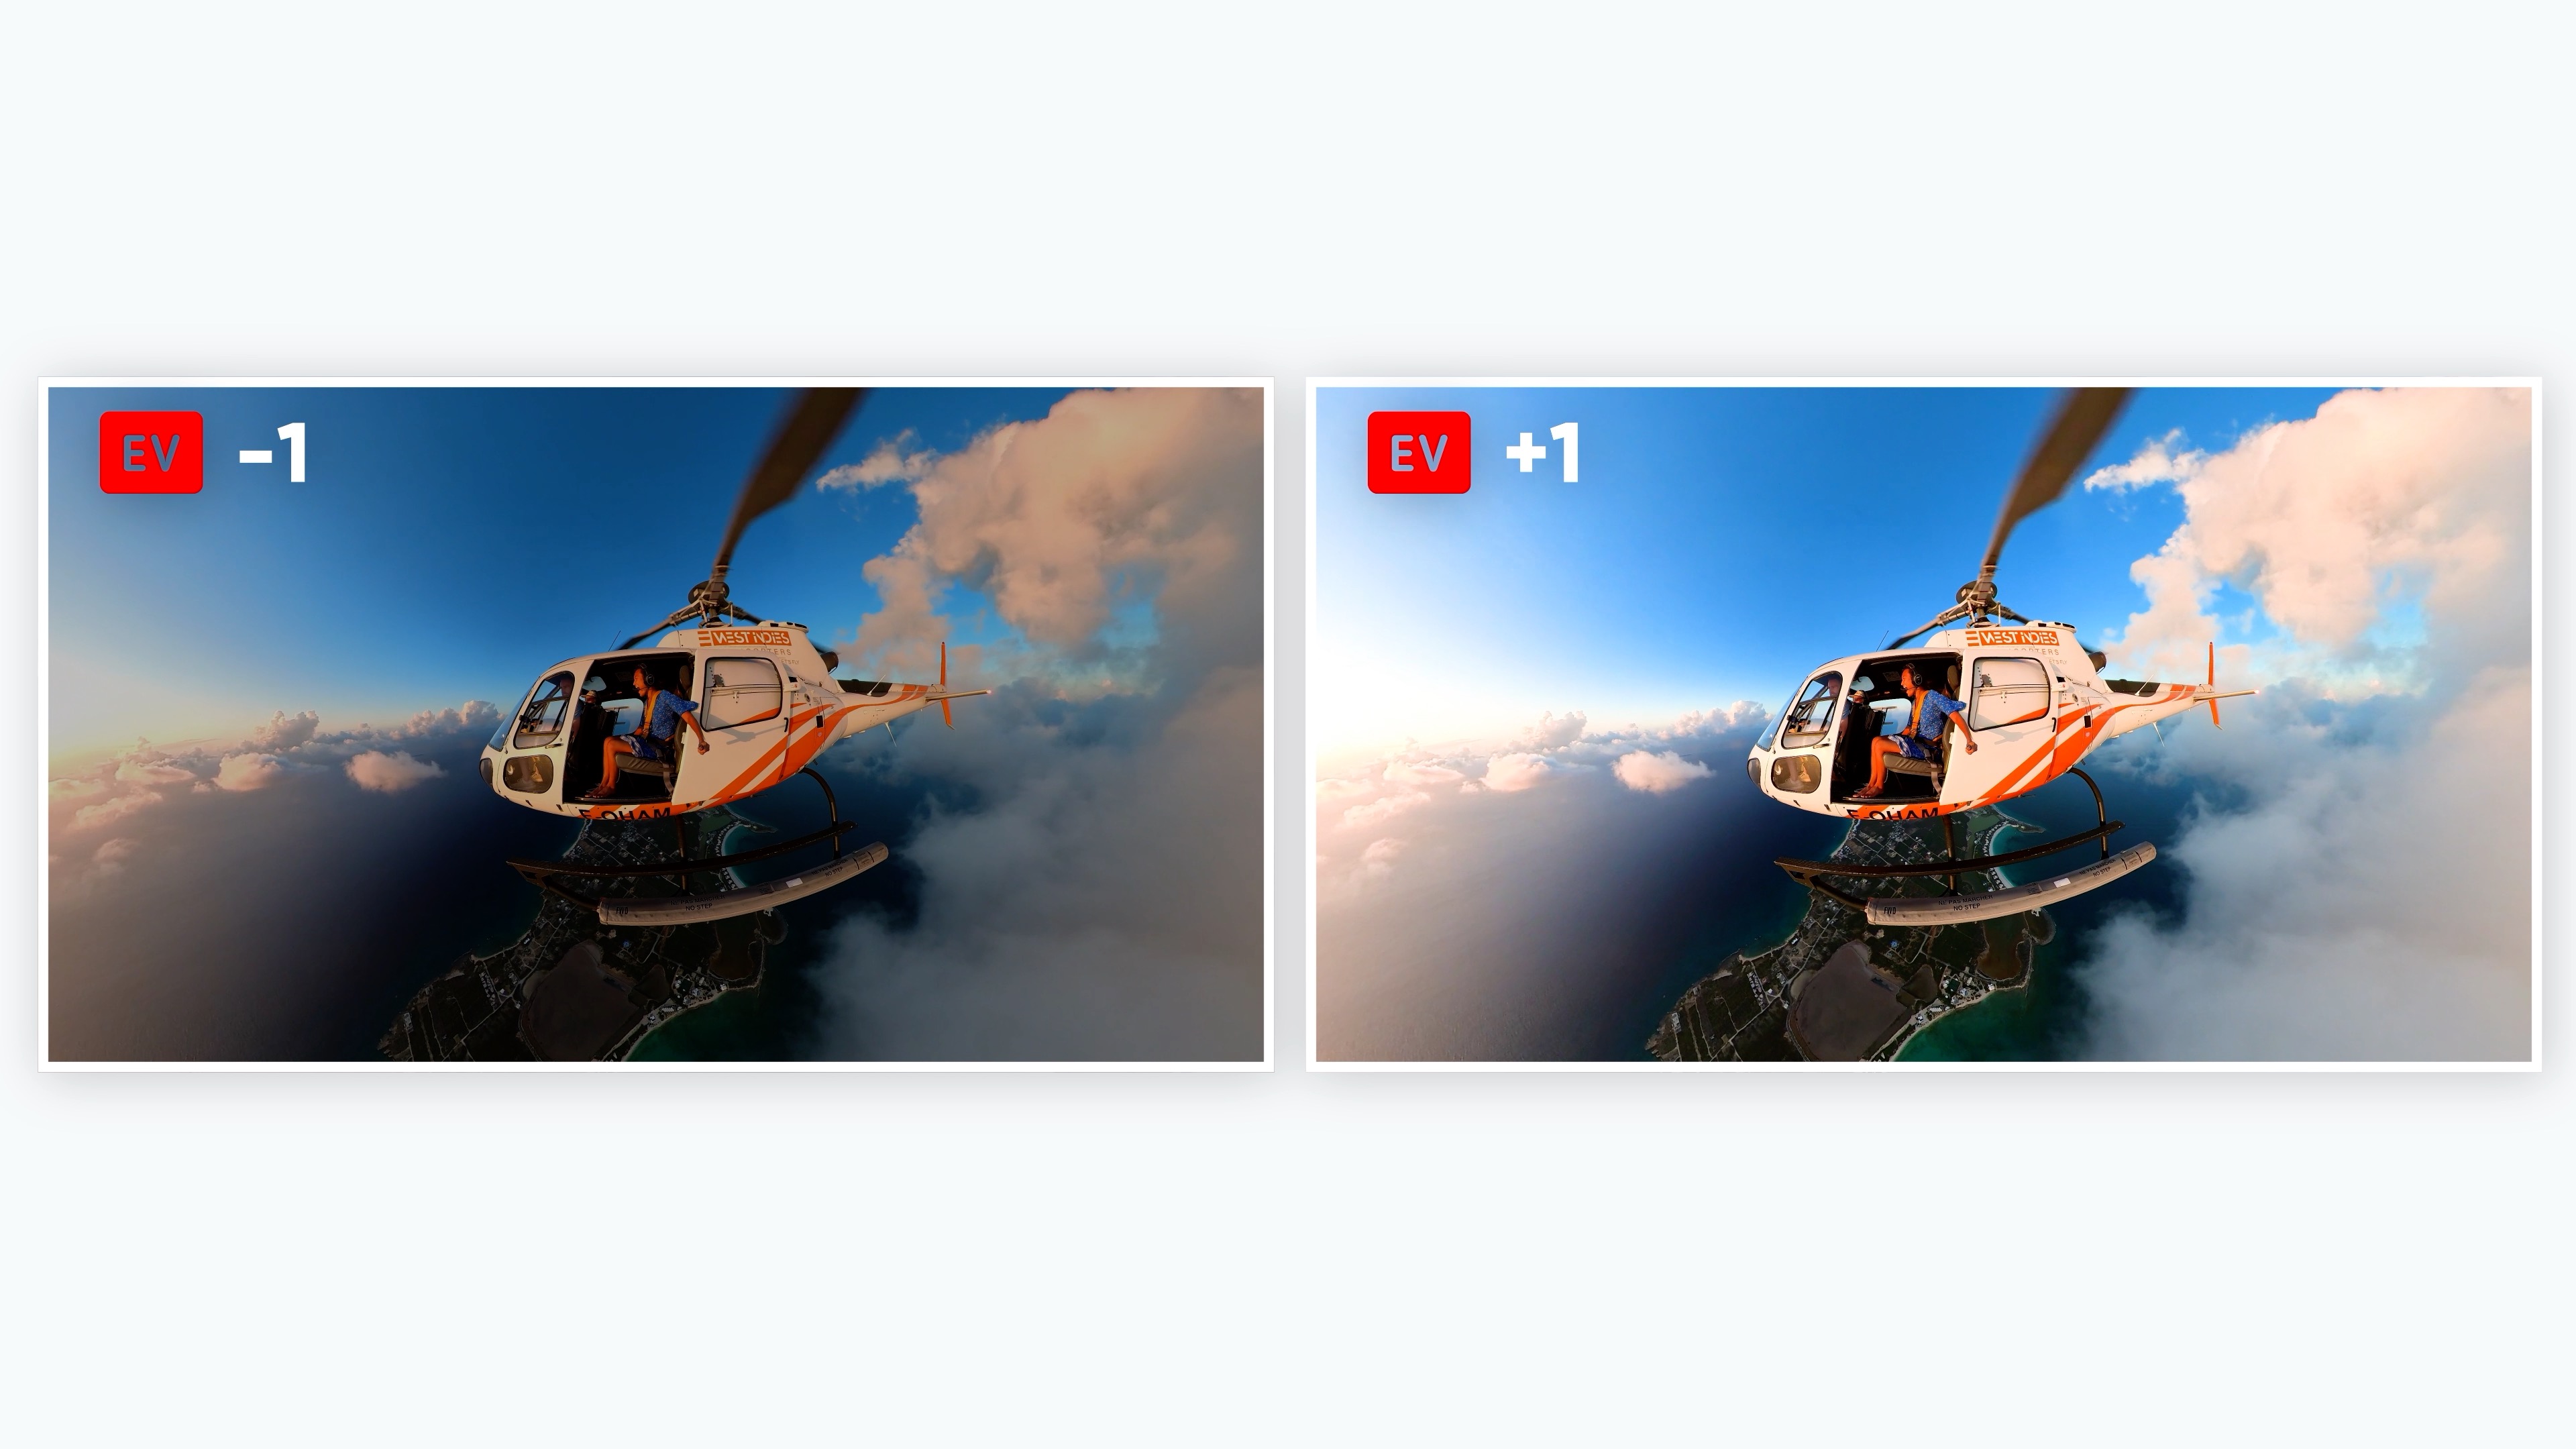
On top of that, for more precise control over how light or dark your photo is, you can manually change the shutter speed and ISO settings.
Shutter speed determines how long each frame is exposed to light.
The quicker the shutter speed, the darker the image.
Meanwhile, a slower shutter speed results in a brighter image.
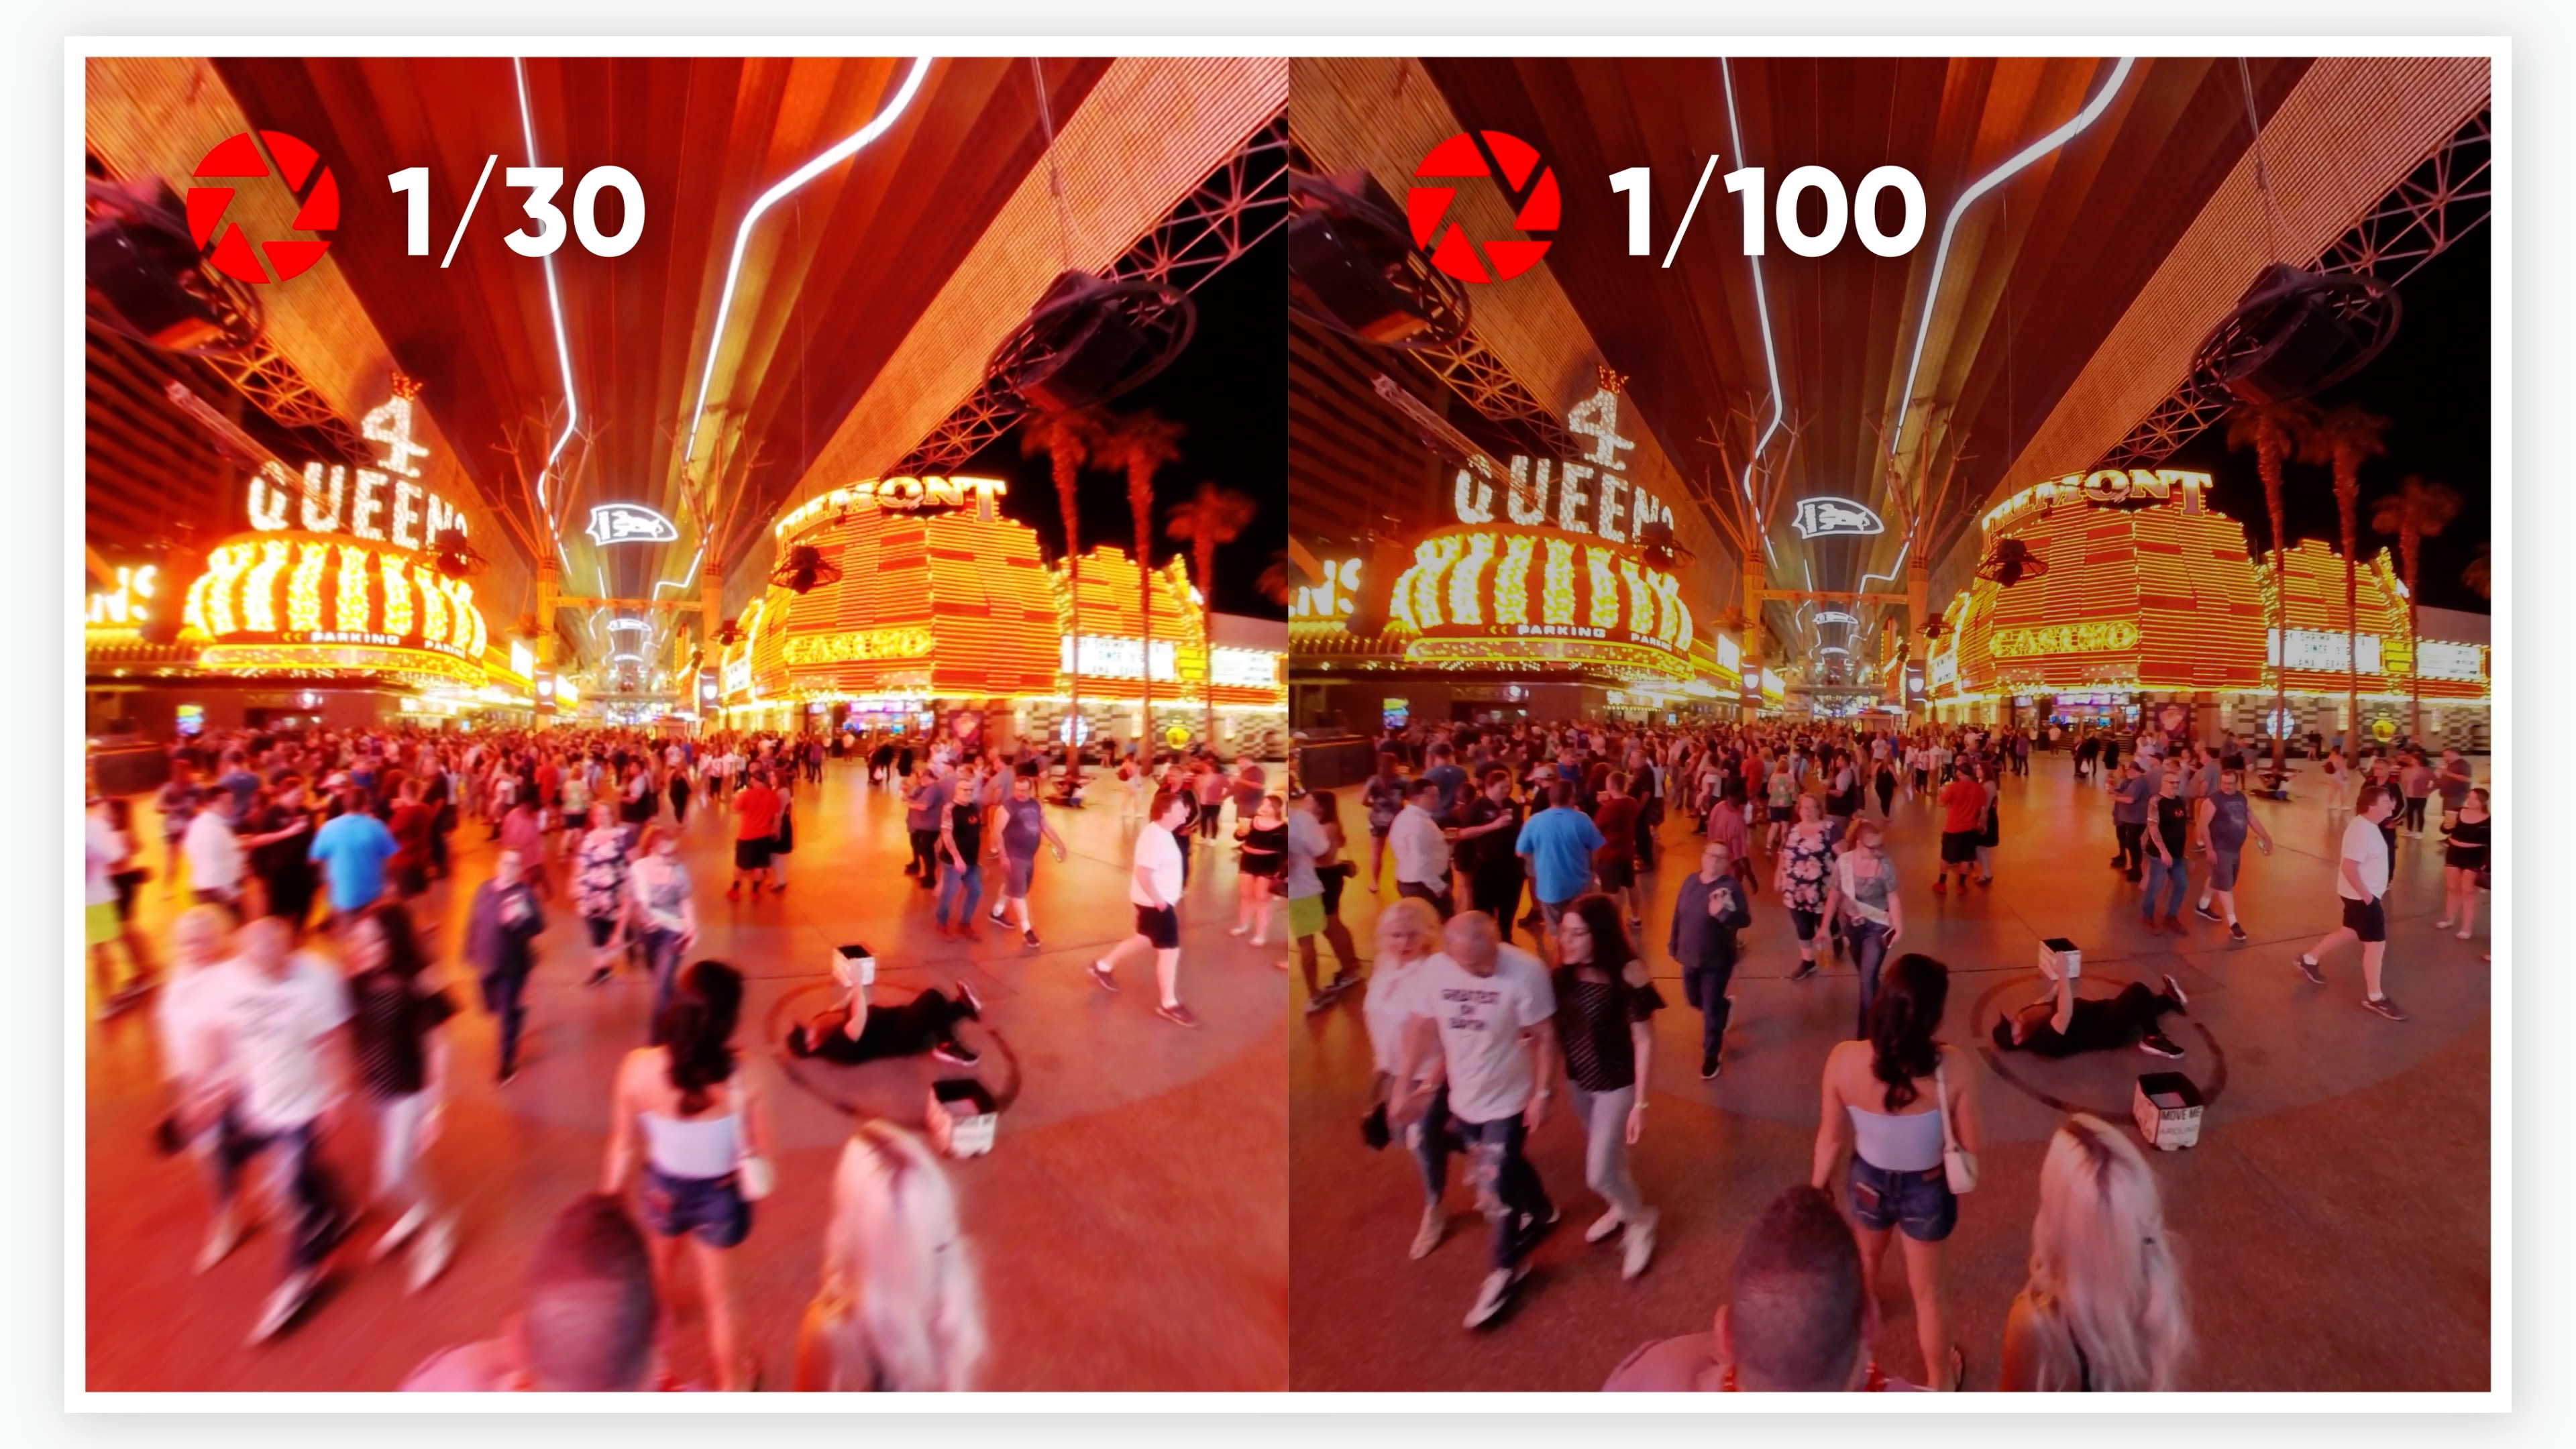
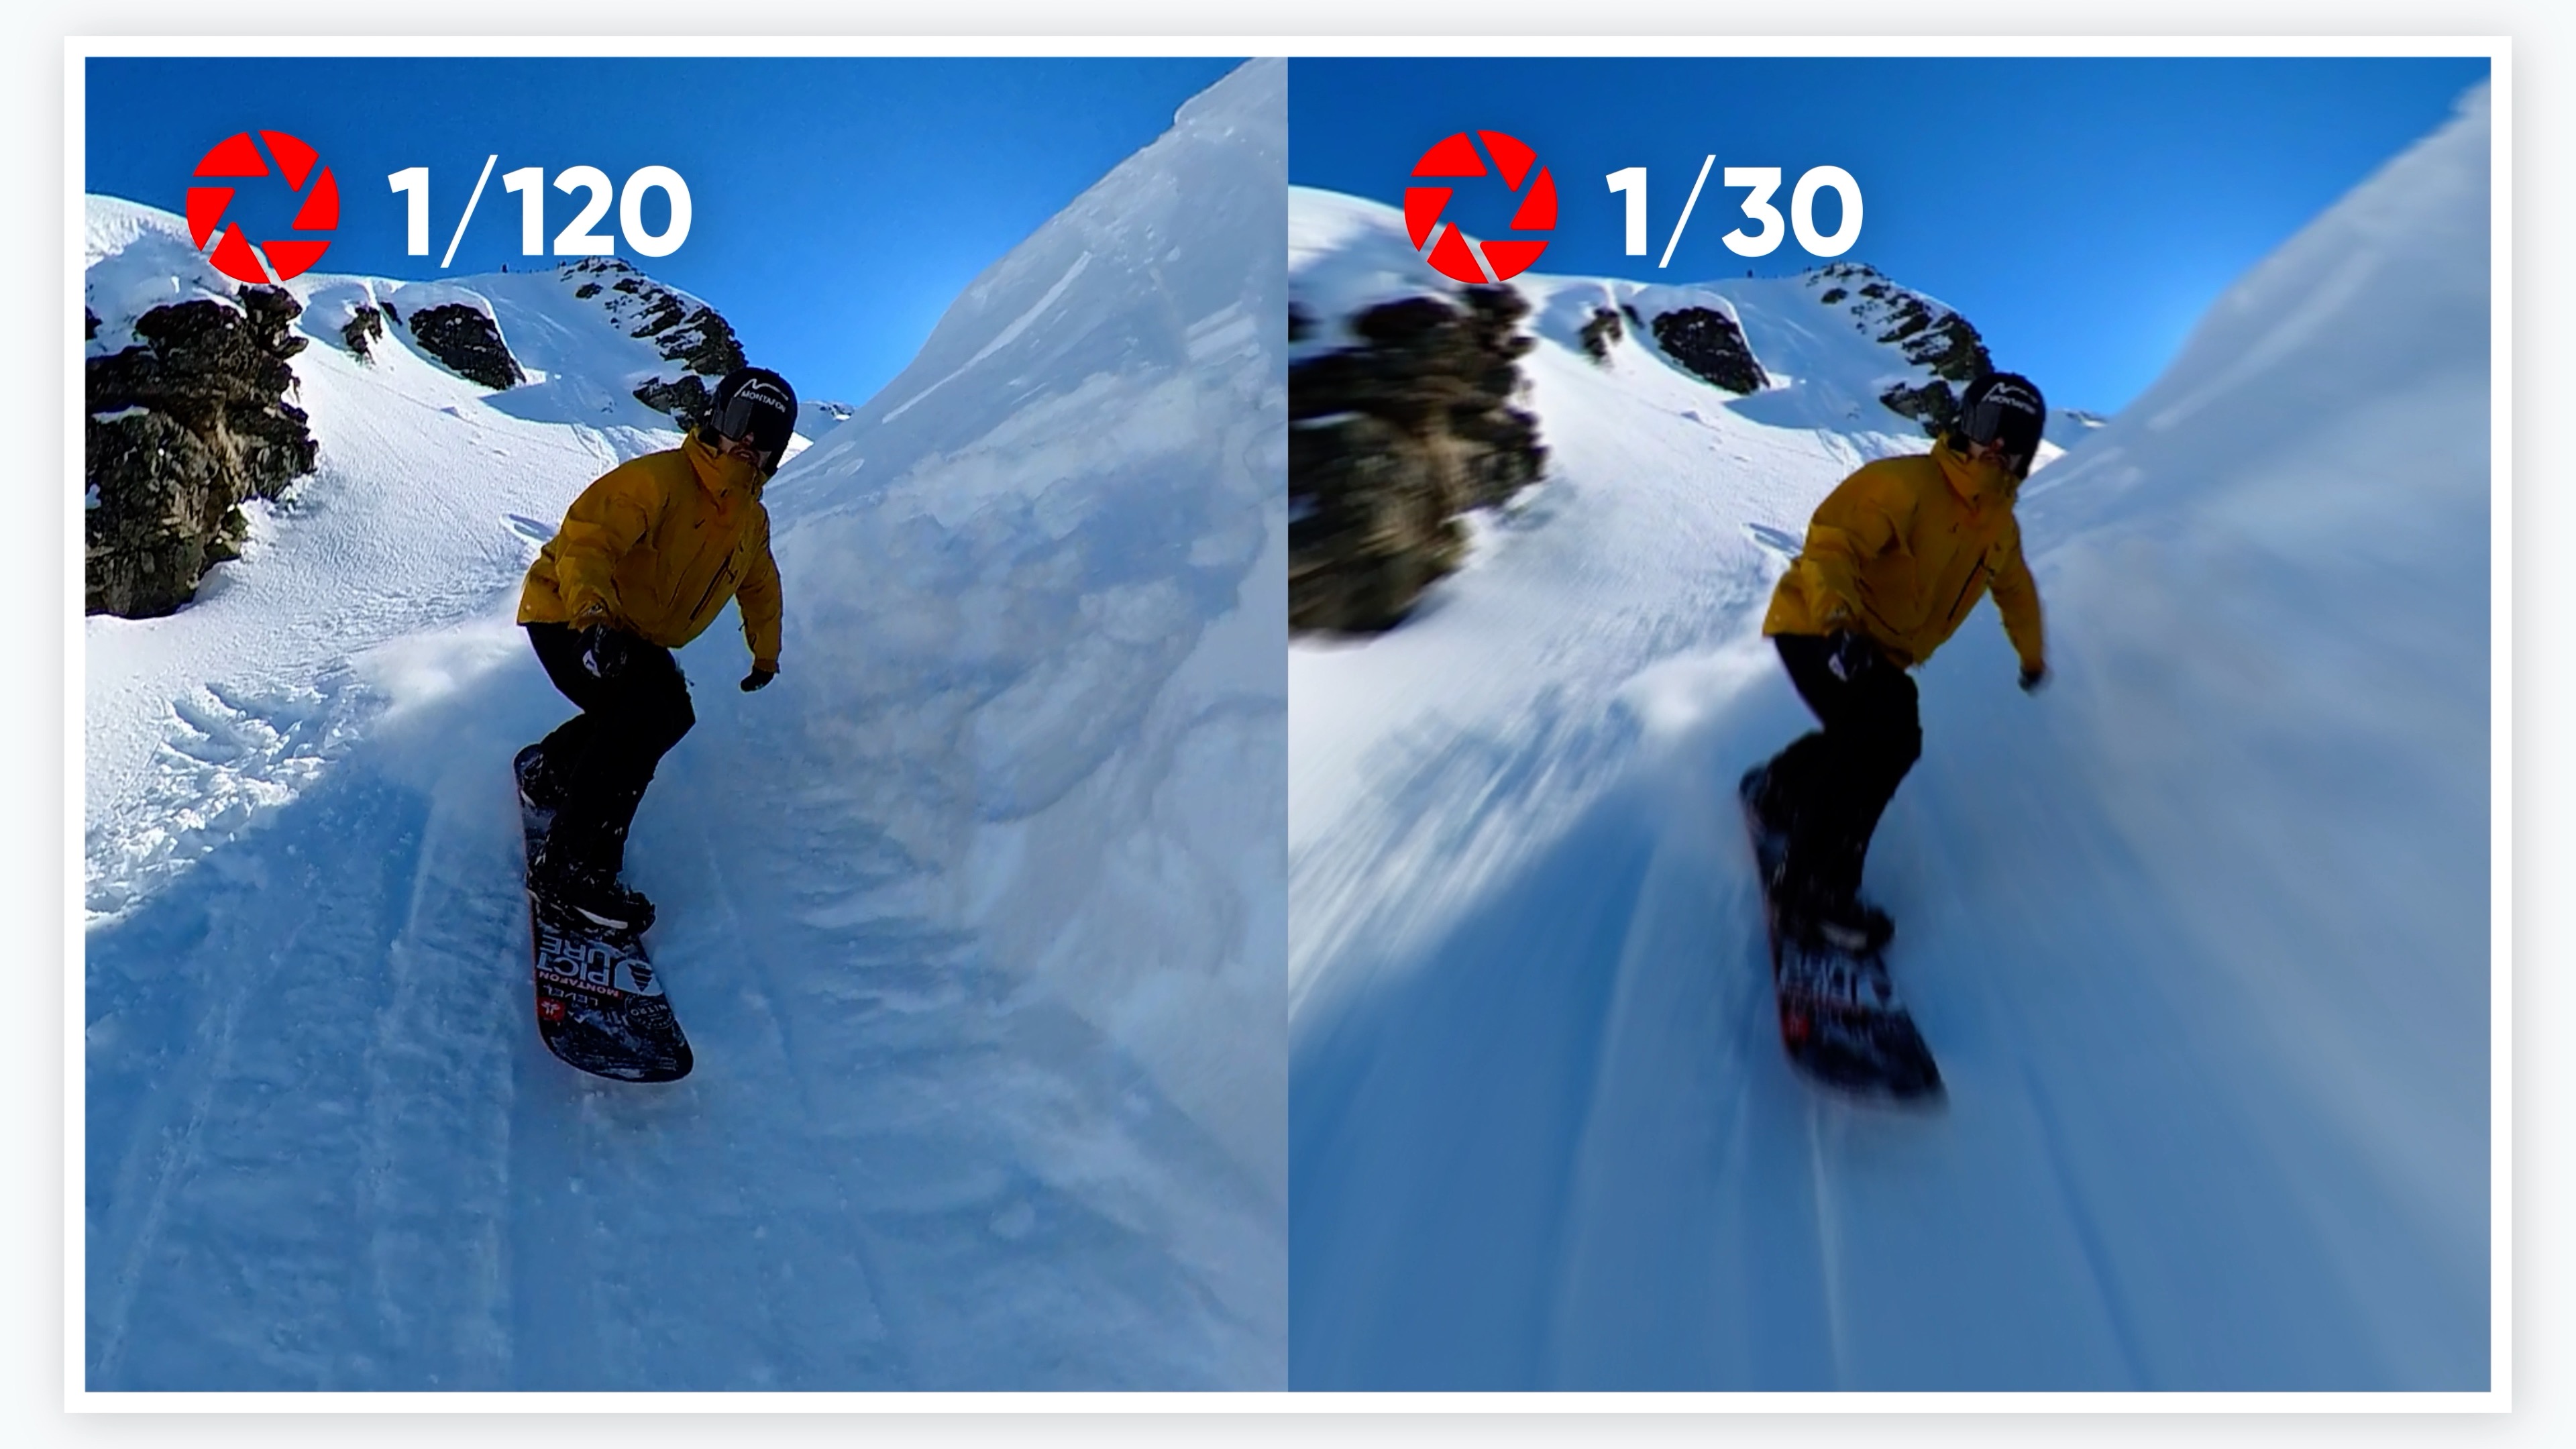
When shooting sports footage, use a faster shutter speed to capture clearer, sharper frames and achieve better image stabilization.
However, slower shutter speeds produce more motion blur and give the image a greater sense of speed.
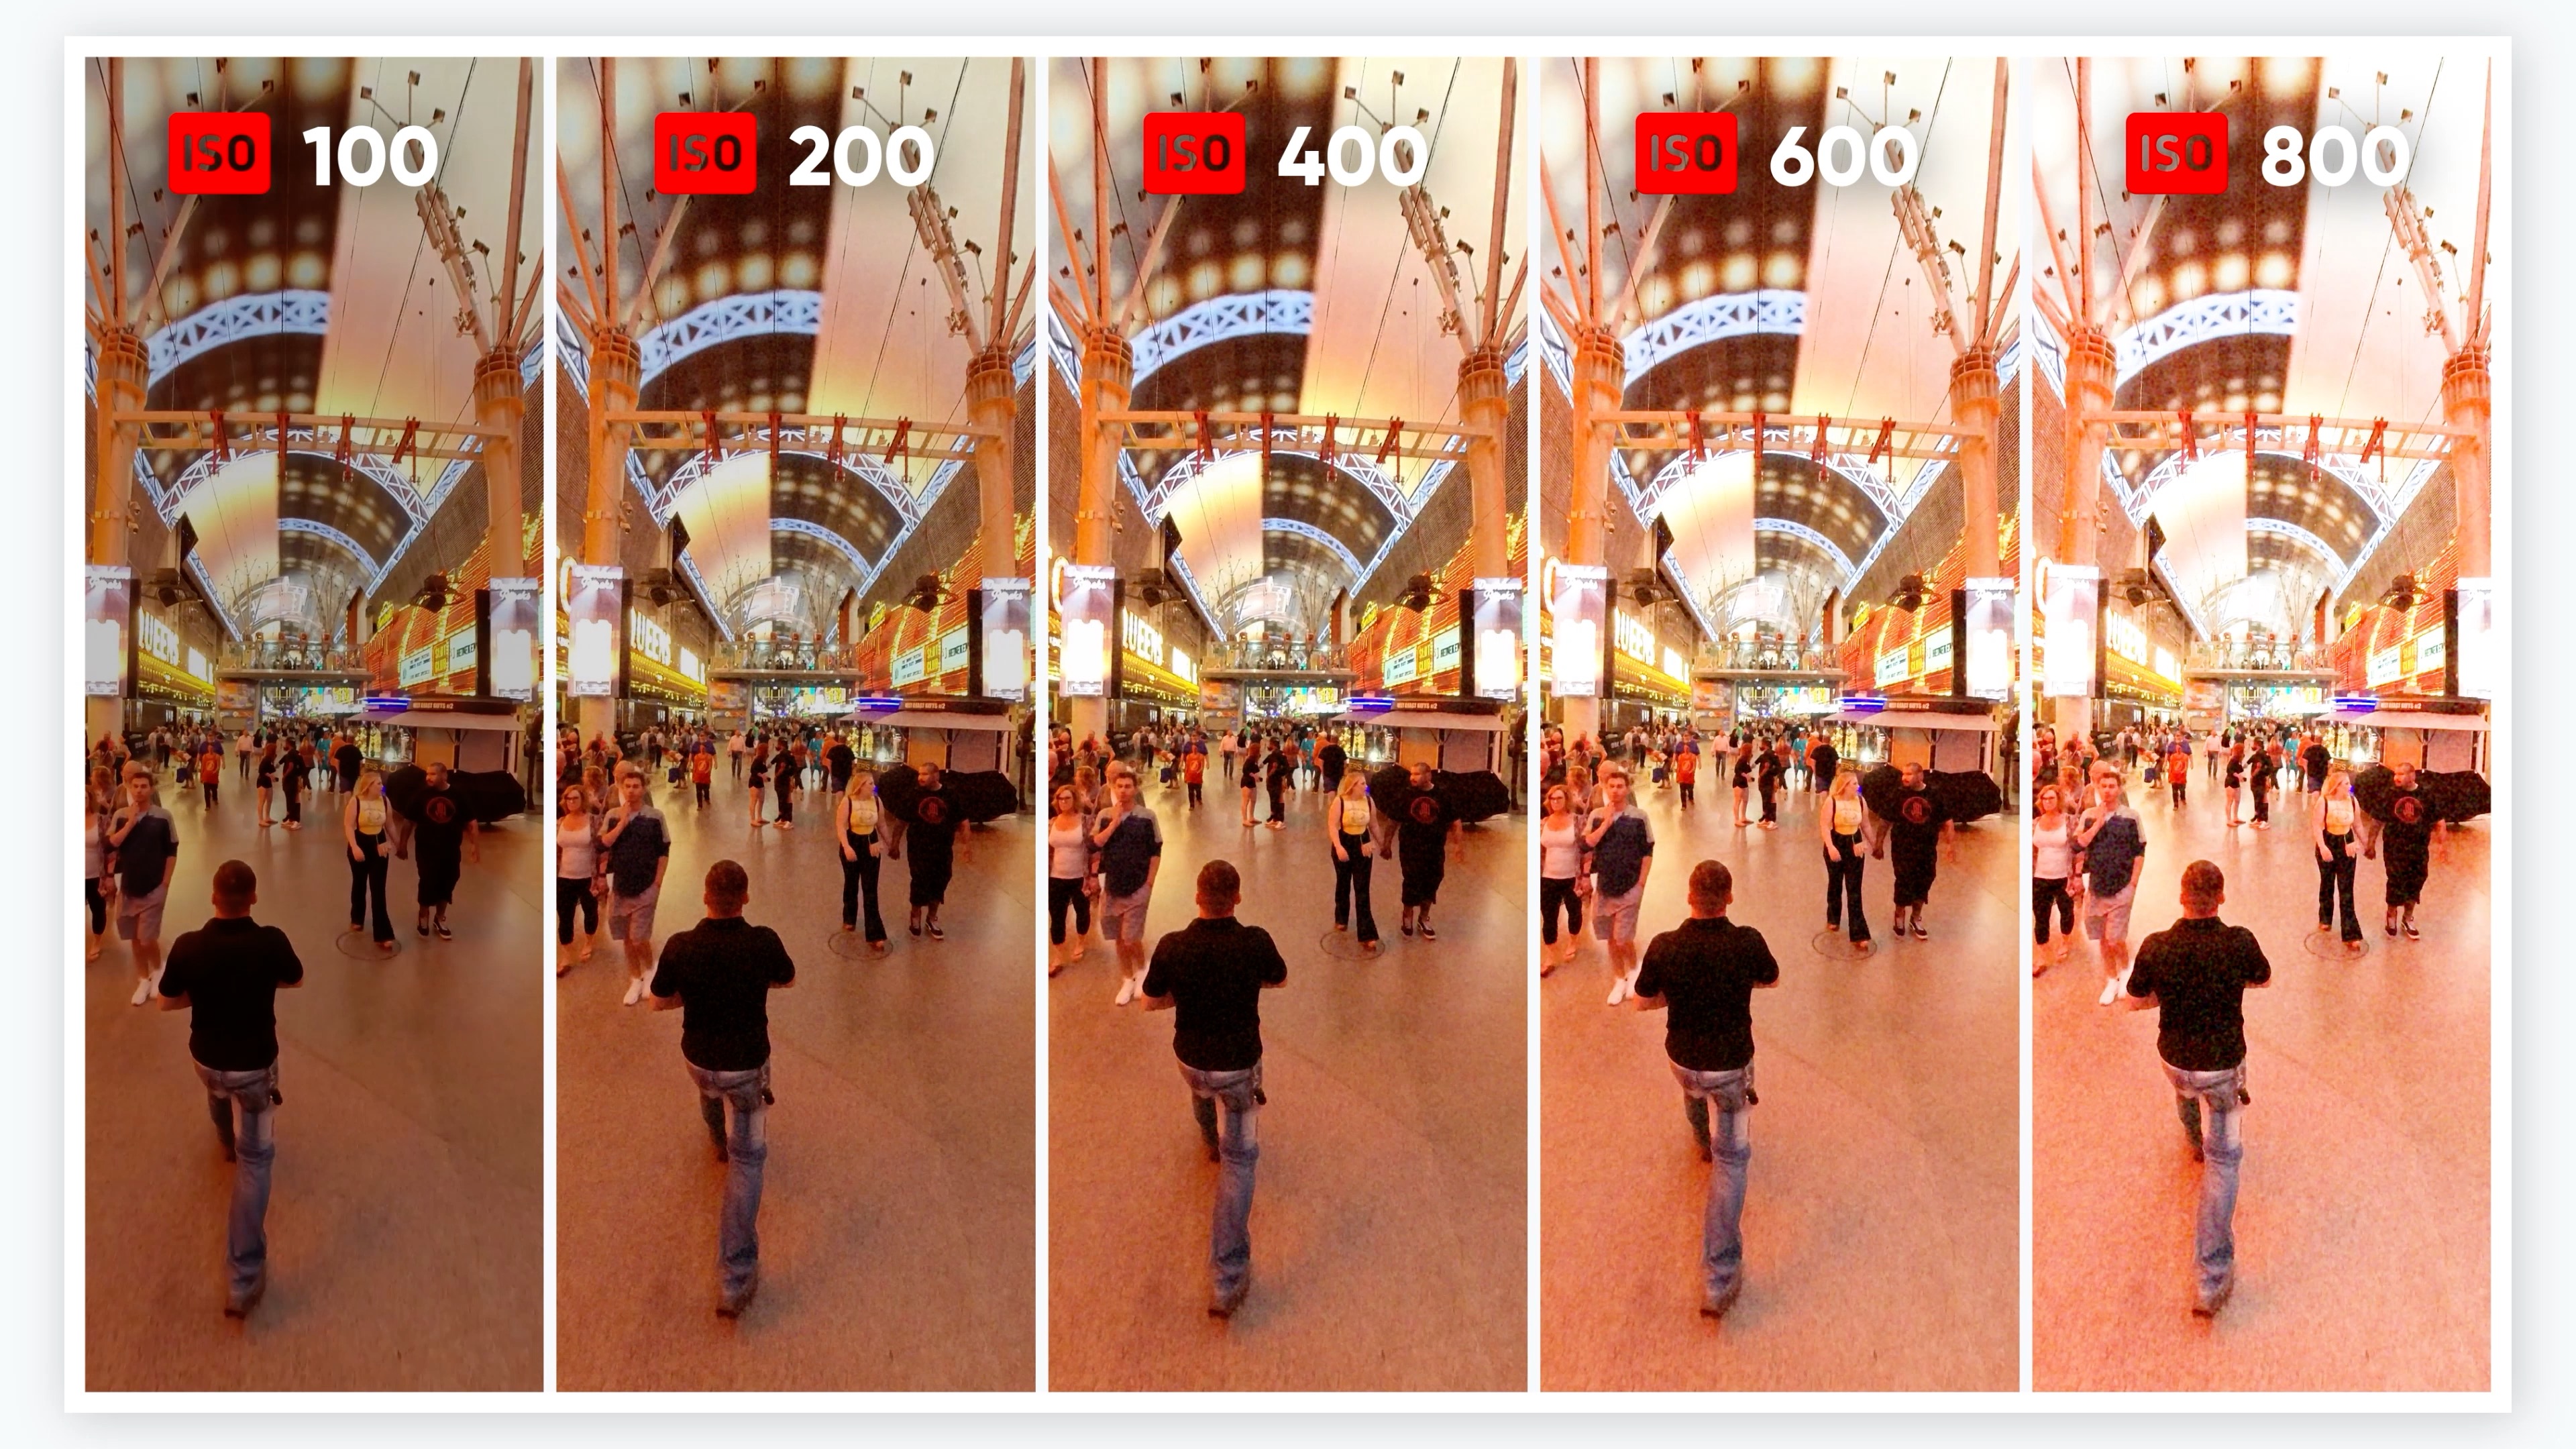
ISO controls the camera's sensitivity to light. A lower ISO will make your image darker, while a higher ISO will make it brighter. But remember, increasing the ISO too much can add noise to the image and affect the clarity.
HDR and Isolated Exposure Tips
There are two HDR shooting modes: HDR Photo and Active HDR for recording videos.
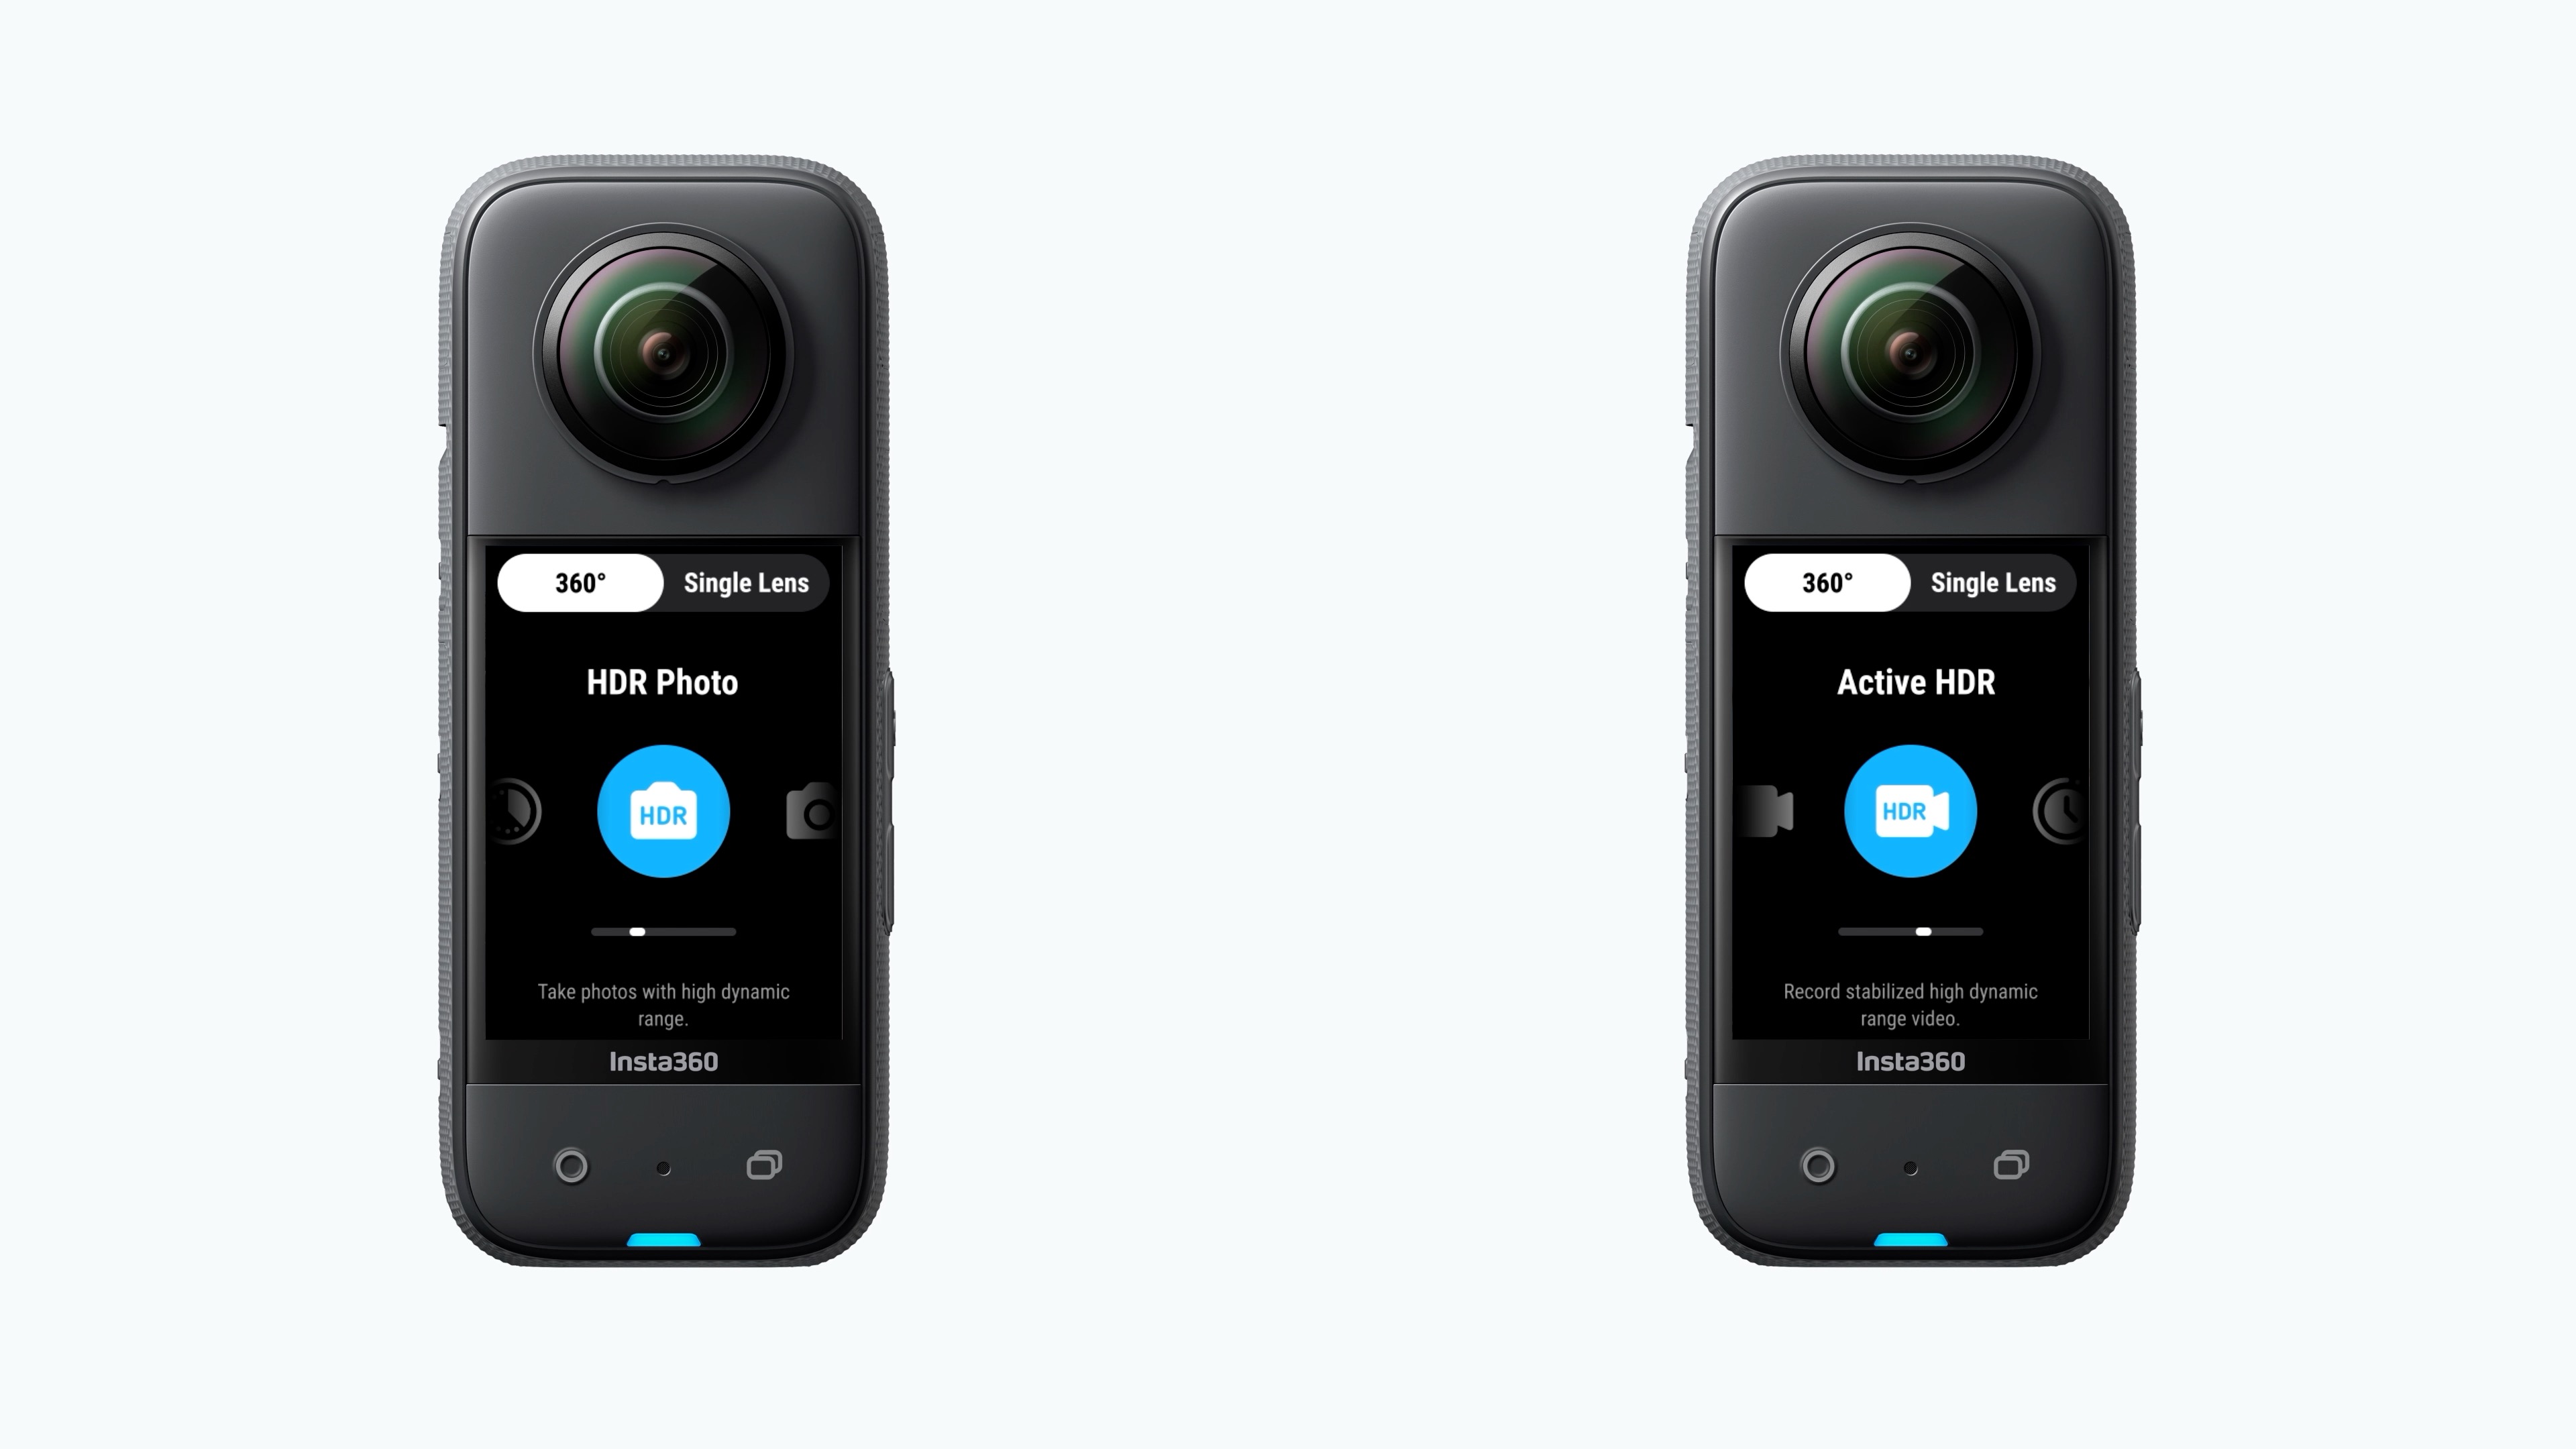
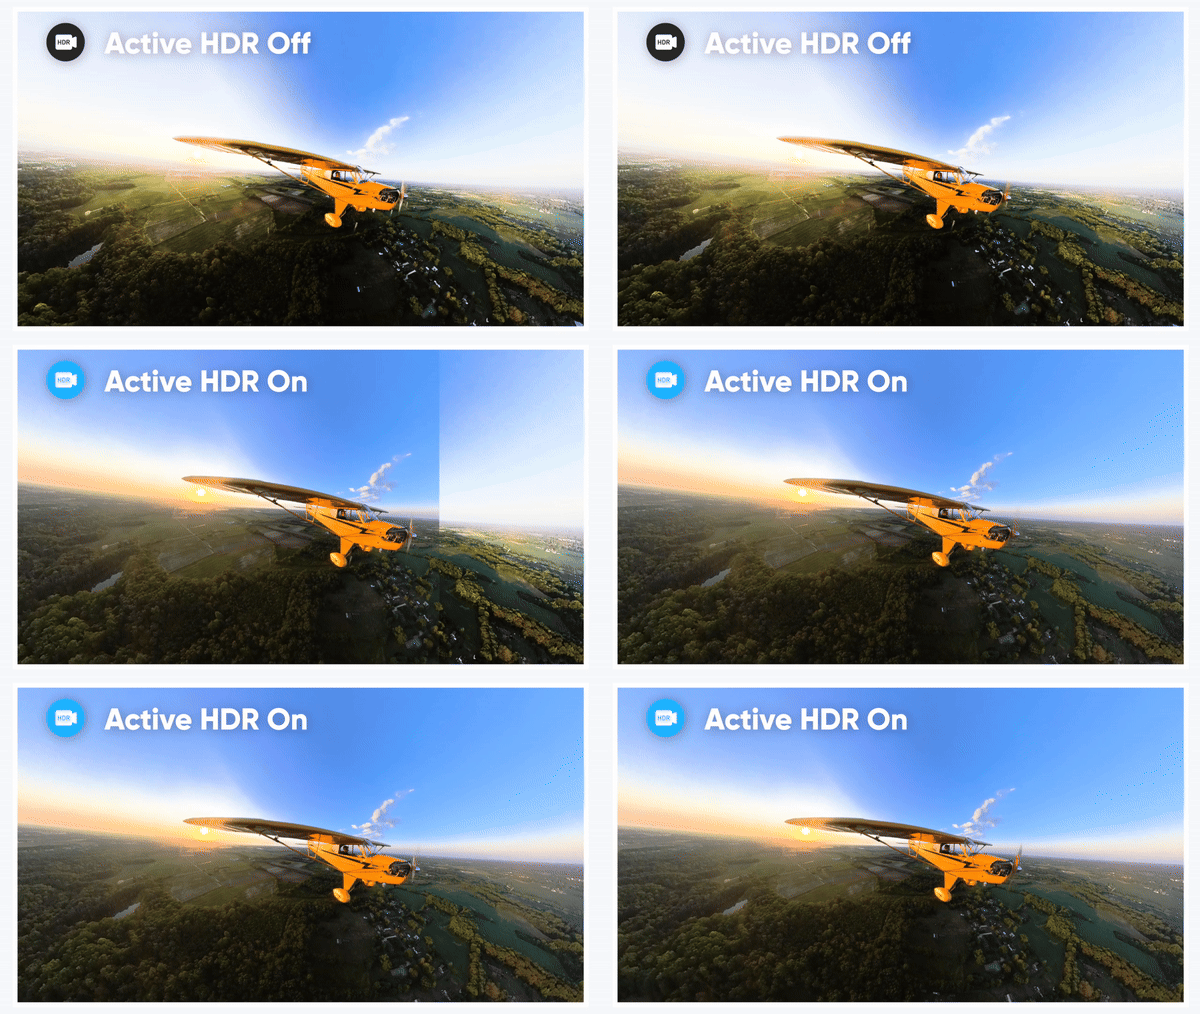
HDR helps you capture images with a high dynamic range.
For example, if you're taking photos in bright light, like at sunset, your image could look overexposed in bright areas and underexposed in dark ones.
Using HDR preserves details in the highlights and shadows for a more true-to-life image.
With a 360 camera, there can be large light variations between the two lenses.
By turning on Isolated Exposure, the camera automatically evens out each lens's Exposure and White Balance, making sure everything looks even.
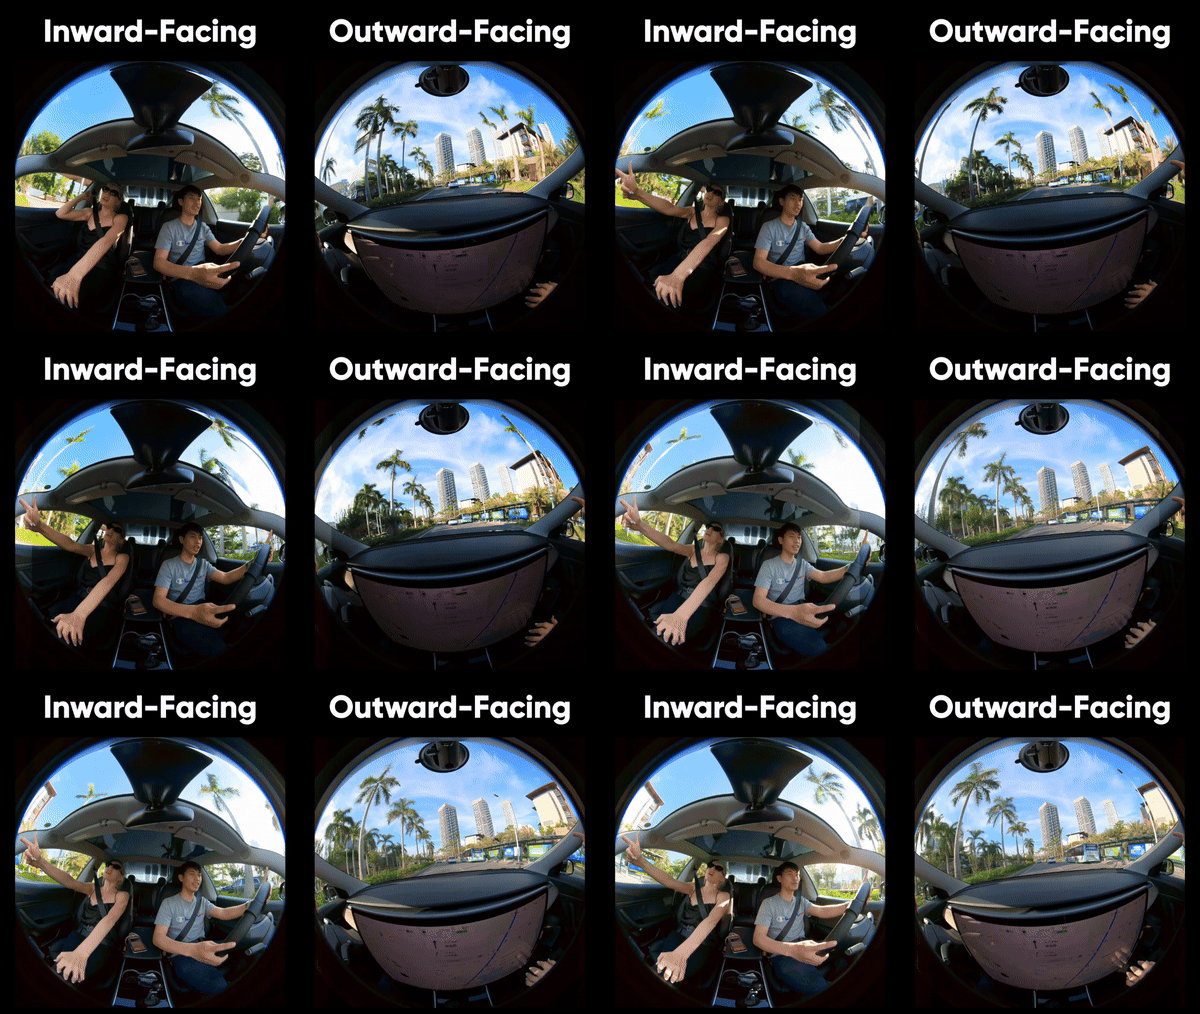
However, you may notice color differences when the images are stitched together and in most cases, you don't need to turn on Isolated Exposure.
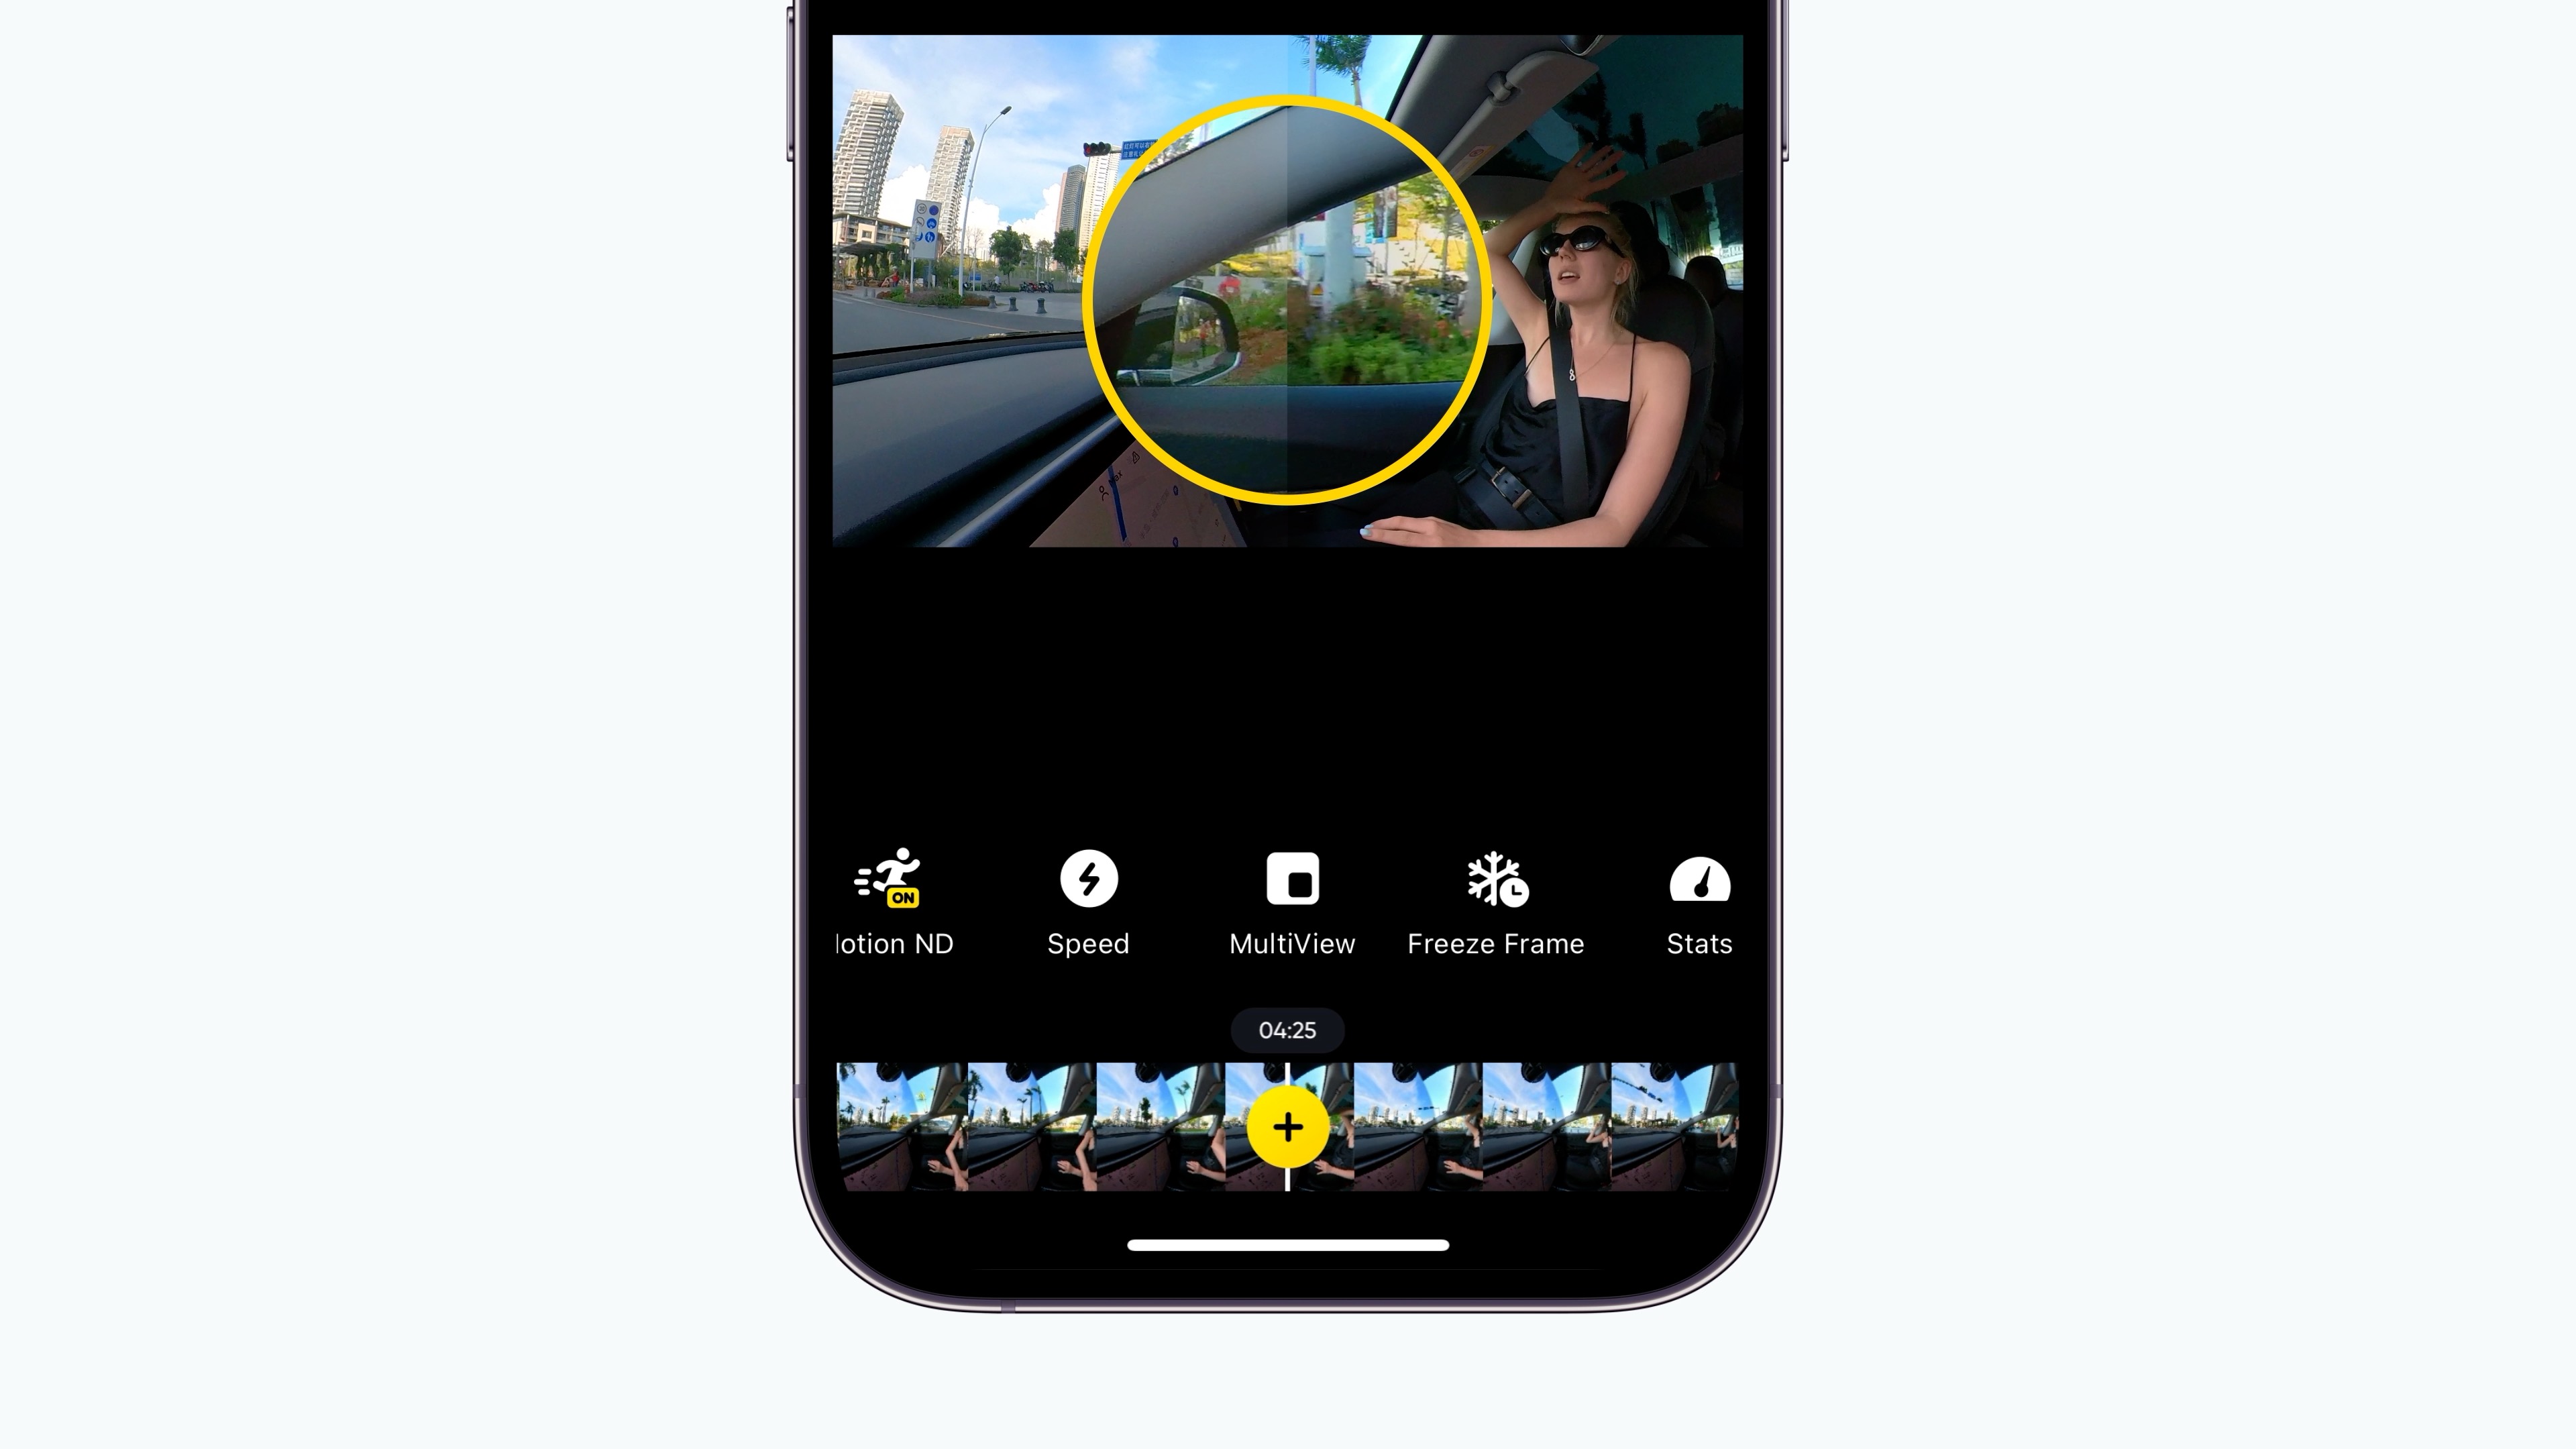
When editing, try not to change the view too often and avoid reframing along the stitch line.
Use keyframes to fix the perspective or MultiView for two perspectives in the same clip.
