Master Motorcycle Shots with X4
The best shots on two wheels? You'll wanna read this 🏍️
Grab your X4 and jump in, we've got our latest tutorial here!
Recommended Angles
There's three perspectives you can nail with Insta360 X4, to better capture and share your epic rides.
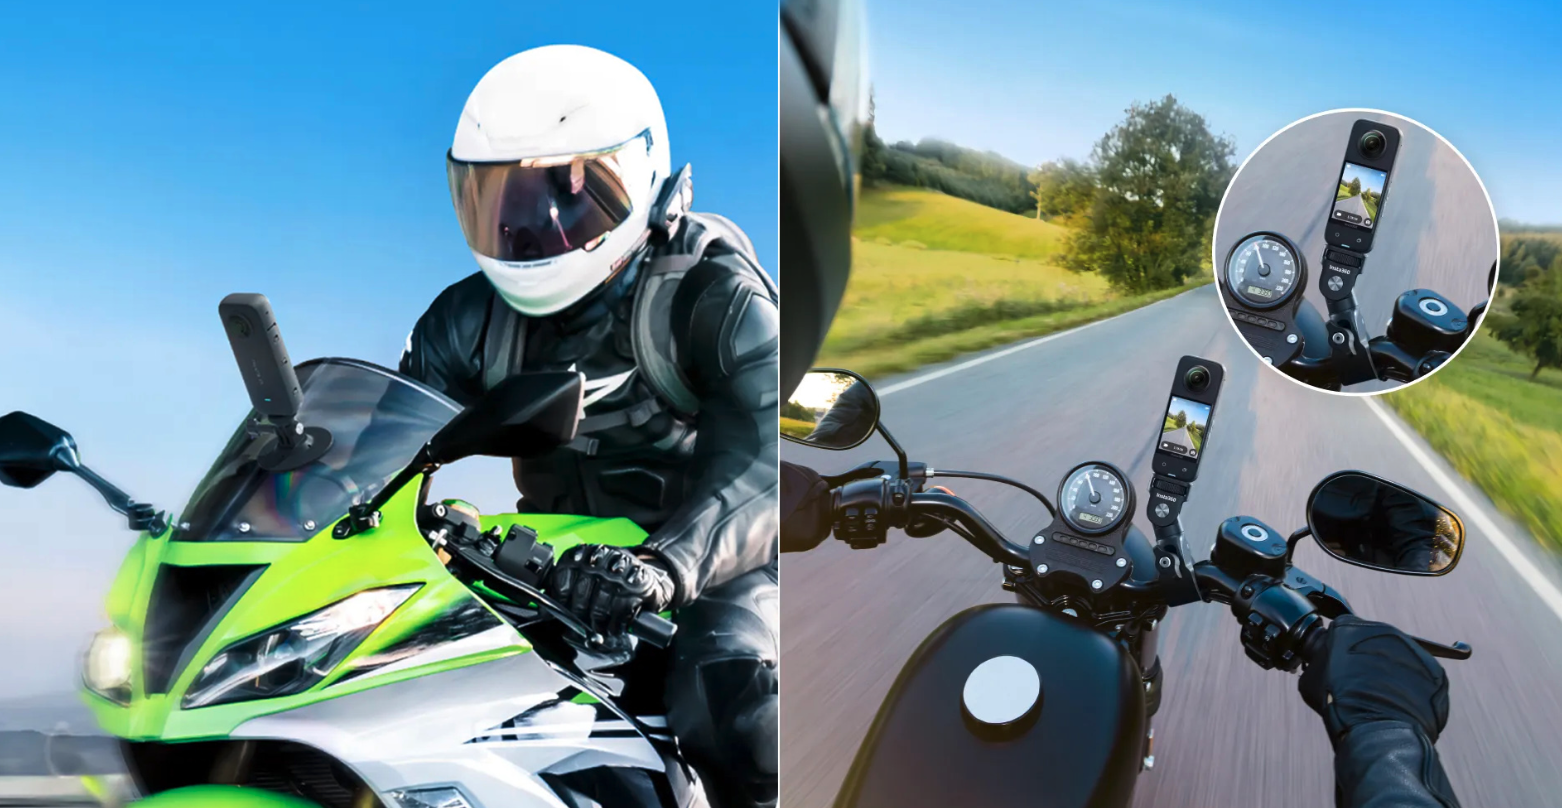
Shot 1: Front View
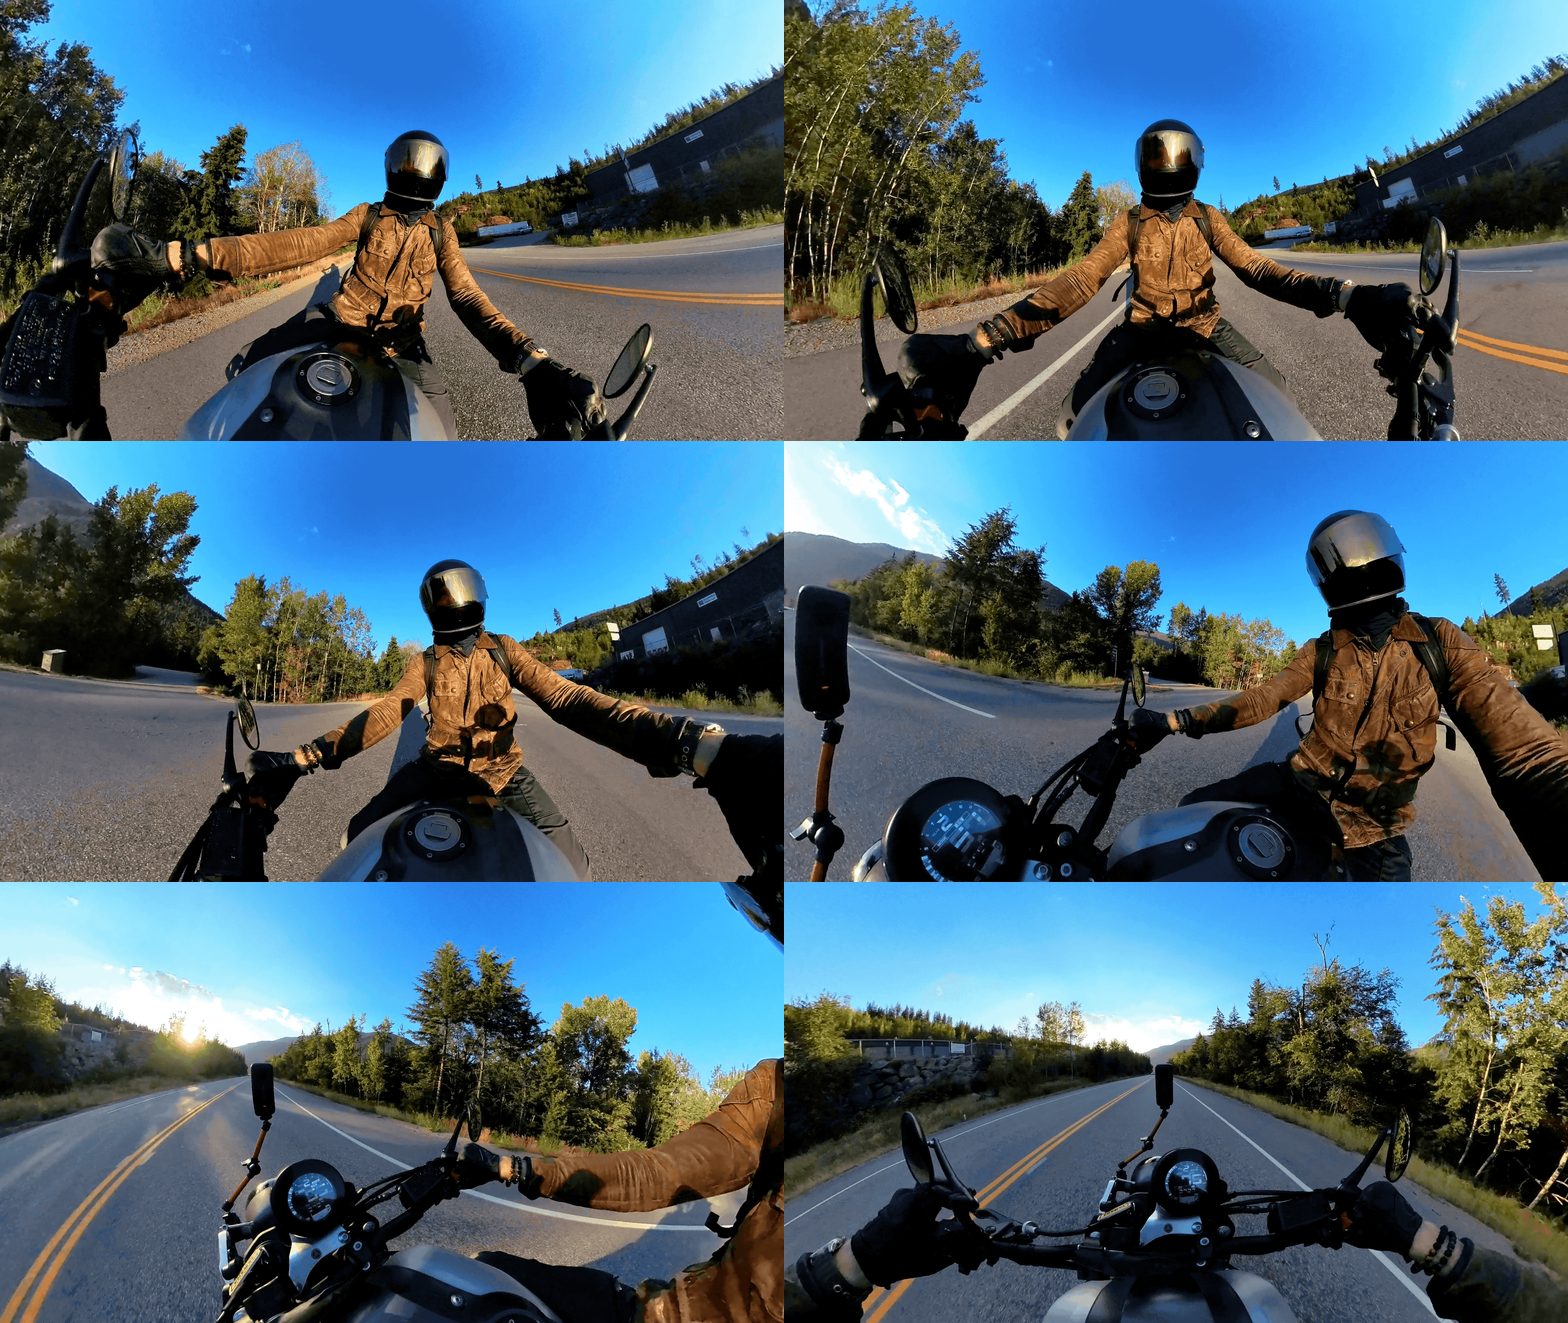
Depending on your bike, mount the camera on the handlebars or windshield arm to steadily record the road ahead.
Whether it’s winding mountain roads or busy city streets, this perspective will provide you with the most cinematic shot of everything in front!
Shot 2: First-Person View
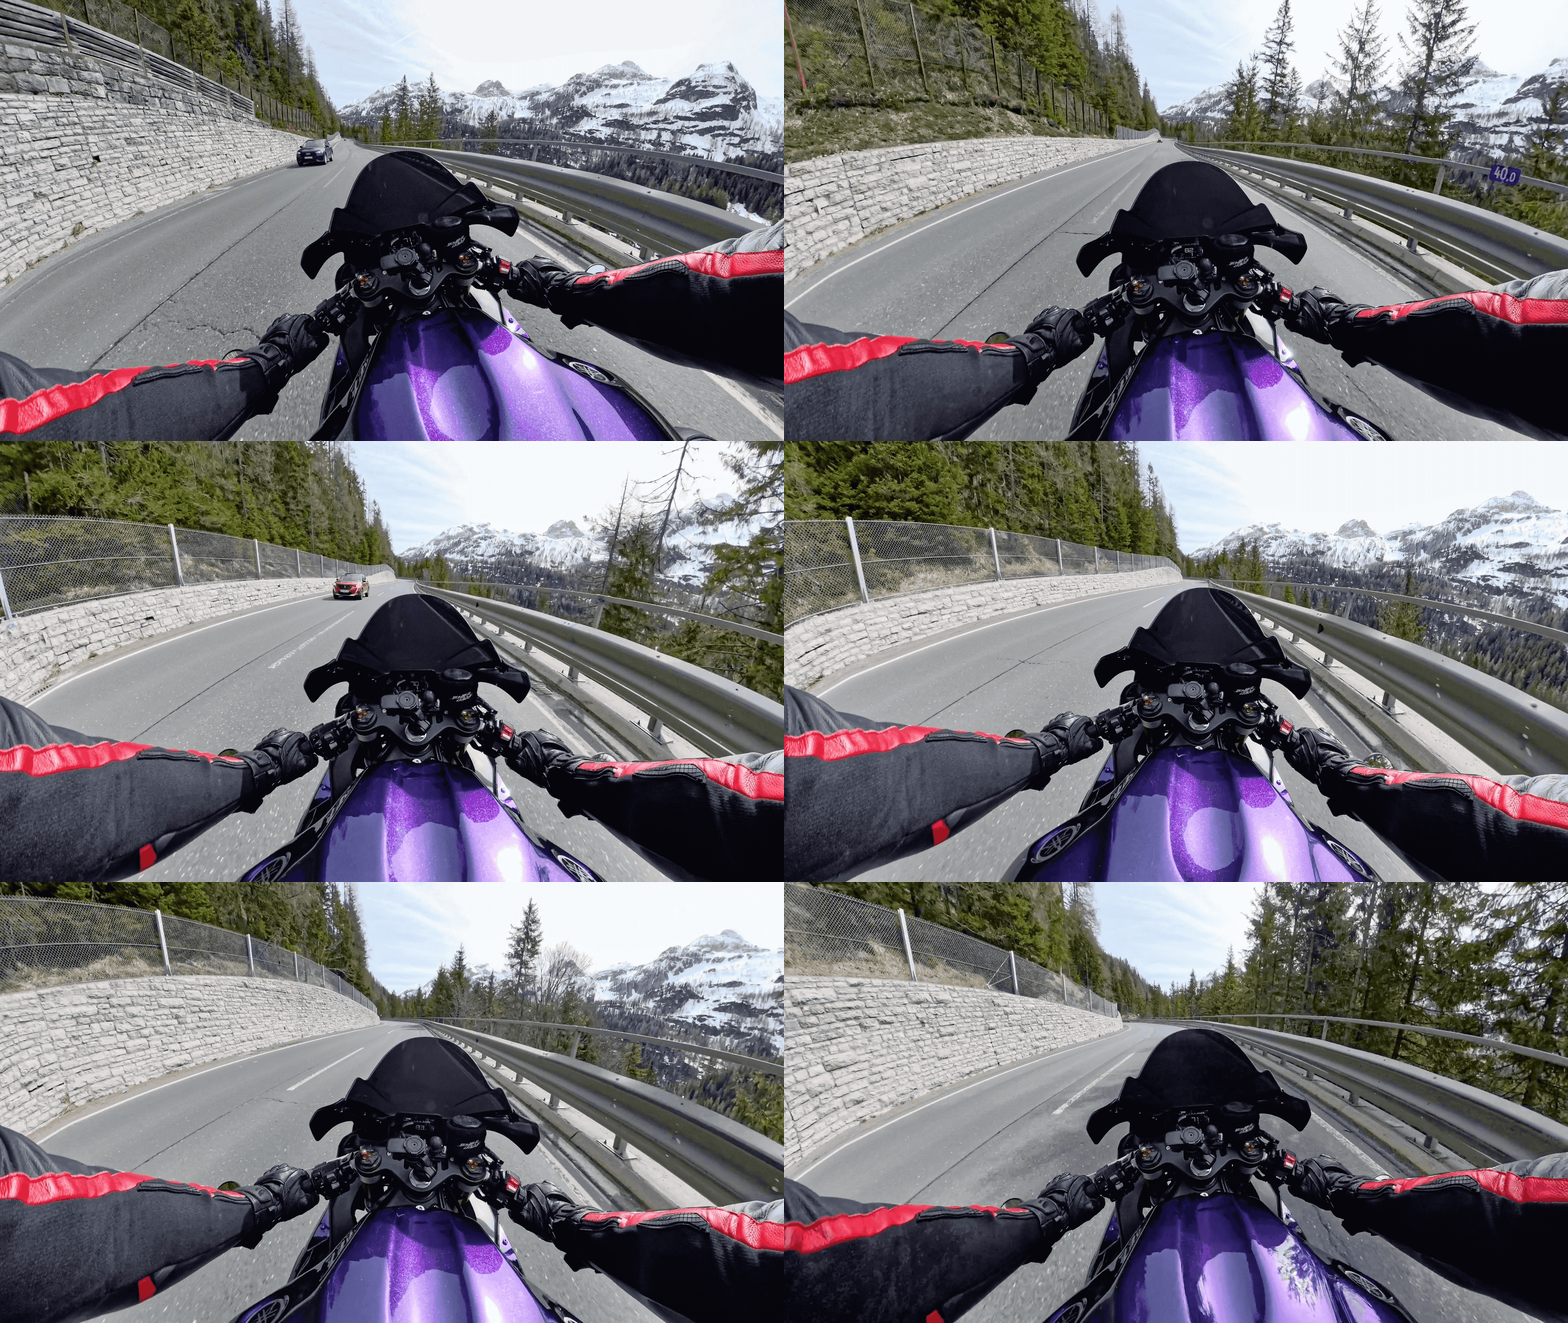
There's nothing like a POV! Use the Chest Strap to capture immersive first-person shots. This will also allow you to easily record the road ahead and scenery, making your videos more realistic and engaging.
Shot 3: Third-Person View
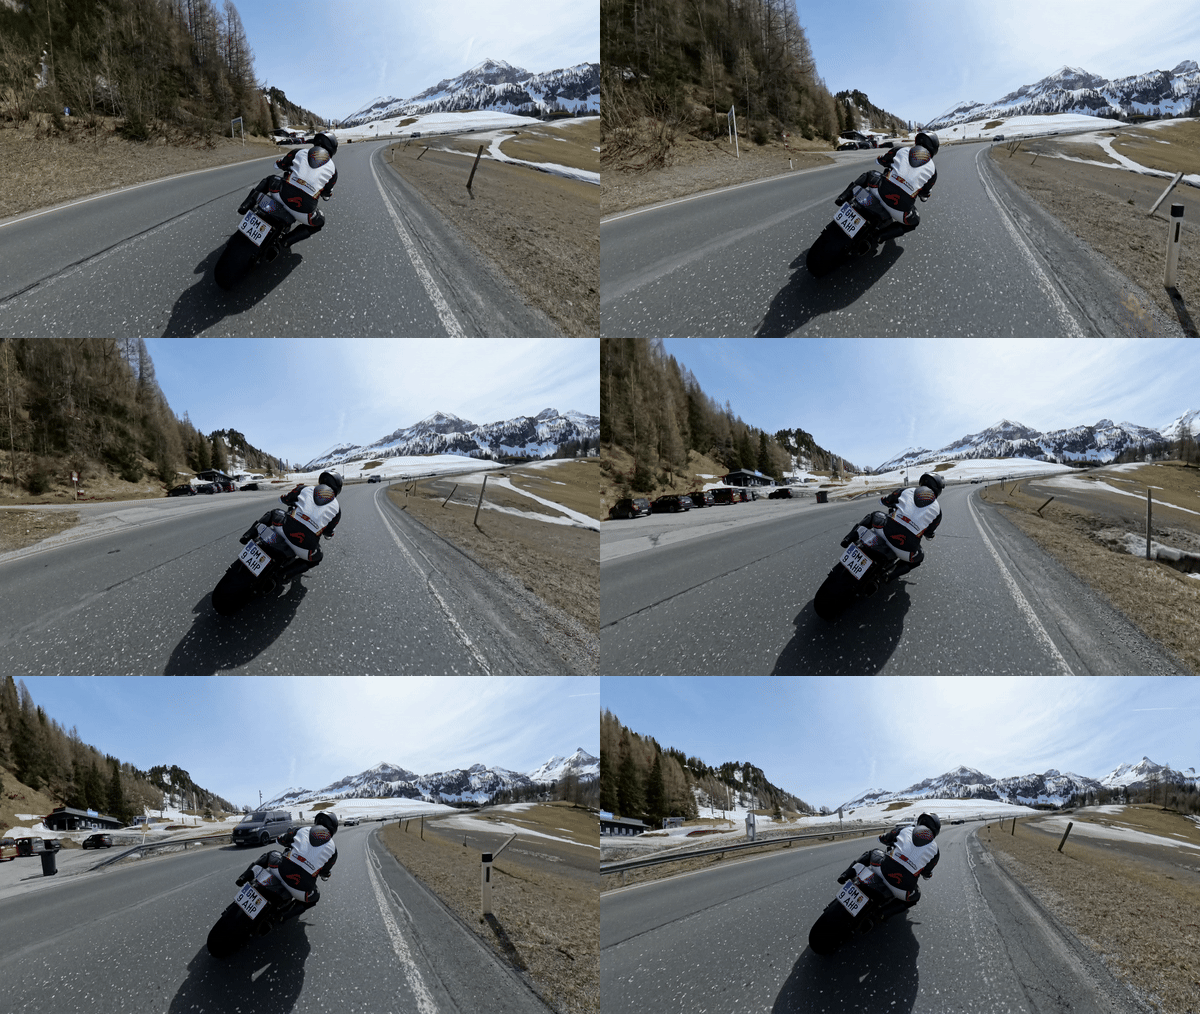
Mount the camera on the rear of the motorcycle to capture the side and rear. With this perspective, you can get viral-worthy third-person shots, and even check your posture to make sure you're riding how you're supposed to!
Get Shooting
Pre-Shooting Prep
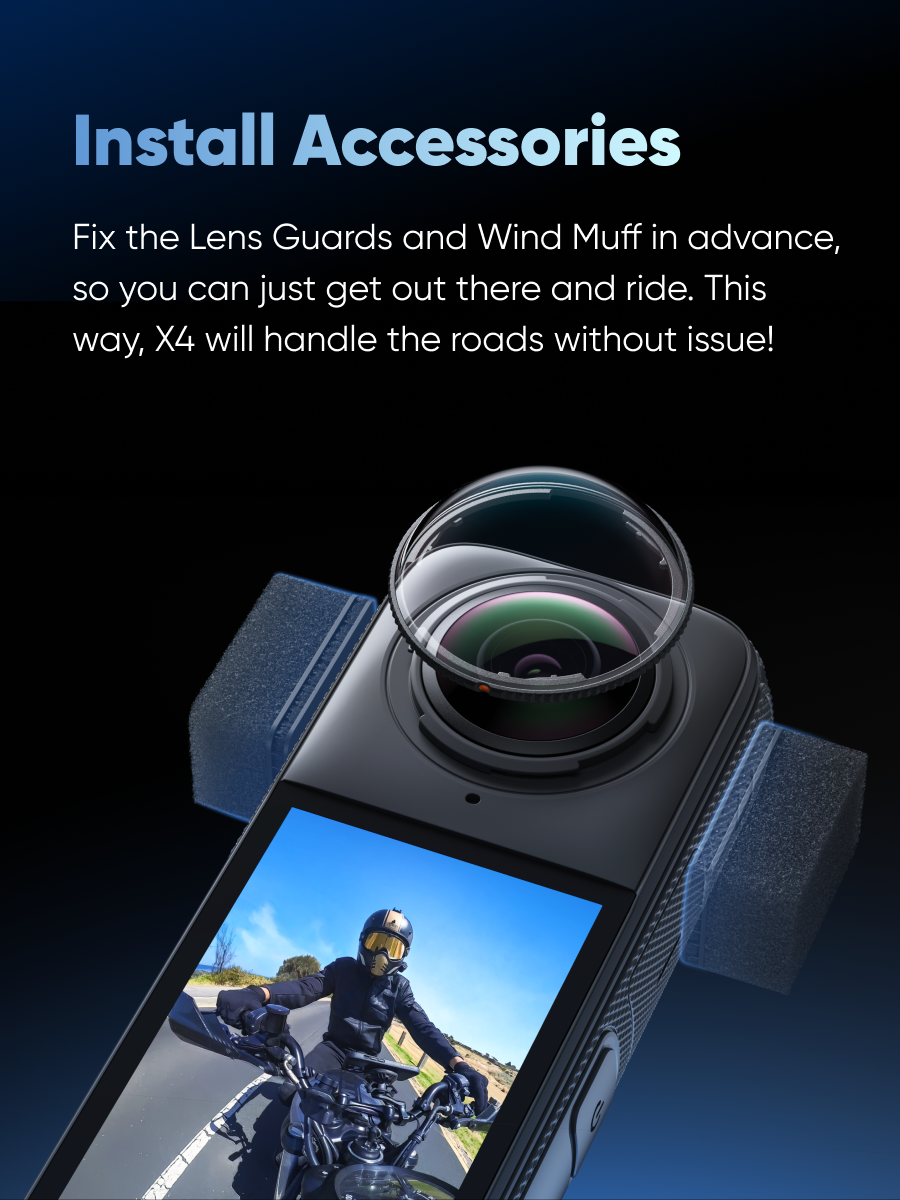
Select Your Accessories
To make your shooting more diverse, we recommend the following accessories. With just a few post-processing steps, you'll have a masterpiece ready in no time!
Front View: Handlebar Clamp & Flexible Adhesive Base
Before shooting, mount the camera on the handlebars or windshield arm using these handy accessories.
While riding, you can use gesture control to quickly start/stop recording with the camera. Just hold up your palm (even while gloved up!) ✋
Click here to view more tutorials
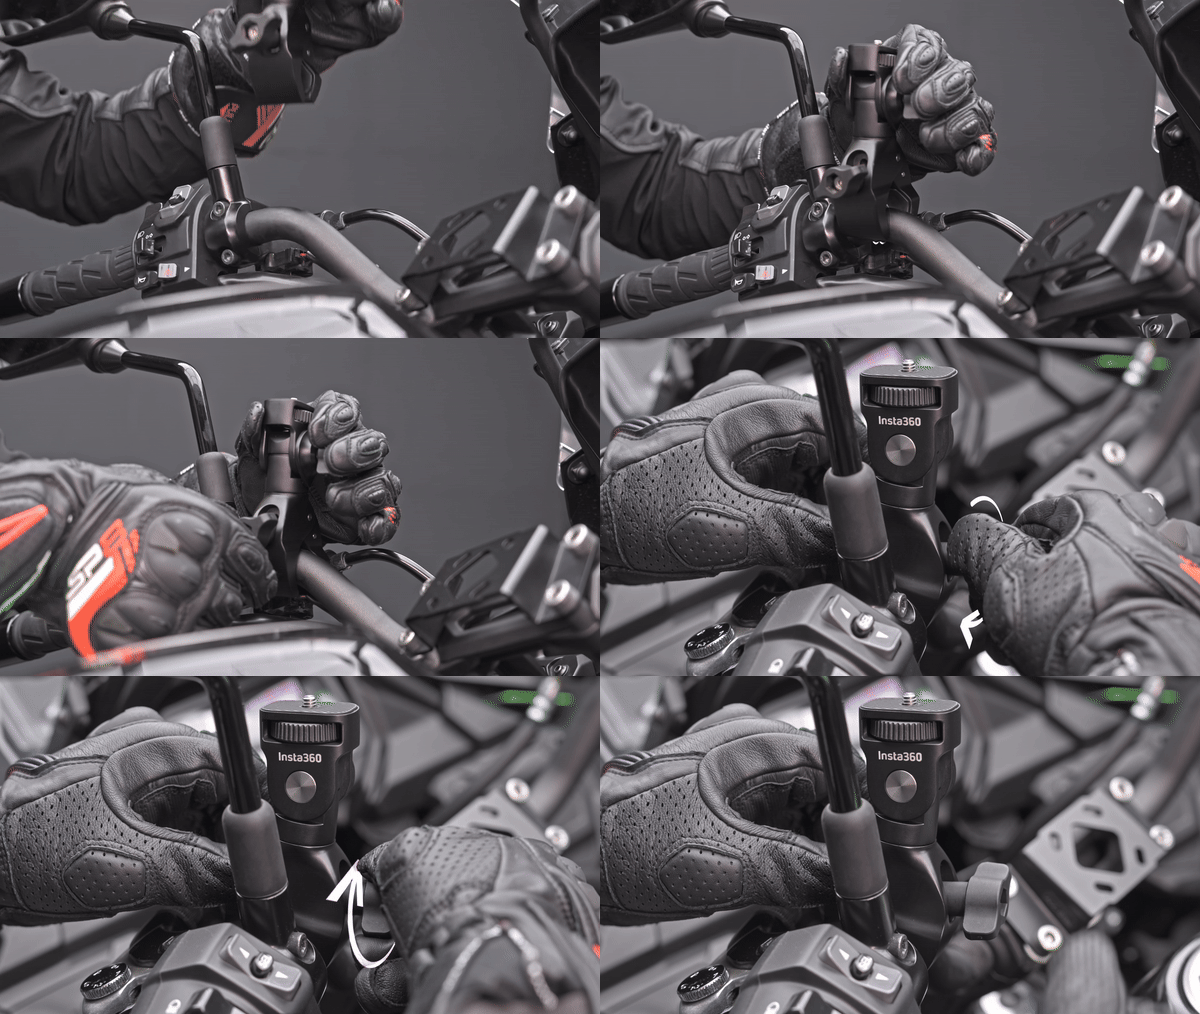
.gif)
2. First-person view: Chest Strap
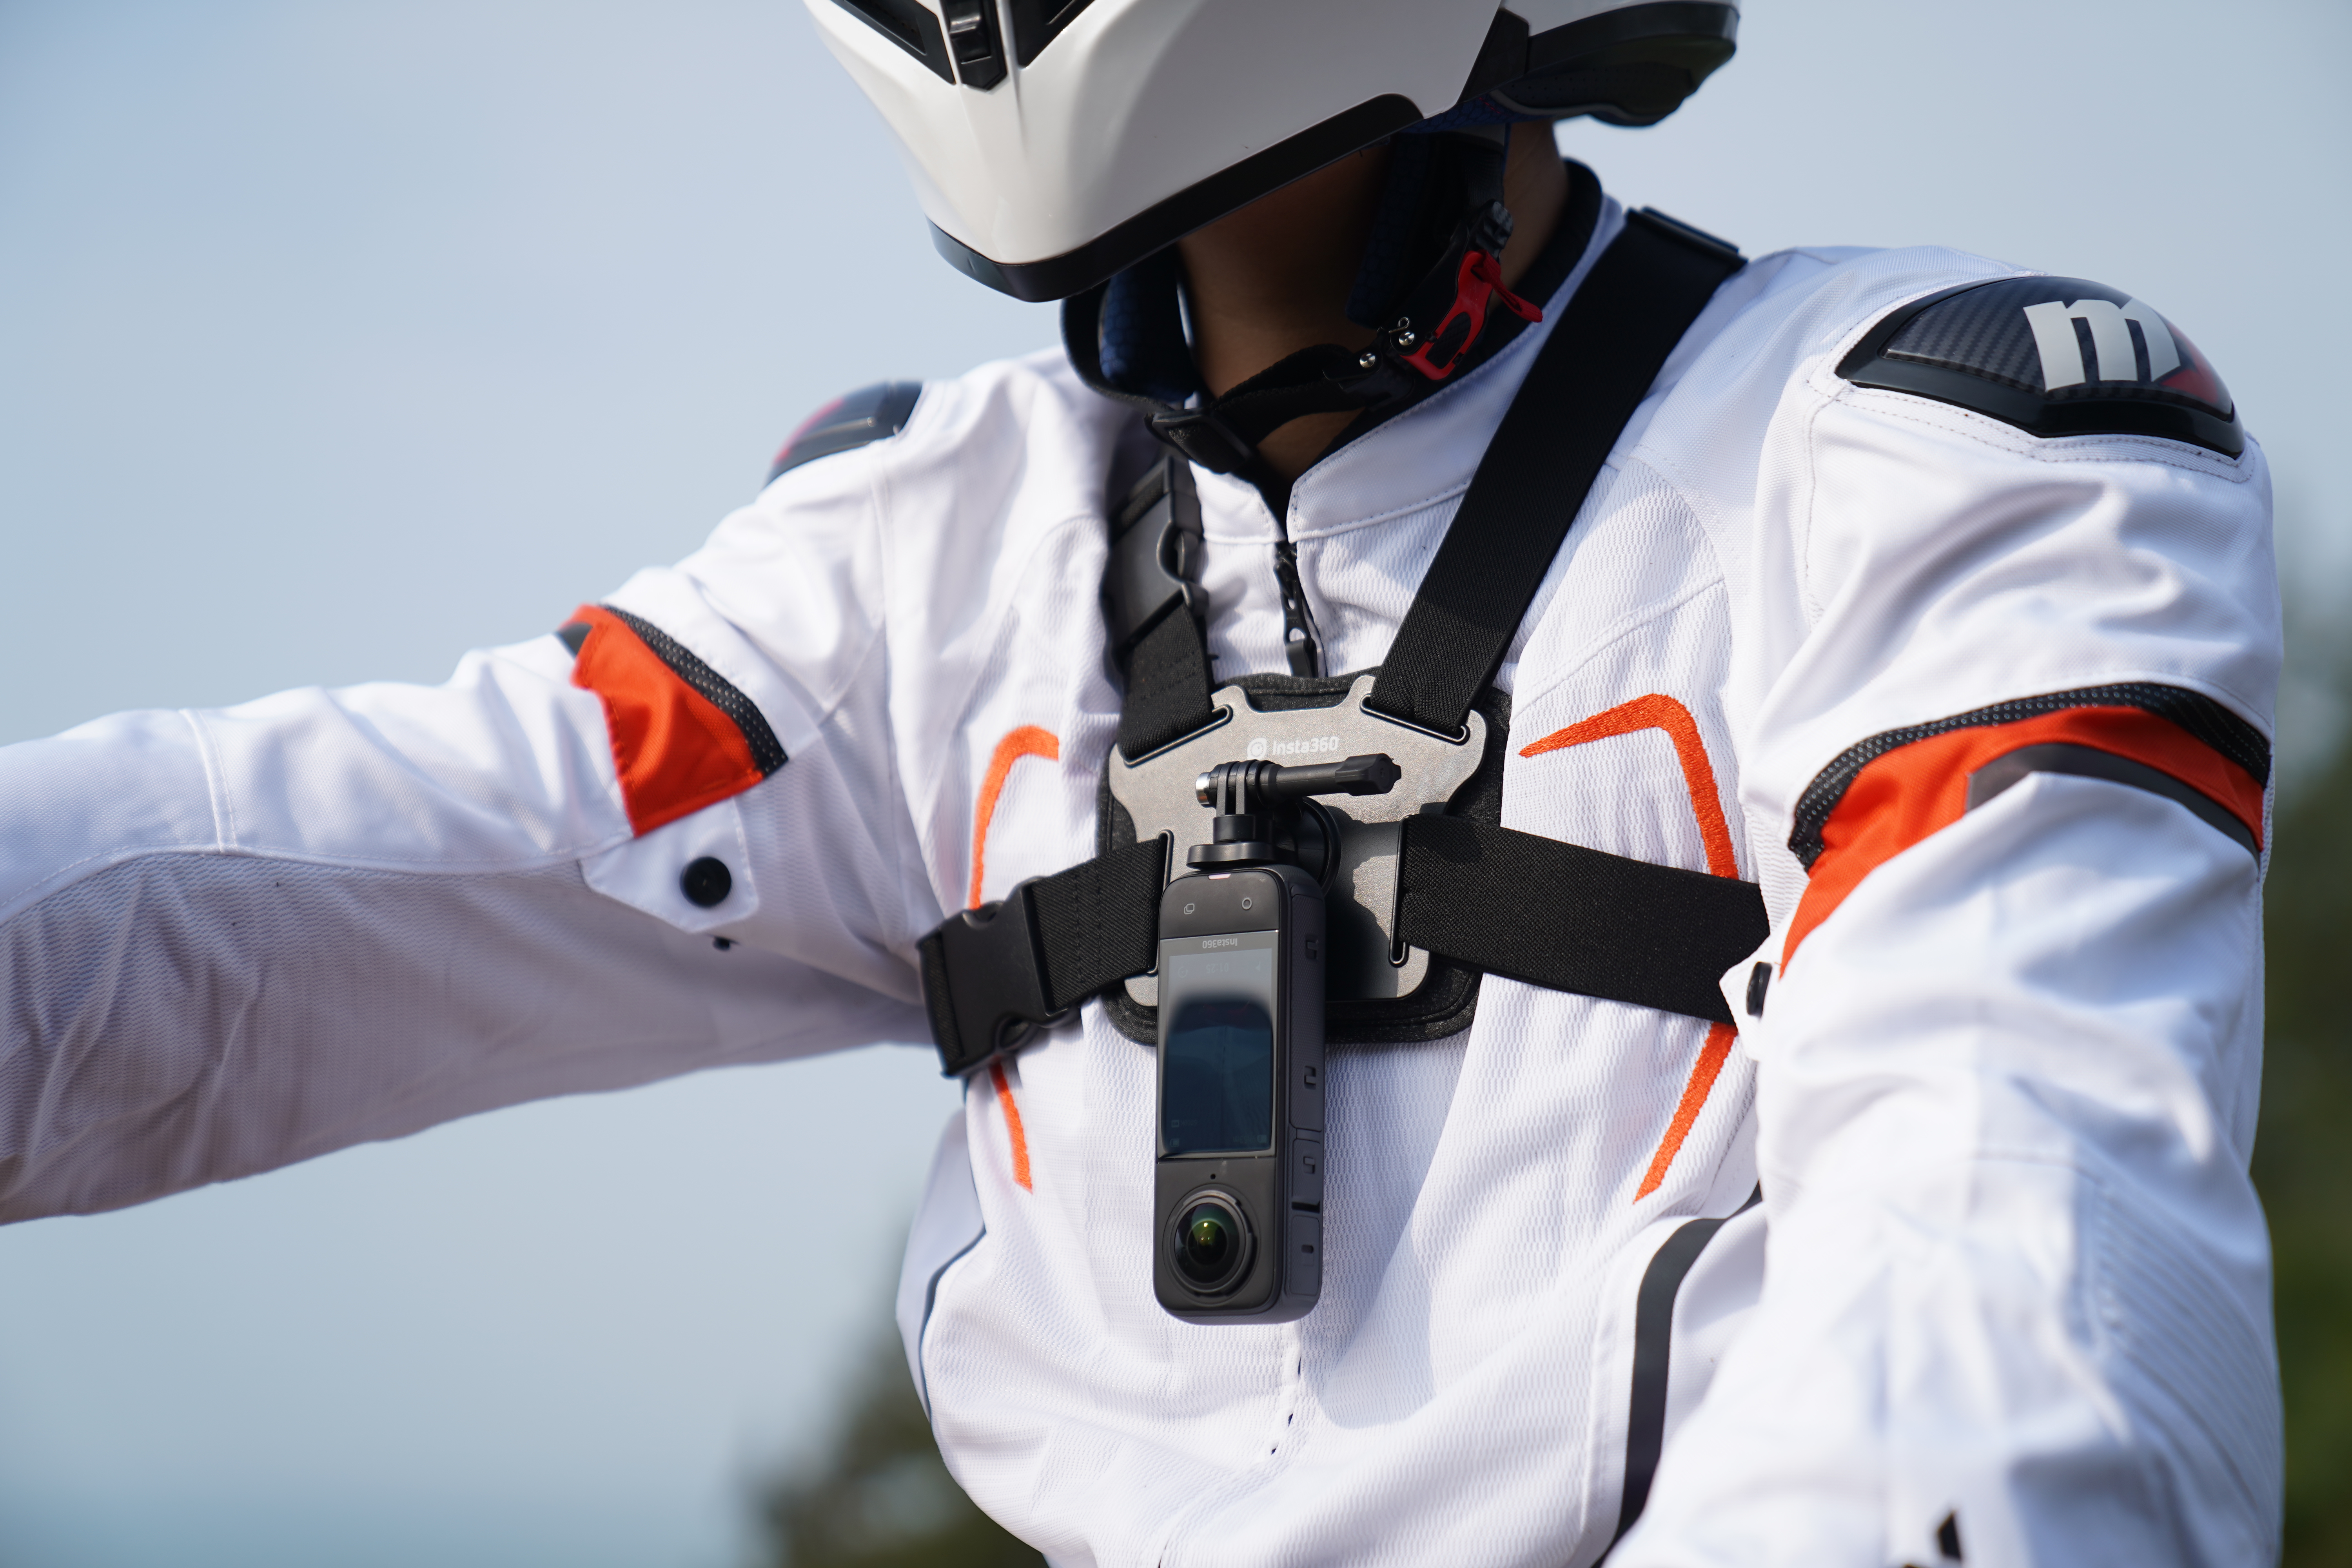
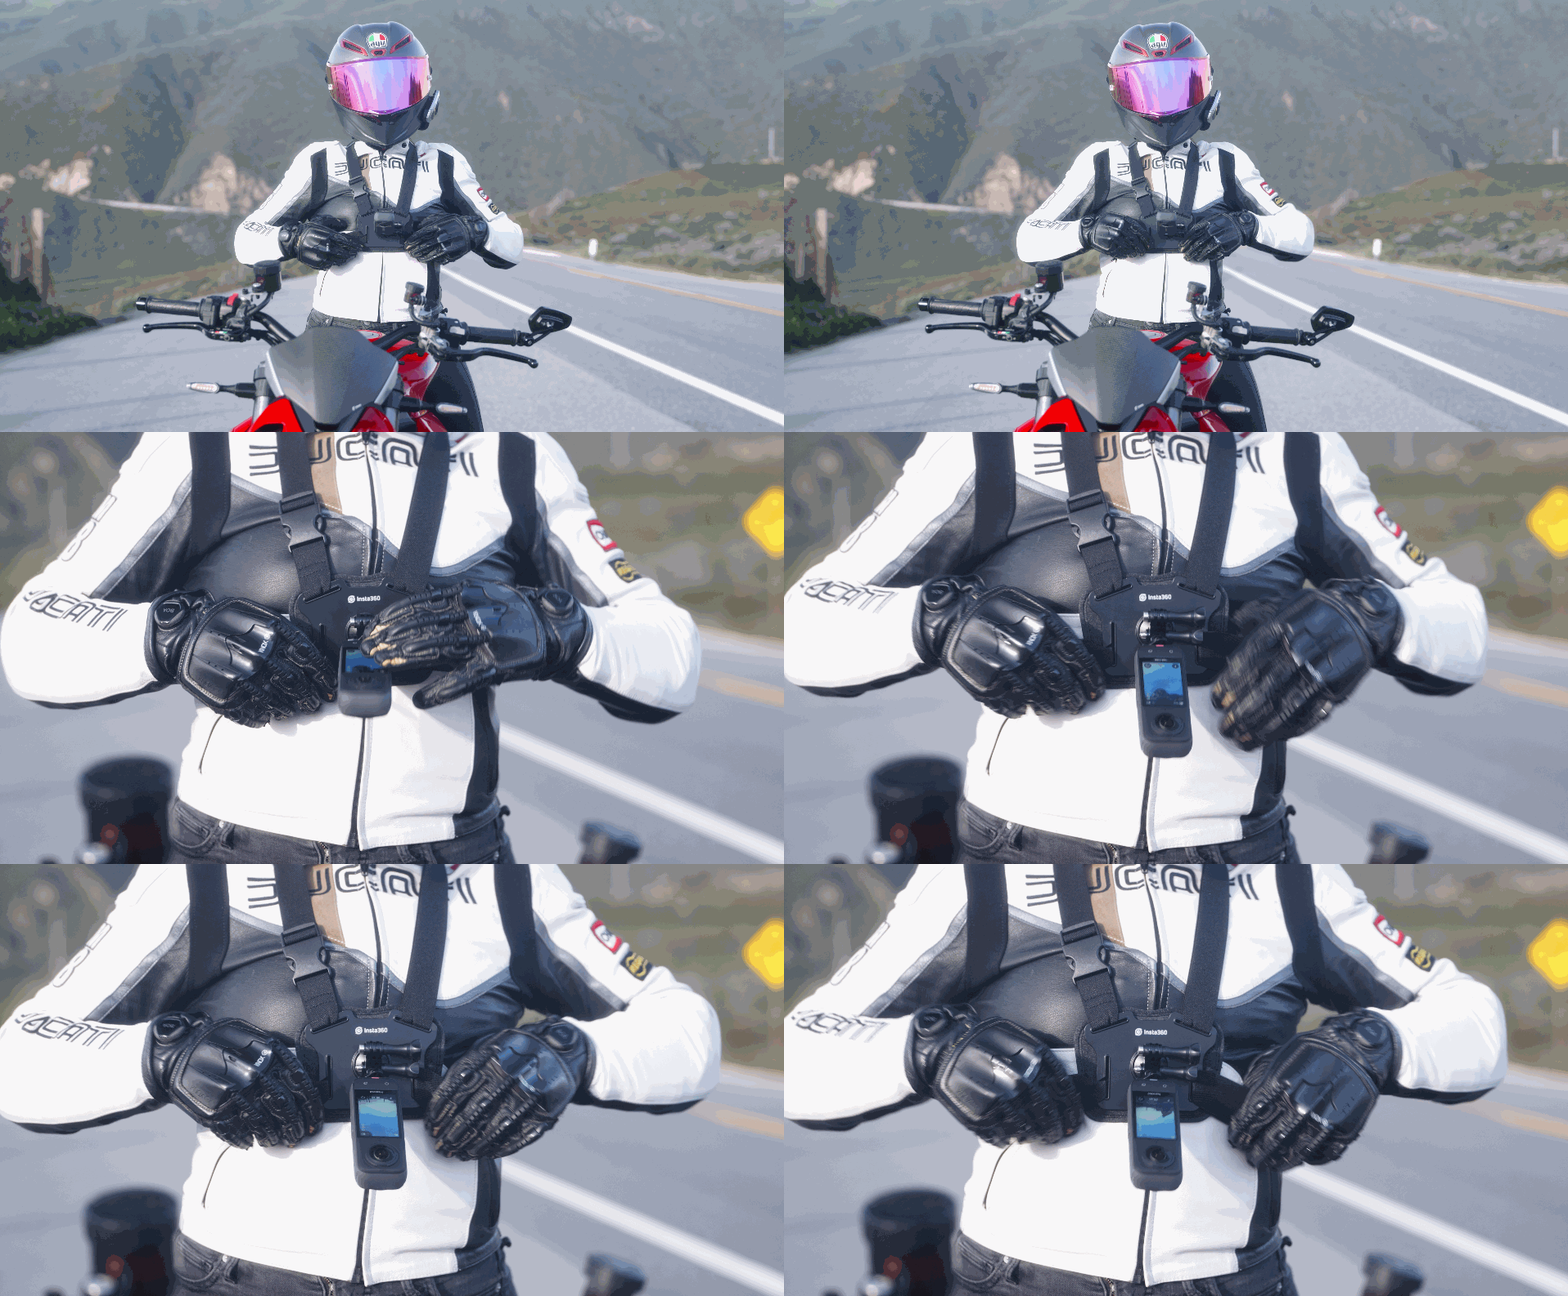
Mounted on your chest, it provides a first-person perspective. Videos captured with this will make viewers feel as if they are right there with you!
3. Follow-up view: Tail rod accessory
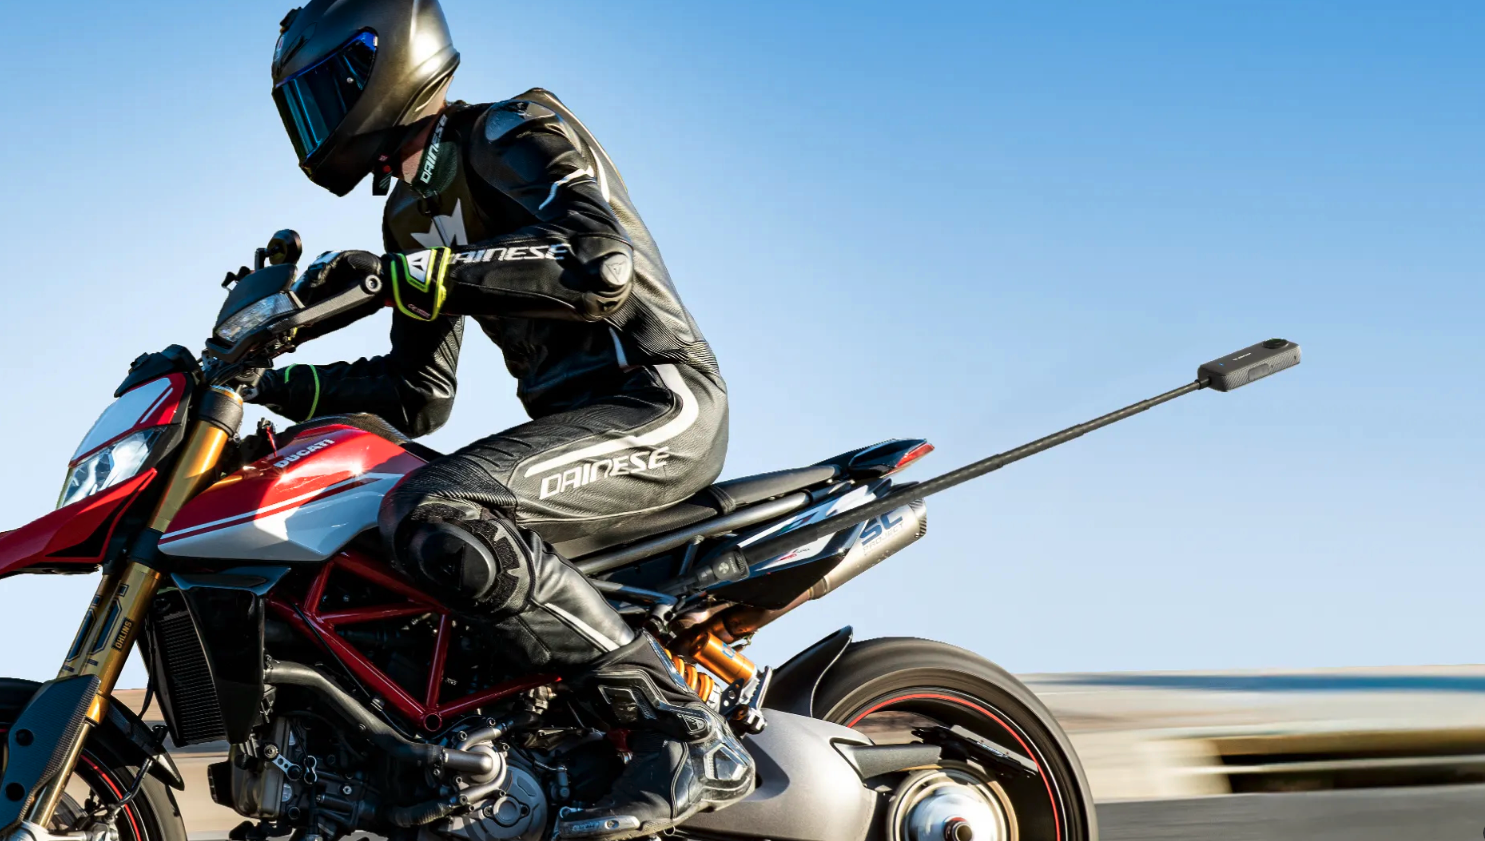
.gif)
Recommended Settings
Adjusting your settings is crucial to get the best effect. Here's what we suggest:
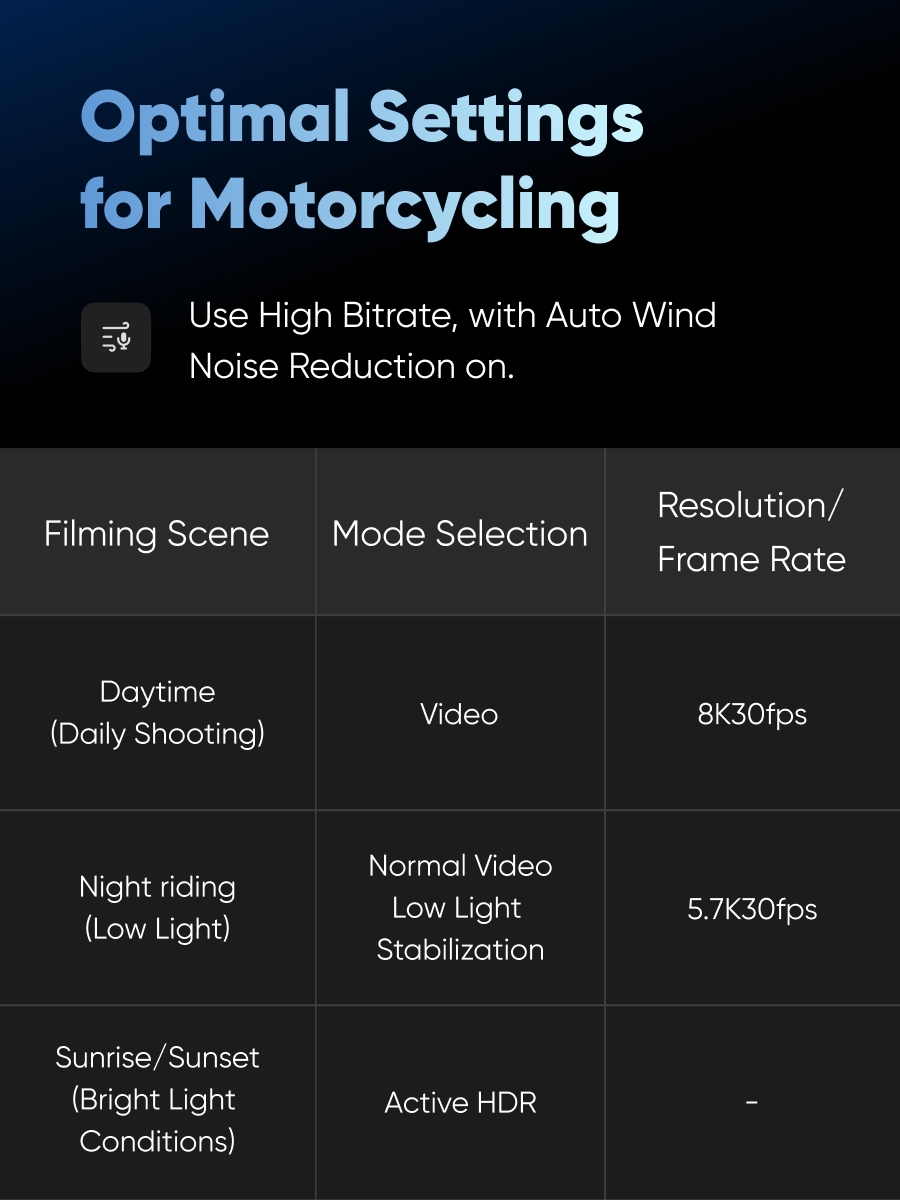
Editing Footage
Perspective 1: Front View
With keyframes, you'll be able to easily pan around and capture both you and your bike and the stunning vistas you're riding across! Super easy, and all achieved in-app.
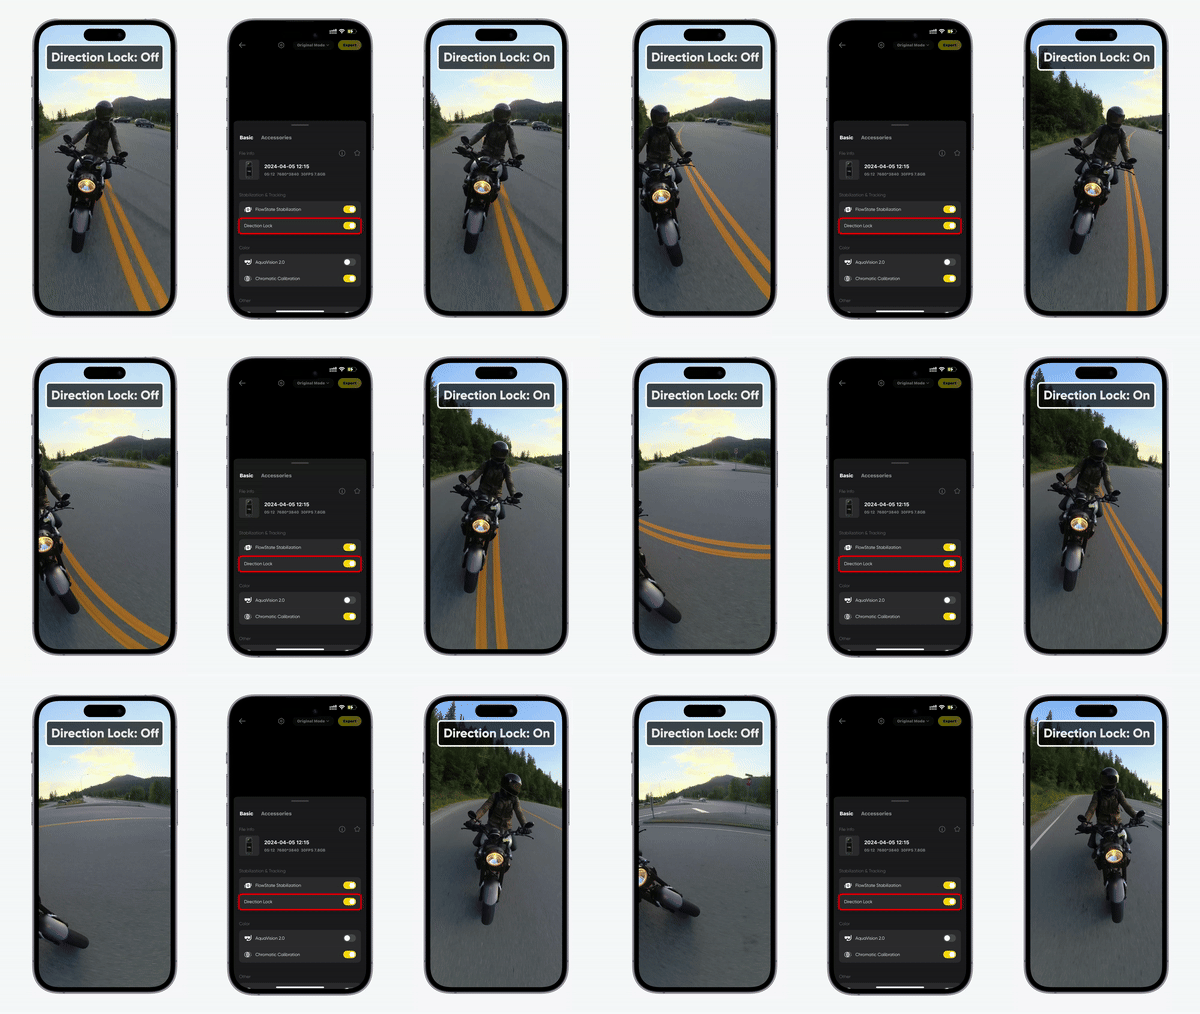
1. Use Direction Lock
For footage on the move, turn on the direction lock function when previewing the footage. This ensures that the perspective does not shift during turns or when the front of the car moves, reducing the time needed for post-processing.
2. Trim Your Footage
The Insta360 app offers two ways to help you manage clips easily.
Trimming: Only keep the selected area and cut out any excess.
Multi-segment Trimming: Stitch together footage from different segments in a pinch.
3. Adjust the Perspective
Using keyframes, we can manually control the perspective of the footage to seamlessly pan around, utilizing the full capture. Here's how:
【Step 1】
Drag the footage to find yourself, then click to add a keyframe.
At this point, your footage will be fixed, and the video will play with the current perspective.
【Step 2】
Try using your fingers to zoom in/out, or select different field of view presets to adjust the footage.
【Step 3】
Drag the timeline to switch the perspective to the front, and then add another keyframe.
【Step 4】
Go back to the first keyframe and click play. Now, your video will seamlessly pan around. Simple!
4. Display of Effects
The footage will rotate around the camera, showcasing the surrounding scenery and your cycling journey.

Shot 2: First-Person View
1. Enable Direction Lock and Trim Footage
Similar to the front view, enable the direction lock function and trim the footage segments.
2. Adjust the Perspective
Slide the screen to adjust the footage, then click to add a “keyframe” to fix the perspective.
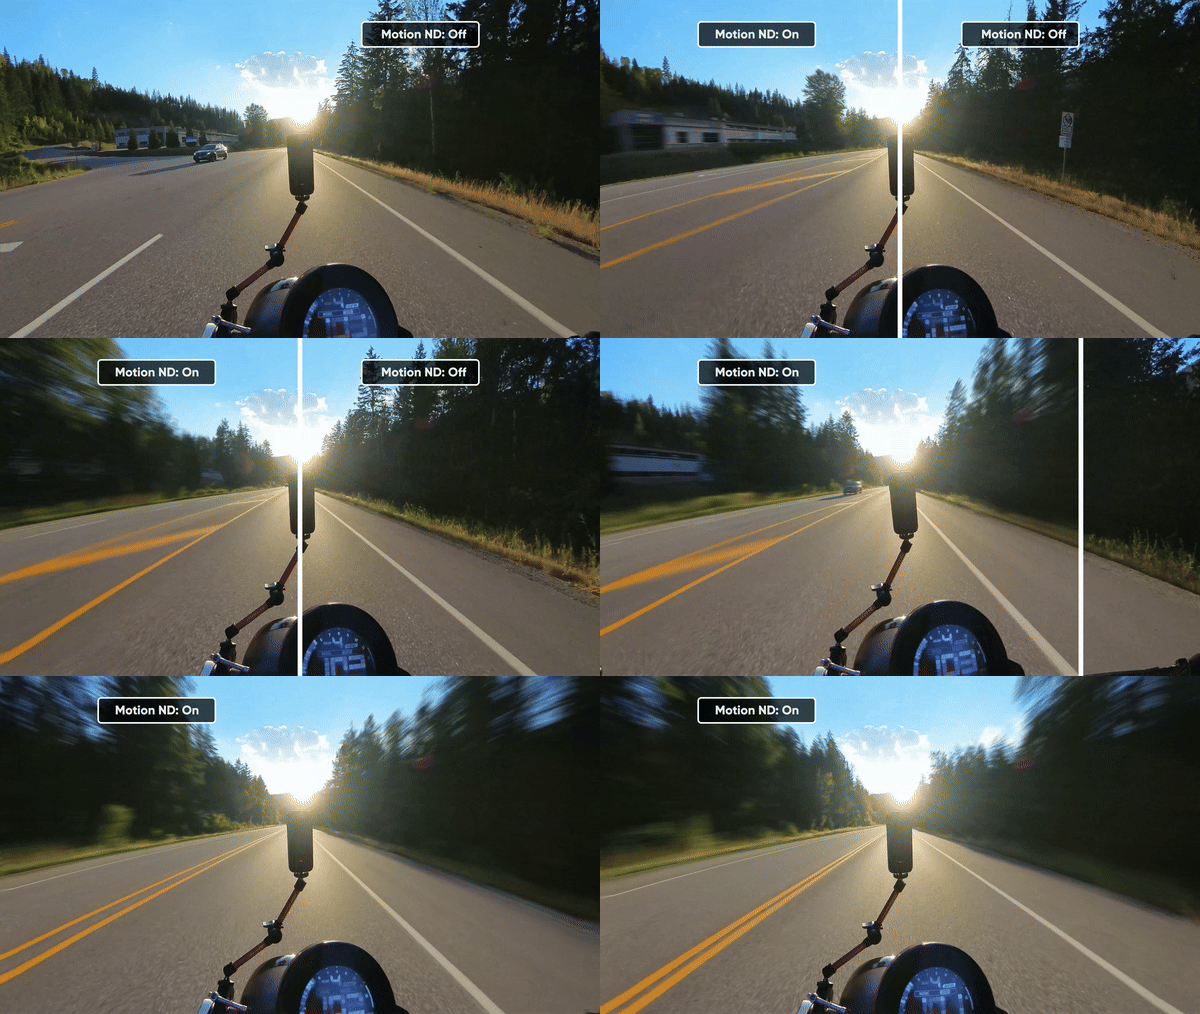
3. Add the Motion ND Effect
Enable Motion ND and try different variations to make the footage feel more dynamic and fast-paced.
Shot 3: Third-Person View
1. Enable Direction Lock
Enable the direction lock function to ensure the camera view always aligns with the vehicle’s movement.
2. Add Keyframes
Drag the footage to select the follow shot angle you desire. You can also zoom in and out with your fingers and choose different field of view presets to adjust the view range.
Export & Share
After finishing the editing, surely you'll want to show off your sick edit? Let's get you the best export settings to do just that.
Tap the export button at the top right corner of the screen, and you will see two options: Flat and Panorama.
Flat Export: The video will be exported in a regular video format, suitable for viewing on a mobile phone or similar device. You can also choose the platform you want to share on, and the system will automatically recommend the appropriate parameters.
Panorama Export: The video will be exported in a panoramic video format, which can be viewed as a 360-degree video on platforms like TikTok or on VR headsets after processing.
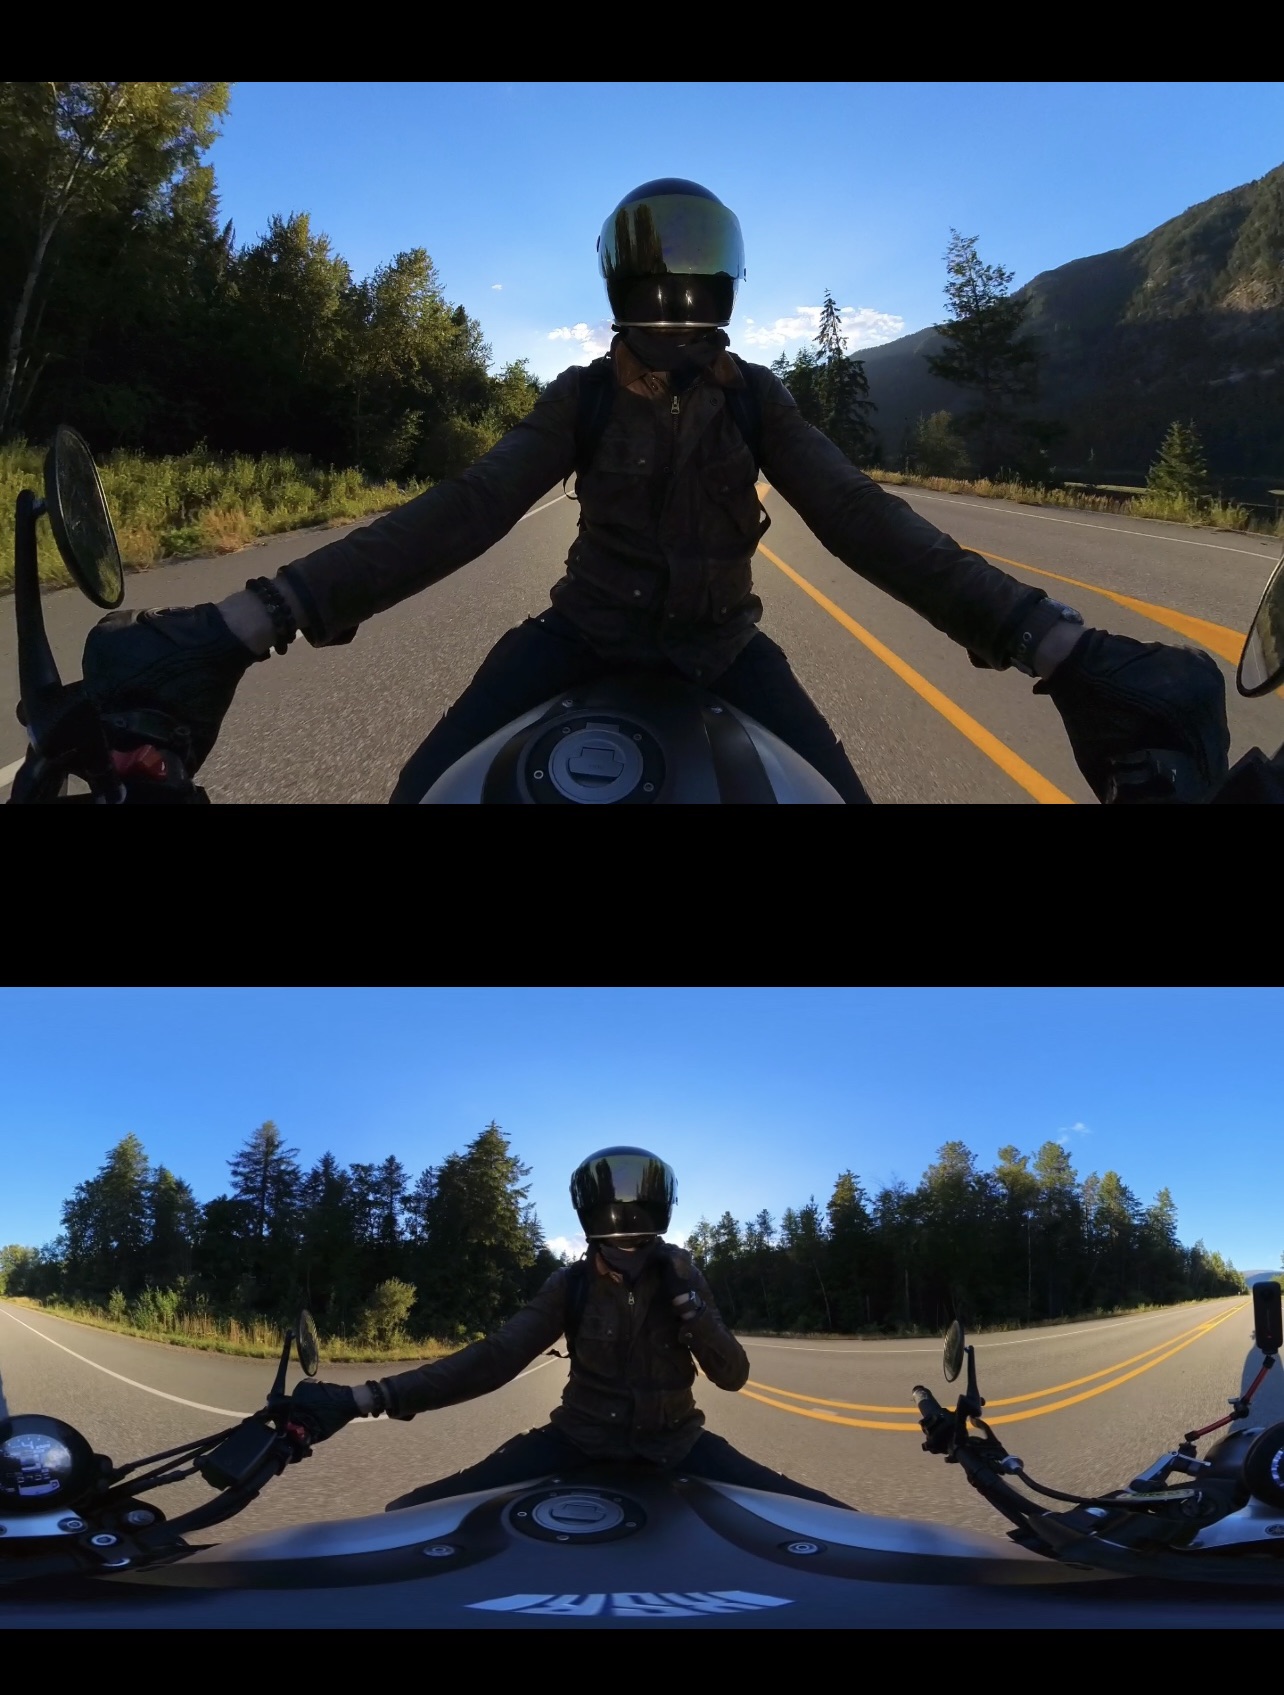
Top Image: Export as Flat Video | Bottom Image: Export as Panorama Video
Have you gained a deeper understanding of shooting angles and editing methods by now? We hope so! Now get out there and shoot, we can't wait to see what you come up with.