(Desktop Studio Version) - #NightLapse - Quick Interval Shooting One R Tutorial
Ok Everyone.
Here we are to show you how to render your interval footage through studio:
Import or drag and drop your insp files onto your working area
(I already had copy them from the camera into my laptop folder)

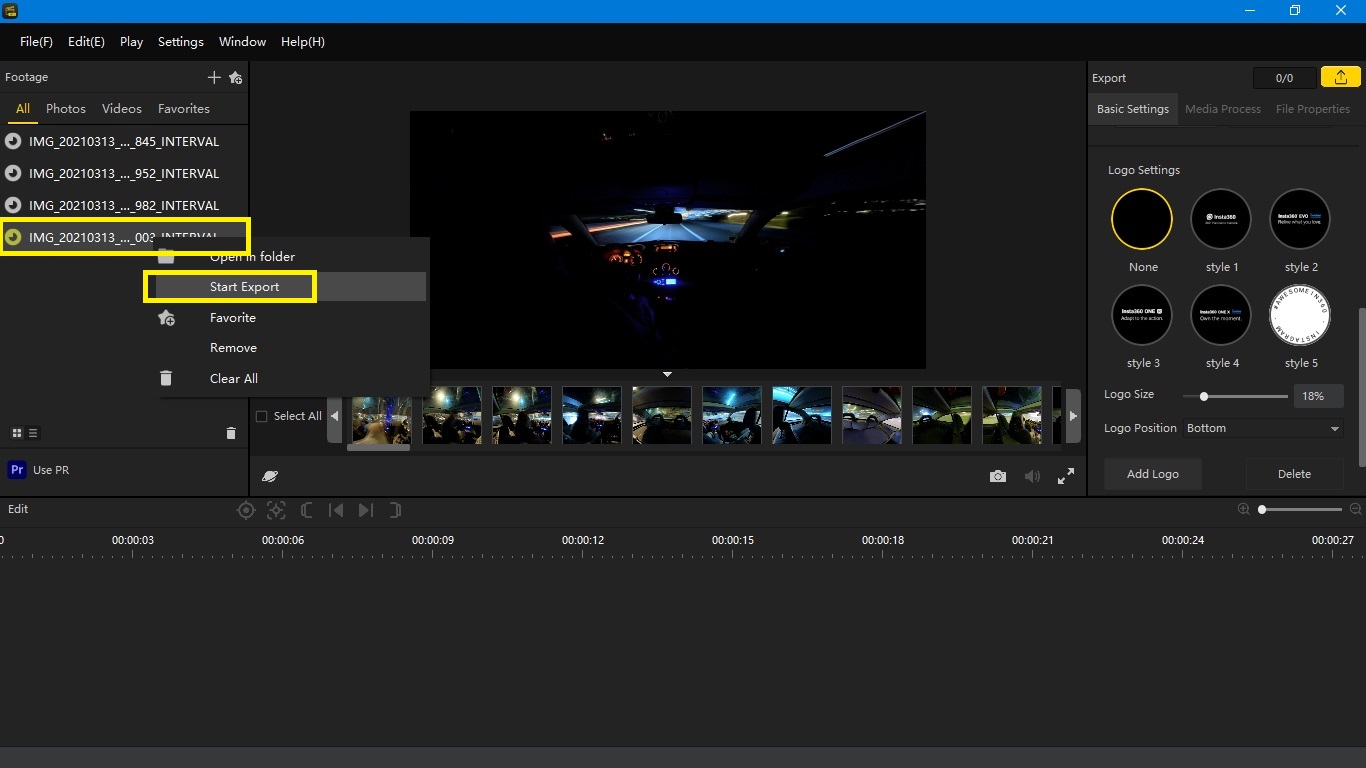
Studio will merge your sequence so,
just right click the desired sequence and select "Start Export"
next step, select the "Export Type" as "Merge to Video"

and "Stabilization" - Stationary.
This will render a much more steady image.
Hit OK to start exporting.
It will export as full resolution 6080+3040 (remember, its a sequence of pictures, not video)

The Export time should be quite fast, mine took around 5 to 10 minutes
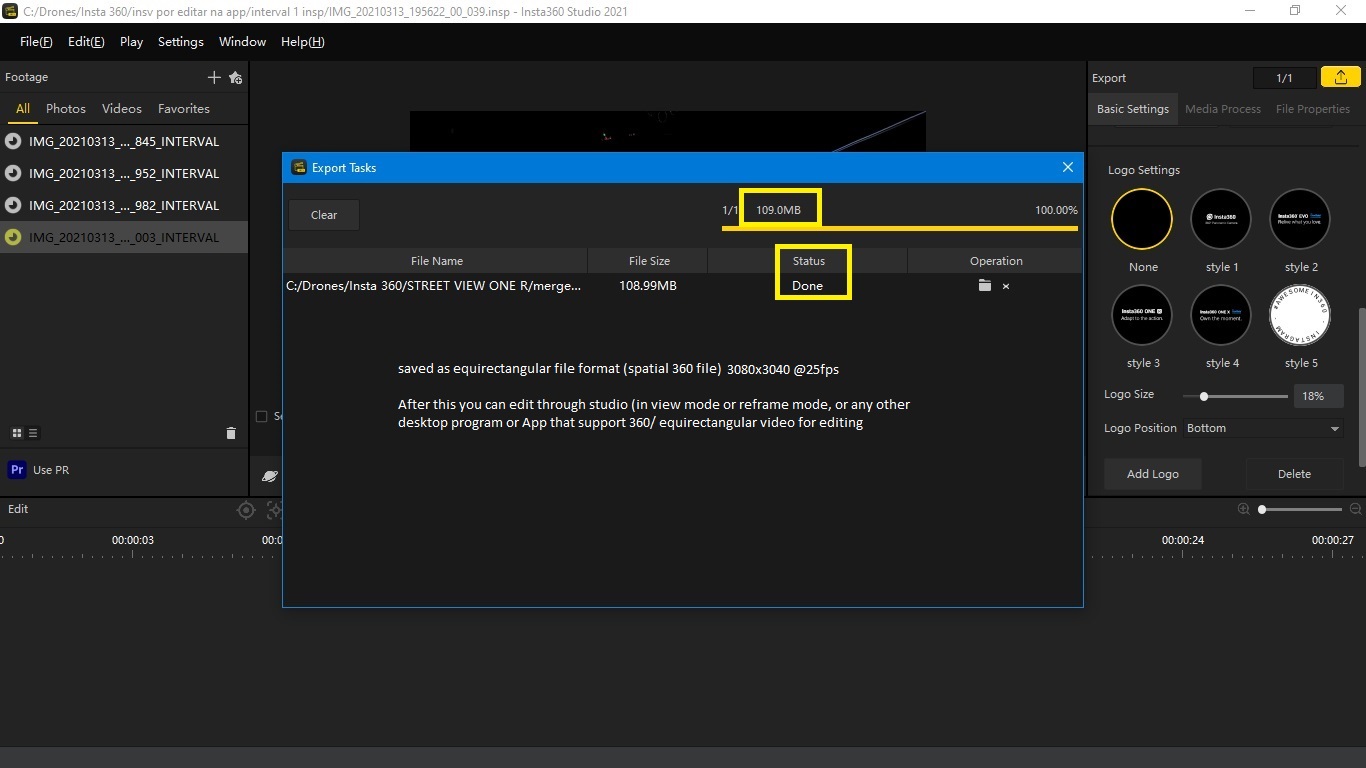
After this you can edit or reframe the merged video in your favourite video editing software.
In View mode you can export at full resolution and 200mbs (will create a 360 spatial video file
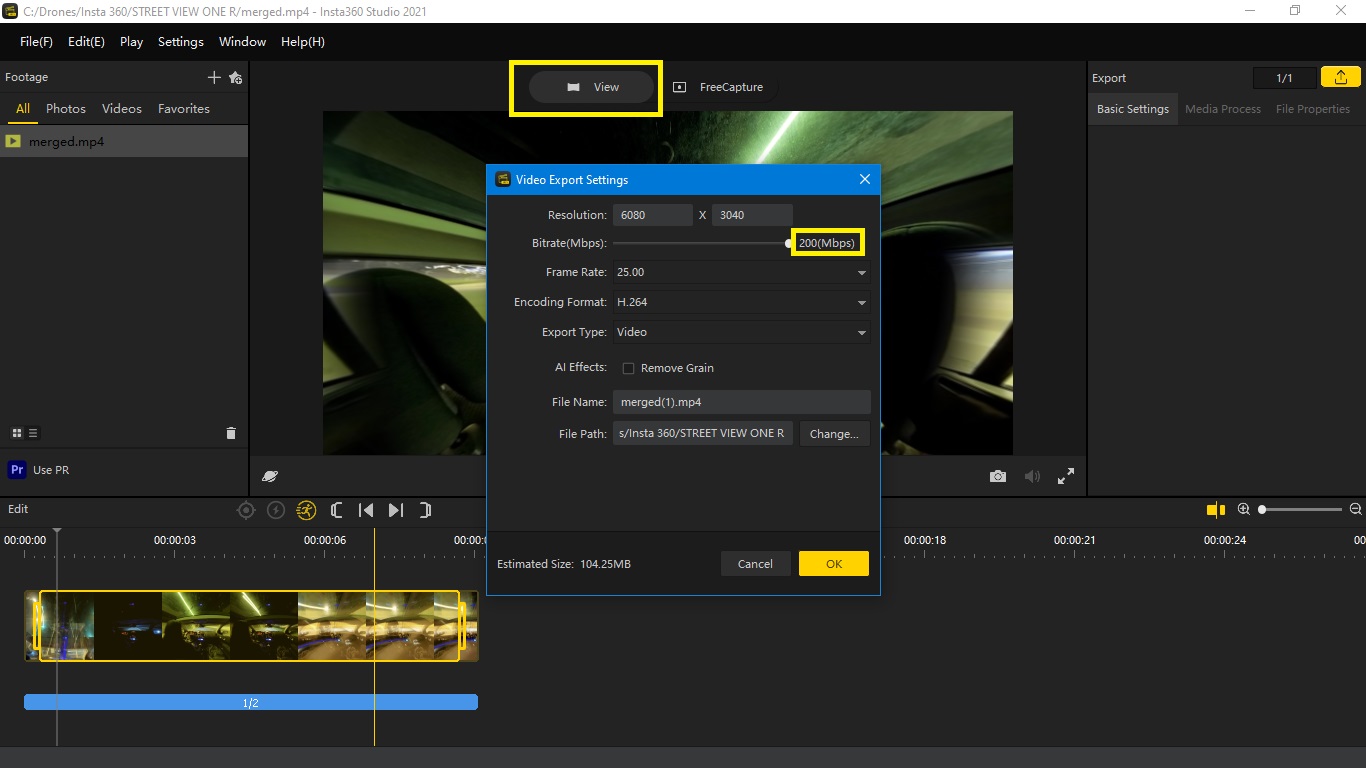
or free capture mode where you can create several keframes and rotate the video to your desired views

Nevertheless, in free capture mode the maximum resolution Studio gave me was 1920x1080
(I could not understand why)

I edited the raw 360 spatial file through Adobre Premiere Pro, added text, music and
color corrected with the One X Lut provided by @insta360 and GoPRo VR Reframe PReset added to a Adjustment Layer (not seen here)
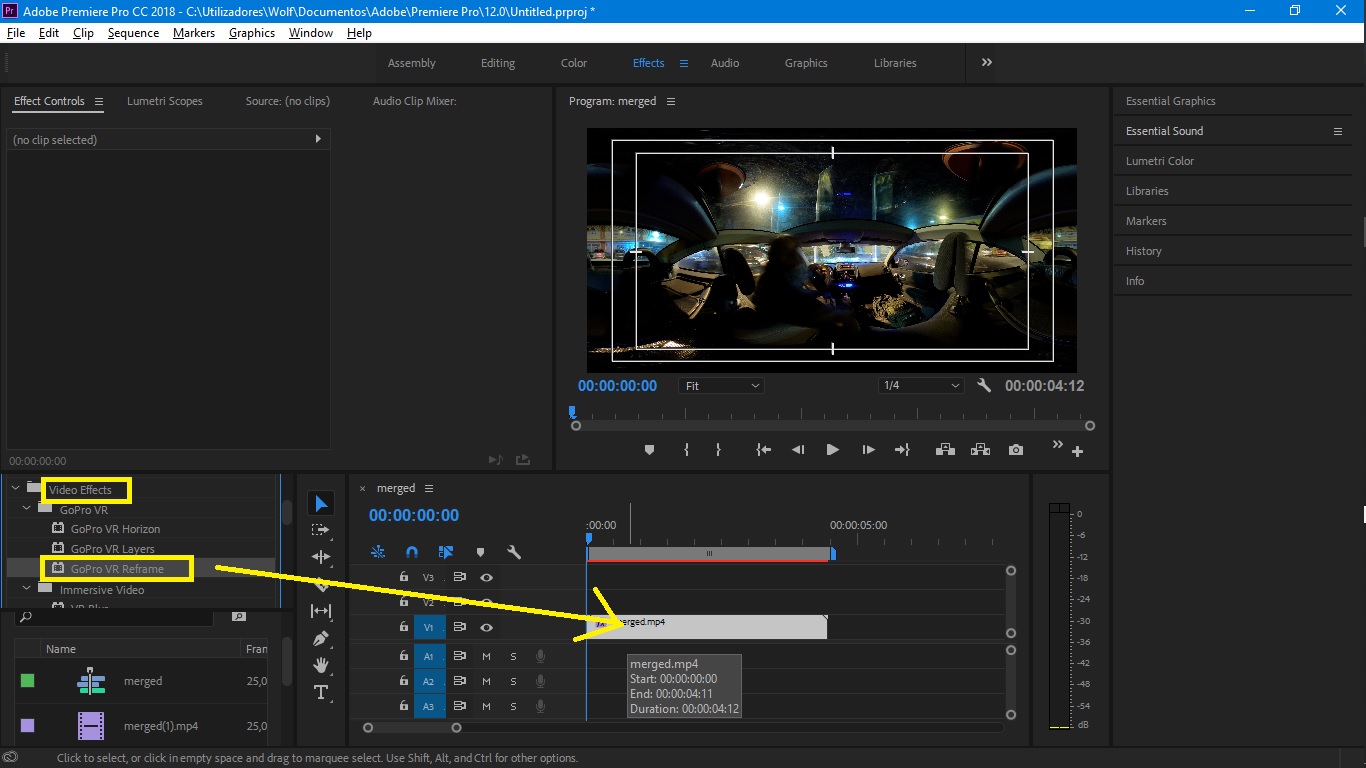
The Final Short Video file for this tutorial exported at 4096x2048 through Premiere:
I Hope you liked this and you can now compare this workflow with te App Workflow.
They are indeed different and present different file sizes
If you liked this, hit 👍 and ⭐ for later faster access in your favourites.